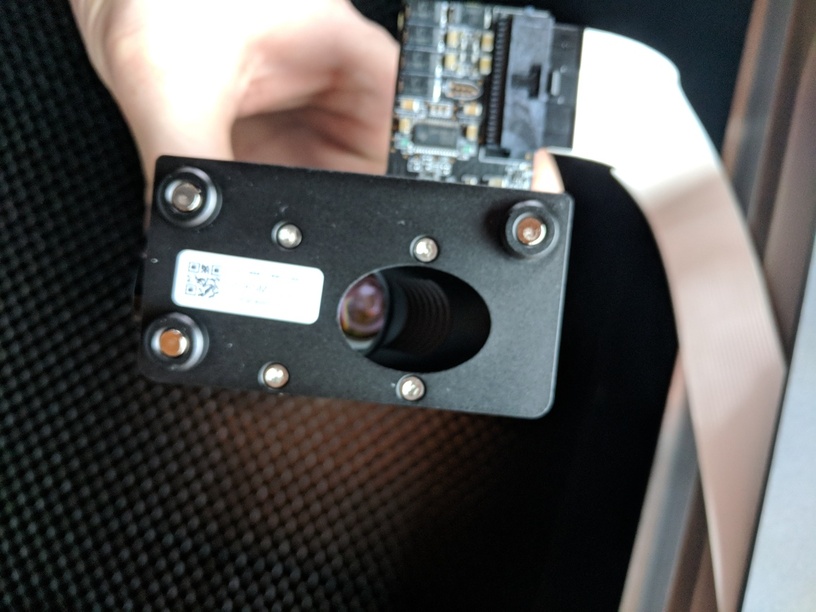
Finally got my Glowforge and was excitedly setting it up. As I was putting on the laser head I was holding it from the very top, not realizing it’s a magnetic lid. So it fell on the crumb tray and fell apart into pieces. I’m nervous to touch anything - I’ve gone through all the help documents I could find but nothing talks about putting the head back together. (A warning that the lid can come off would have been nice)
Attached some pictures of where things stand. Any suggestions?
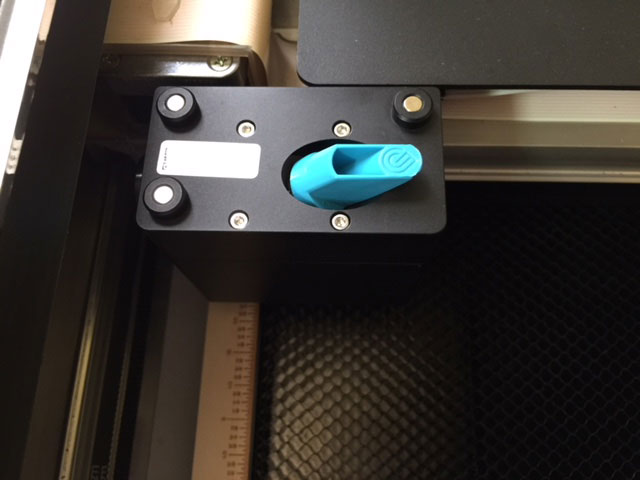
Should be an easy “fix” – pick up the mirror by the blue base and slide it into the diagonal hole so that the angled end of the handle is “flat” across the top. The lid should snap back into place and you’d be ready to install the head.
One thing to check first – did the mirror get scratched? You can carefully clean it with a Zeiss lens wipe (I think they are still including a few in the box) and check for dings or scratches. If it’s clean, you’re probably good to go.
That being said, you may want to wait for an official reply from Support – my response above in no way represents an authoritative answer!
Thanks to both of you for the quick reply! I figured it was something like that but didn’t want to touch anything first. Fortunately the mirror seems fine. Moving onwards!
I’m sorry that happened, @charlie. Thanks for letting us know about this.
Could you please do the following?
Using a Zeiss wipe, gently wipe the surface of the mirror
Replace the mirror holder by setting it back into the notch. It will rest softly in place - there is no need to push it in and you don’t need to place it at a particular angle