Hi @kabbs10476 - thanks for sharing those photos! The good news is I’m not seeing any issues with the optical pieces in your printer.
Regarding the amber button you’ve seen popping up:
I extracted some data from your printer to review and it looks like this is related to the printer running on the warmer side, and needing to cool down. It’s unlikely that this is related to your cutting trouble. However, if you’re noticing smoke building up in the printer bed, especially compare to how your other printer performs, it could be related. Excessive smoke in the bed could weaken the strength of the laser, though not likely.
Regarding the trouble printing, it is possible that the trouble you’re seeing is something we could fix with a remote tuning adjustment we make on our end. In order to do that I’d like to perform a test print on proofgrade material. Doing this test on proofgrade lets me make sure I’m troubleshooting the printer’s performance itself, rather than any issues with your material.
Here’s what those test steps would look like:
I’ve included several links that will take you to reference instructions and photos of things to check on first. It sounds like you’ve been pretty thorough already so you may have already tackled some of these items. Please turn off your Glowforge and check the following:
Once all these things have been checked, please perform the following test print.
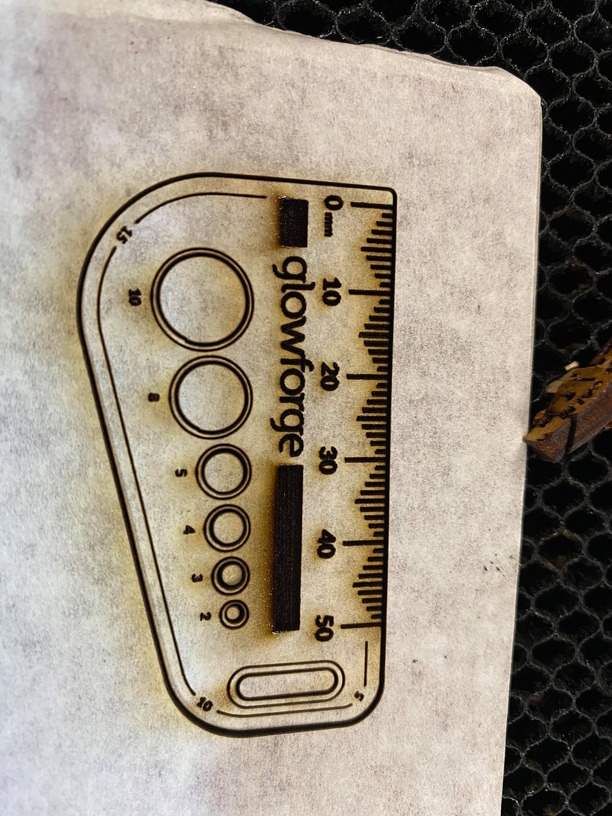
Print the Gift of Good Measure on Proofgrade material, using Proofgrade settings.
When the print finishes, leave the lid closed and wait until the fans stop and the picture updates.
Check the completed print:
If the Gift of Good Measure fails to cut through, take a photo of the front and back of the print and attach these photos to your reply.
If the Gift of Good Measure cuts successfully, please try another print of the design you experienced the issue with, and let us know the results.
Please let me know if you have any questions or if there’s anything else I can do to help! Once that test print is done I can take a look and follow up with some next steps.
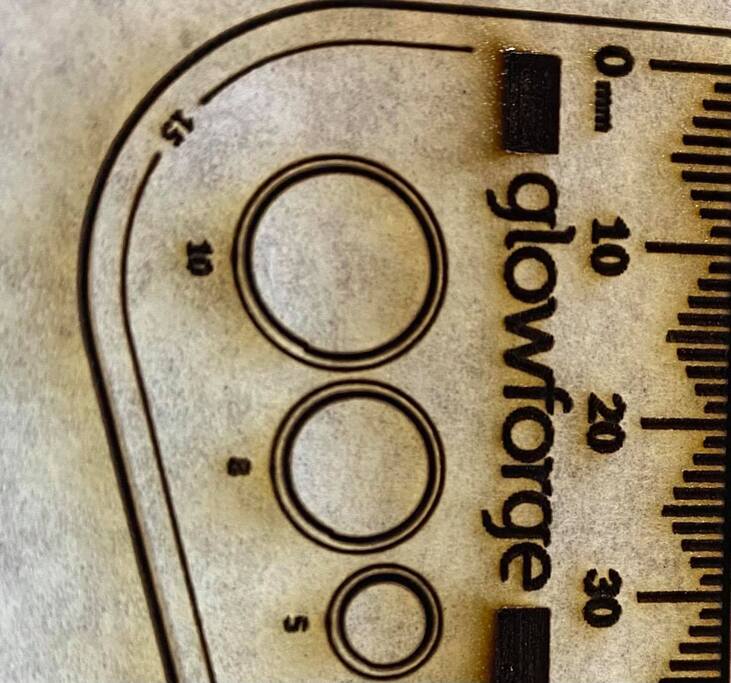
Those dark/light spots on the back are called flashback and they are what happens when the laser hits the crumb tray. The PG settings are designed to always cut so they are a touch overpowered. Nothing unusual in what you’re seeing there.
The front looks normal to me. The brown areas are from the air-assist fan blowing the flame forward. Your cuts all look balanced. Is there something specific you can point to that you’re concerned about? Maybe take a close-up photo of that? Showing the error like you did on your original post:
Your issue originally was some lines cutting twice as thick part of the way through and I’m not seeing that here I’m hoping you can clarify so that when a staff member comes back around to this they can move forward faster than if they are also confused.
Hi @kabbs10476 - Thanks for running that test and providing those photos.
Just as a follow up - I wanted to check if that print cut out alright? I’m not clear from looking at the photos if it cut through and just needed to be popped out around the outside or not.
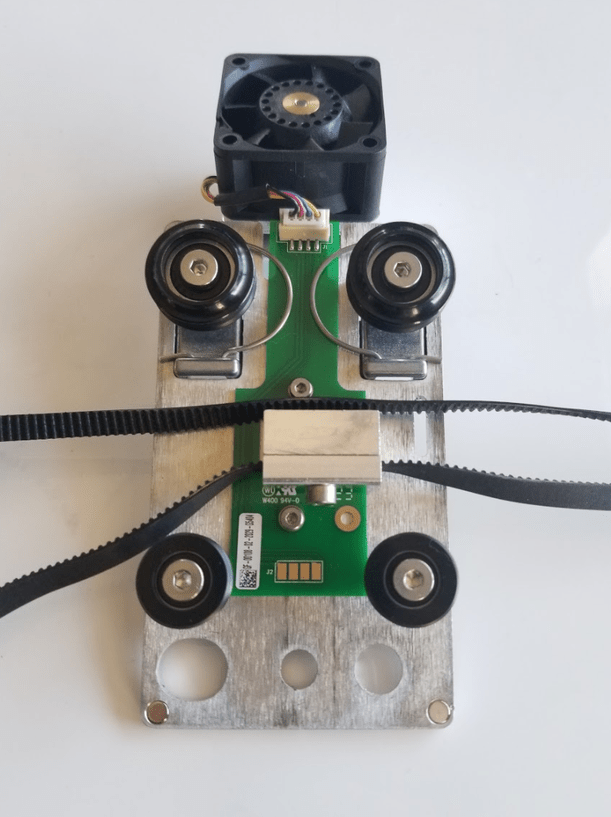
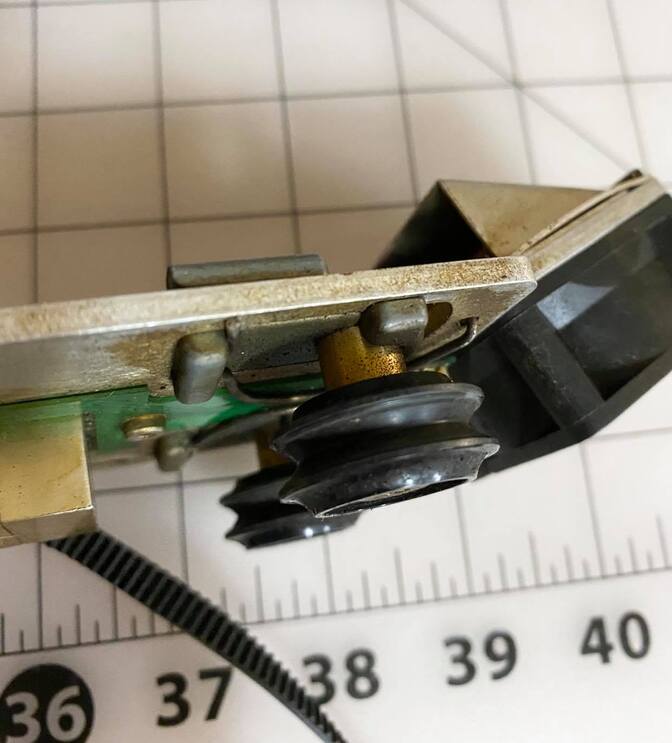
I can also see what you mean as far as where that circle starts and ends. A slight shift left to right there (based on how the design was oriented when printing) usually is from an issue in one of two areas:
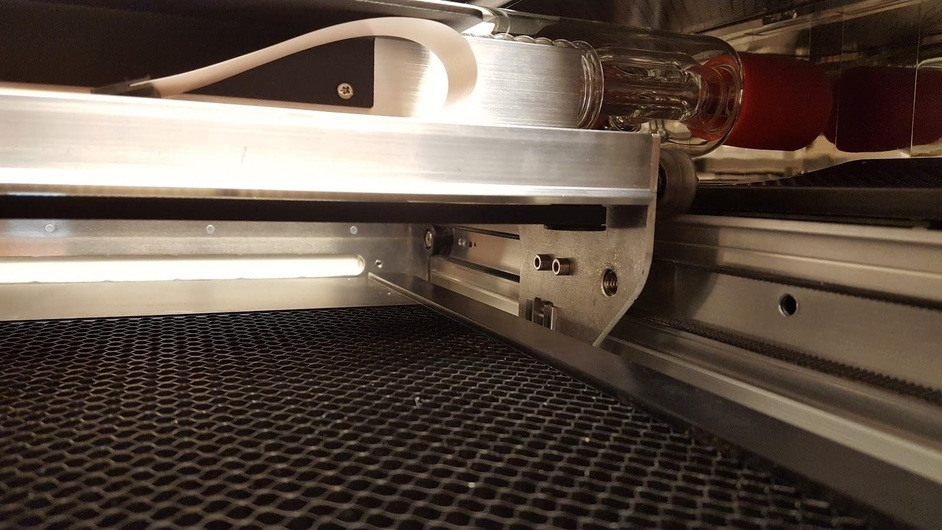
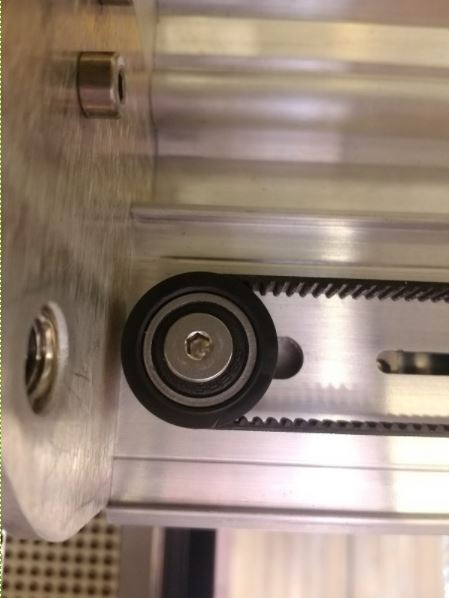
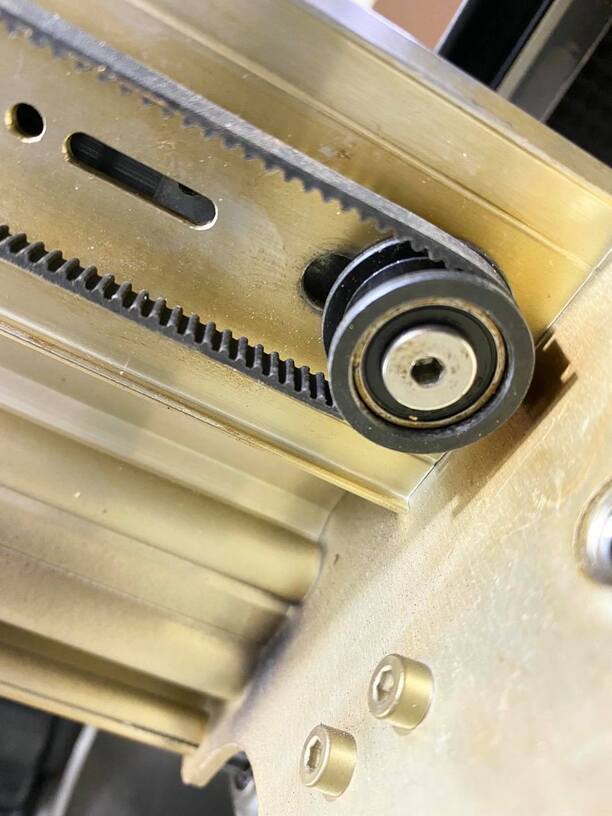
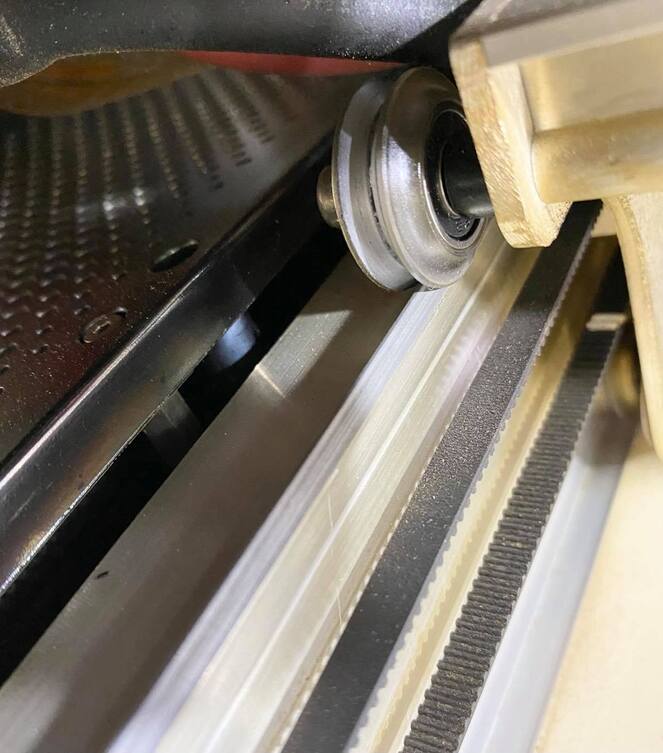
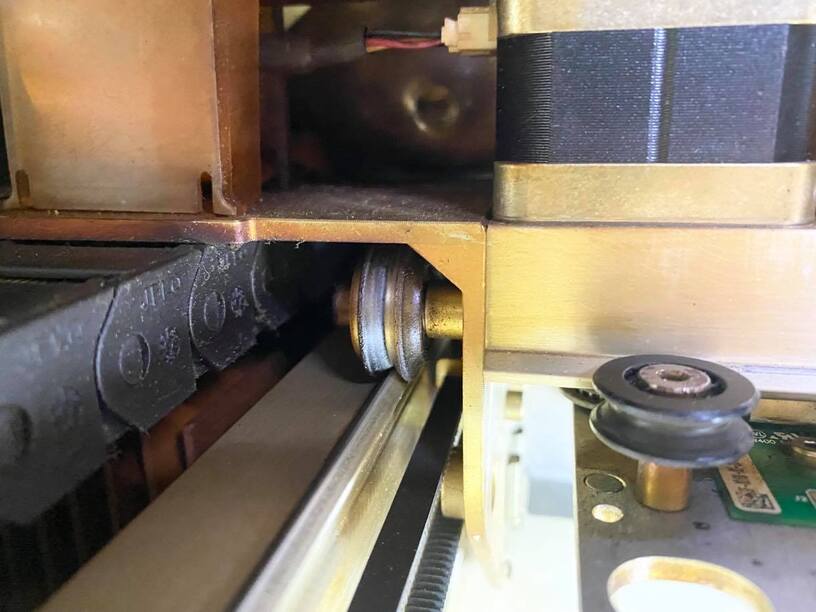
Issues with how the belt under the laser arm is moving, due to maybe being too loose, too tight, obstructed, or the pulley underneath on the right being damaged
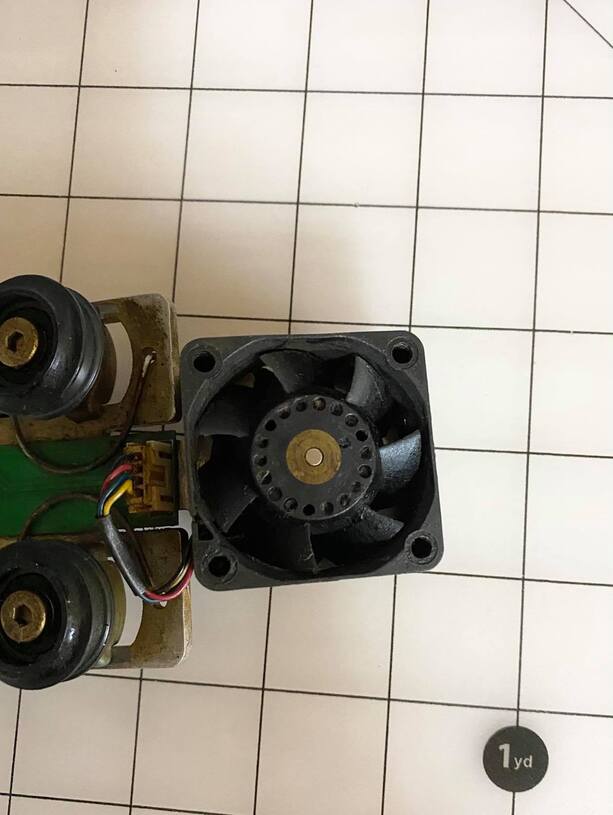
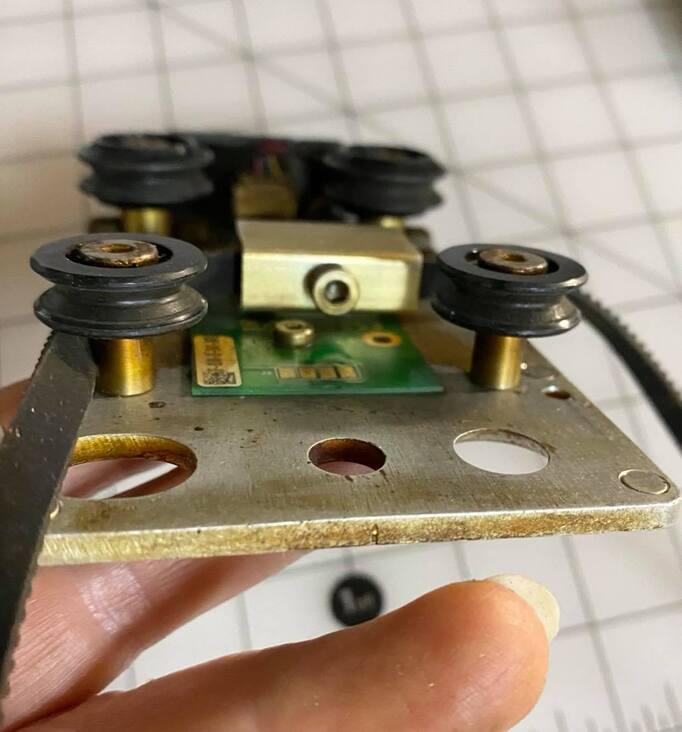
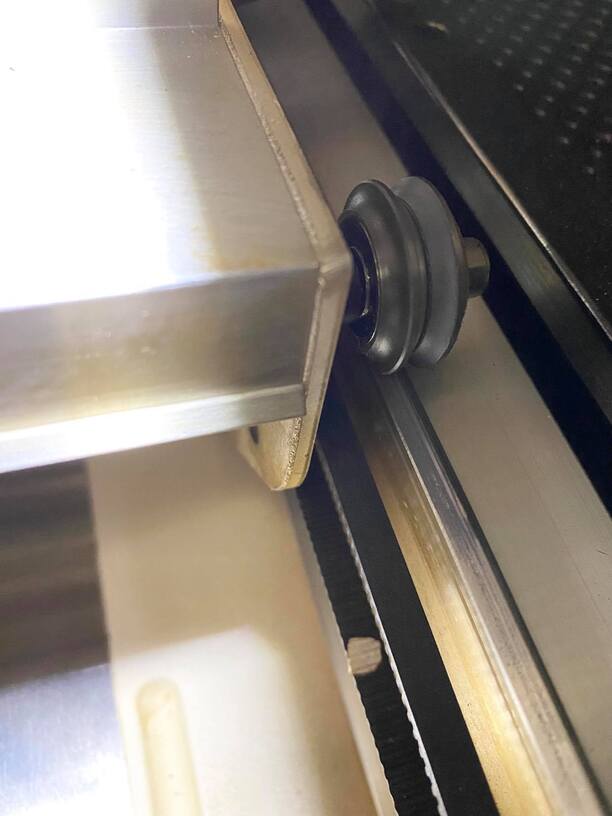
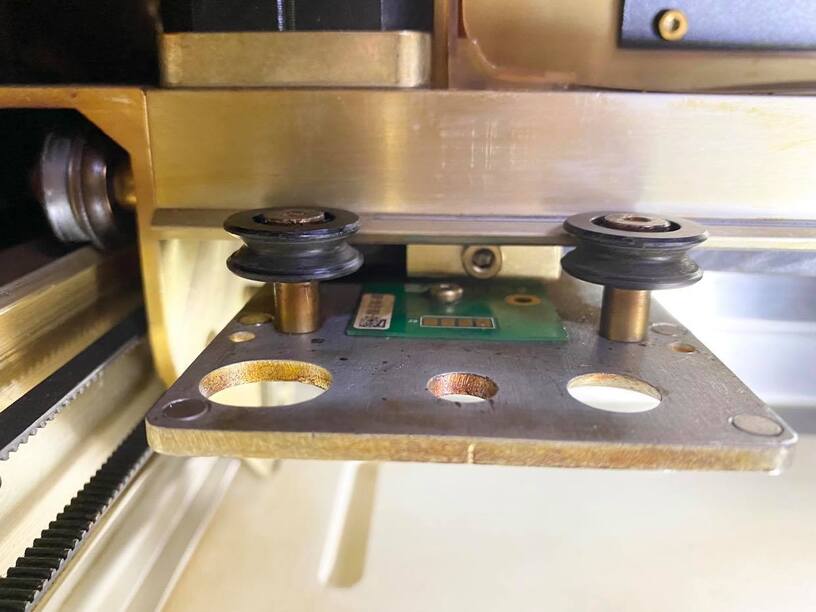
Damage or issue with the wheels on the carriage plate
In order to take a closer look at this for you, would you please check the below areas and send me the following photos?
First, power off your Glowforge and remove the crumb tray.
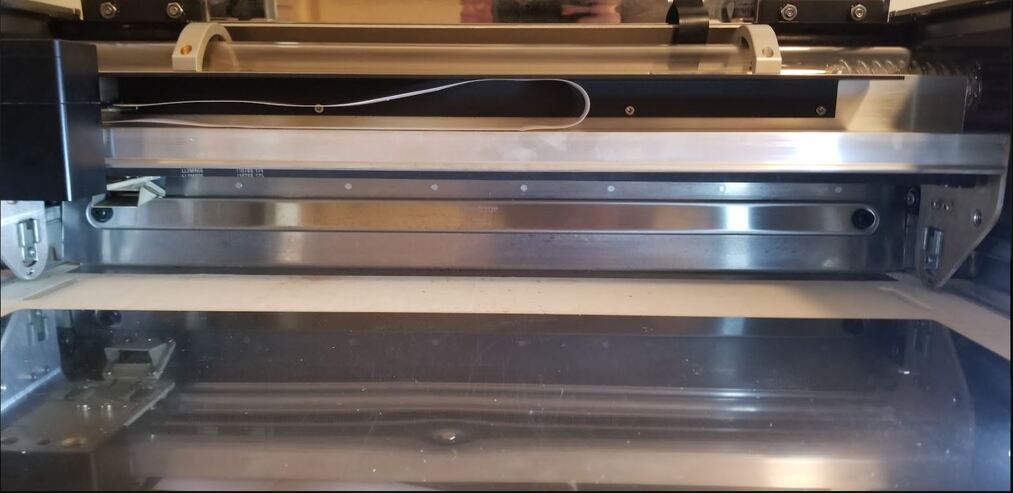
1.The belt under your laser arm with the head pushed to the left:
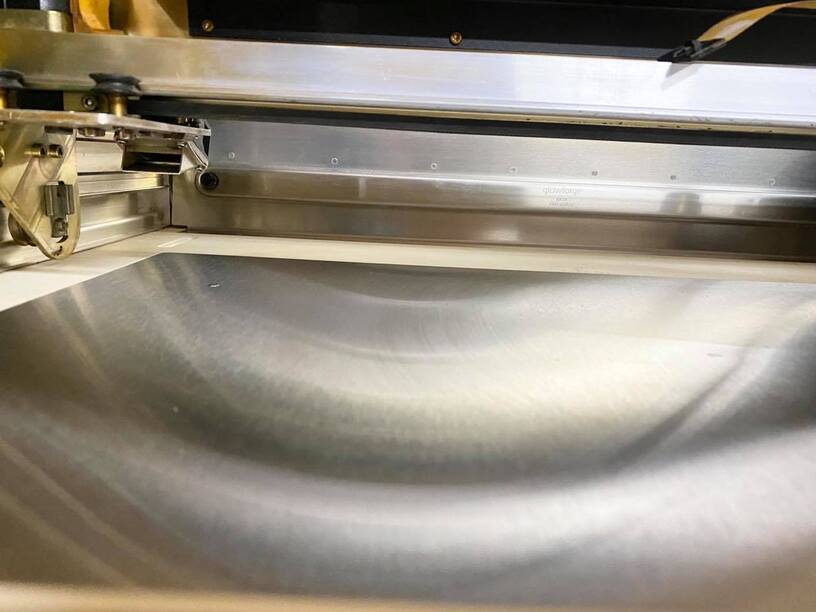
Thanks for the photos! I agree I’m not seeing any glaring issues with the wheels, so as long as all of them are spinning at a similar rate there should be no trouble there.
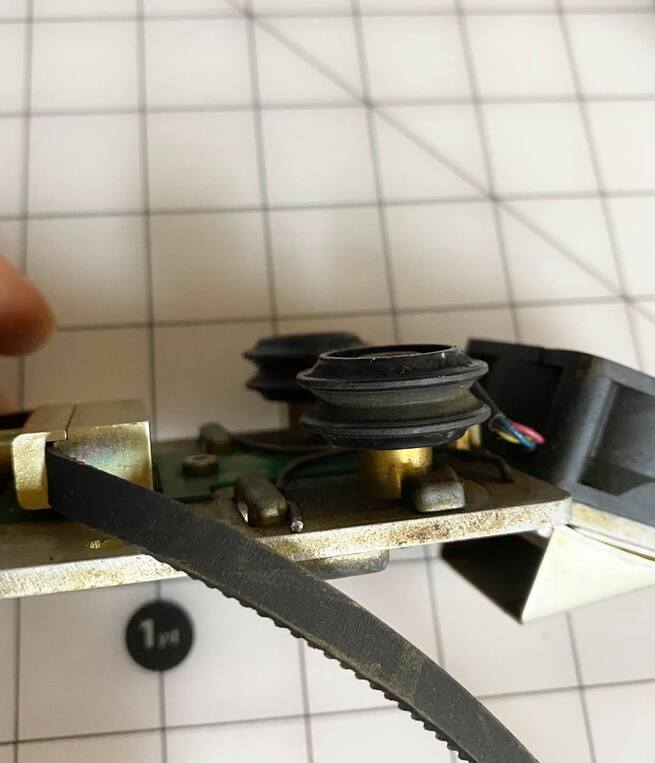
From the photo you shared of the belt under the printer arm, it’s possible this could be a bit loose, it looks like it may dip or droop a bit in the middle there. It’s hard to say for certain just from photos, but that’s what I’d like to check on next.
We’ve got a support page here about adjusting the tension on that belt. If you start by scrolling down to step 7 it’ll also show a quick finger test you can do to gauge if that belt is tight enough.
Would you mind checking that, giving this a tighten if it feels a bit loose, or looks to be sagging in the middle to your eye, and let me know?
We did the tension test, if it’s not tight it sags, do the belts stretch over time?
It’s very possible that the belt could stretch over time, leading eventually to imperfect tension. If that’s the case, thankfully, we can easily simply replace that belt and that should correct the issue.
You should be able to attach short videos here as well. If you’re not able to for any reason you can also email me the video at support@glowforge.com and I can scoop the video up that way!


 I’m hoping you can clarify so that when a staff member comes back around to this they can move forward faster than if they are also confused.