Hi! I had zero issues with my Glowforge for the first month or so (yay!); now it is an endless stream of headaches (not so yay). I’ve tried my damndest to troubleshoot each issue, and this forum has been super helpful. My latest issue has me stumped, though:
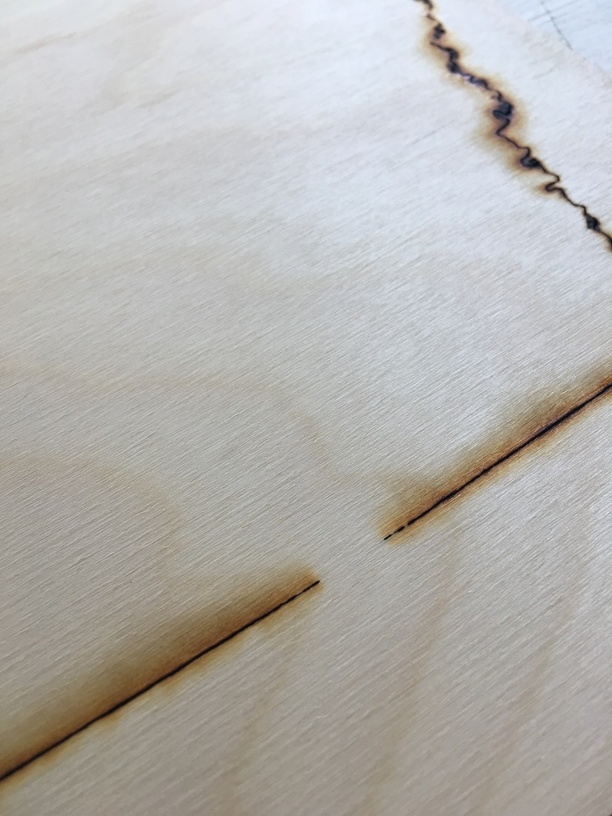
It only happens on a straight cut. I have cleaned all parts of the machine, ensured the material is 100% flat, powered on and off, tried various combinations of speed and power, adjusted material height settings (after starting with precise height), and perhaps other stuff I’m forgetting to include here. Nothing helps. It’s about 1/16” difference in laser depth where it “skips”. (Not sure what else to call it!!)
@Dia - Yes, it’s the back. I’m confused why it only happens on straight lines - I was thinking maybe the laser changes its speed/power on straight lines. It could be a glue spot issue, but it’s happened on multiple pieces of wood in various locations on the wood. Thank you!
Yeah, if it’s not proofgrade, you might be hitting voids or glue plugs in the wood. It’s sadly common… depending on how bad the wood is there can be a lot of them, and they’re a real pain in the behind.
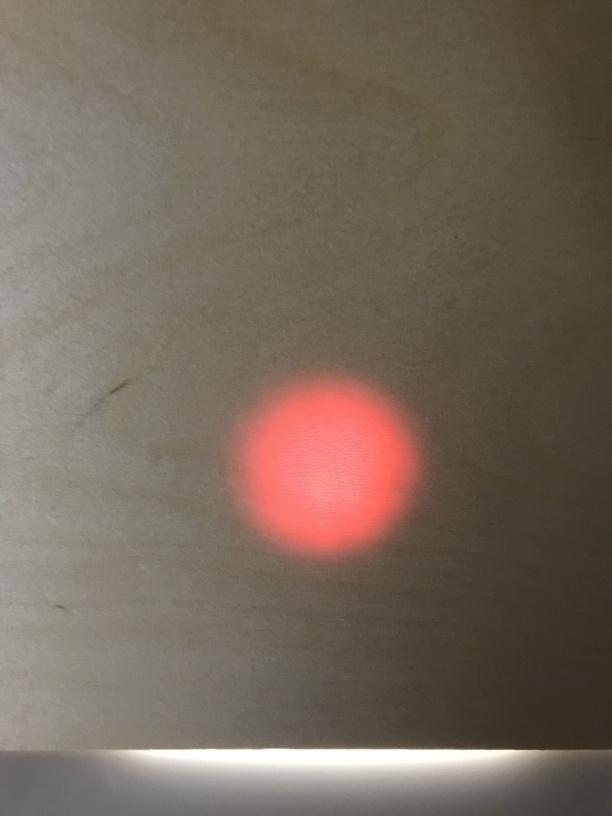
Sometimes you can see the vugs if you hold a really bright flashlight up against the wood from behind and move it slowly around. Just try to place your designs to miss them.
There’s a reason I love the Proofgrade stuff and only use cheap plywood to get rid of it. It was a bad decision to buy it, but I’ve gotten really spoiled by the Proofgrade.
If your machine skips like that on Proofgrade you might have an issue. If not, I’d look to the material quality before suspecting anything else, because I’ve seen that happen on cheap plywood. A lot.
Yeah, I’d say a material variation more than likely. Either a heavy glue pocket or a void. The wood does a really good job of reflecting the beam over and over, deeper and deeper. When it hits a void that reflection stops and the beam quickly loses cutting ability. I run into that even on Baltic birch plywood.
Thanks @Jules. This has happened on proofgrade, too. Not as significantly, but enough to piss me off I need unfinished wood and from what I can tell there is no unfinished proofgrade… I’ve tried wood from Inventables, too, and have the same issue. It never happened in the first month (using all the same wood manufacturers as now), so it lead me to believe it’s a laser issue.
Well, it might be…I hope not. You might want to turn off the machine, carefully remove the head and disconnect the ribbon cable, and take a photo of the pins to check to see if everything looks kosher.
A thorough cleaning of everything never hurts either.
As for on straight vs curves, the power is the same throughout. However, speed isn’t a constant. You have the speed you select (or that Proofgrade selects) and that is the target speed. But it can and will slow down as needed when doing direction changes, sharp curves, etc.
Done a few thorough cleanings with no effect on performance. Maybe I’m doing it wrong?! Good to know the speed does change. It works like a gem around curves, just not straight lines, so I’ll work with that and make some adjustments.
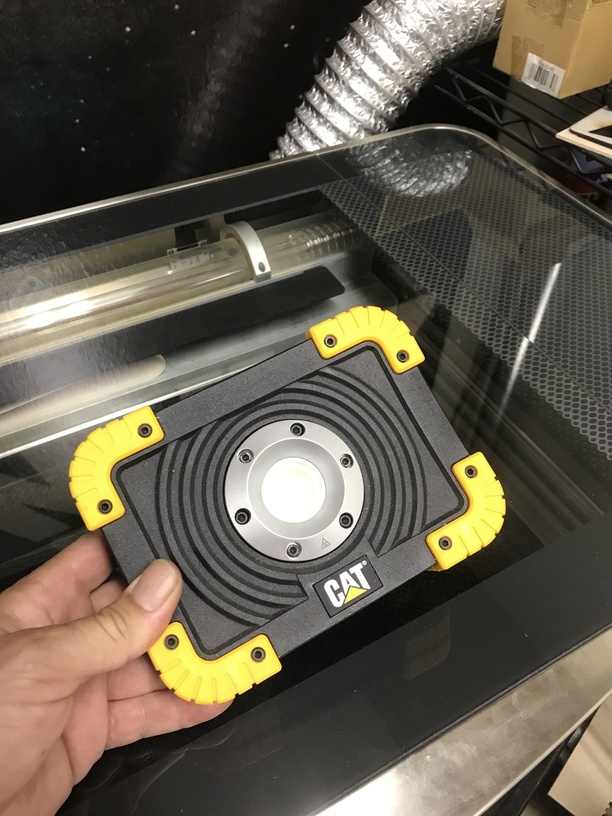
you are lucky it only happened on straight lines. Those are super easy to just finish cutting with an hobby knife. It’s much more difficult to finish by hand when the glue-filled voids fall under a complex curve. Happens often enough for me that I keep an led floodlight nearby to inspect my amazon BB ply boards.
worklight from costco; with the kickstand folded it lays flat on it’s back.
Avoid this area for cuts, or allow for multiple passes with the laser. There may be significant charring of all cut edges if you run enough passes to get through the glue (often takes 4 or more extra passes for stubborn spots)
pro tip: turn off the lamp before removing the ply so you don’t blind yourself. it’s still really bright.
Thanks for letting us know. I’m sorry that your print didn’t come out beautifully
To cut successfully, there are three important things to check. First, your material must lie flat. This requires a clean, properly installed crumb tray and flat materials. Second, there must be no obstructions, dirt, or damage preventing the laser light from reaching your material. Third, your design must be set up properly - for example, with lines that are fully on the material and that are set to cut. Could you double check that you’ve cleaned and checked everything listed in our cut-through troubleshooter?
Once you’ve inspected and cleaned, please try another print. We included an extra piece of Proofgrade Draftboard with your materials shipment for troubleshooting. Please print the Gift of Good Measure on that Proofgrade Draftboard and let me know the result. If it doesn’t print well, please let me know the date and time of your print and send photos of the front and back of the print.
It’s been a little while since I’ve seen any replies on this thread so I’m going to close it. If you still need help with this please either start a new thread or email support@glowforge.com.