I originally posted in June I couldn’t get LaserFlex to work at all. Fortunately, my wife straightened me out (as usual). Her perspective on T-Shirt adhesives comes from the Cricut world, where one uses a cutting blade and then weeds the thing. My problem with LaserFlex was I couldn’t find a setting that would both cleanly ablate the excess material (to preclude weeding) and keep the backing intact for easy application to the shirt.
So tonight she asked me why I didn’t just weed the thing manually and let the Glowforge slice and dice with precision as it does. Eureka! What follows is what I learned about LaserFlex T-Shirt transfers today. This is not an endorsement of this particular product, just a lessons learned.
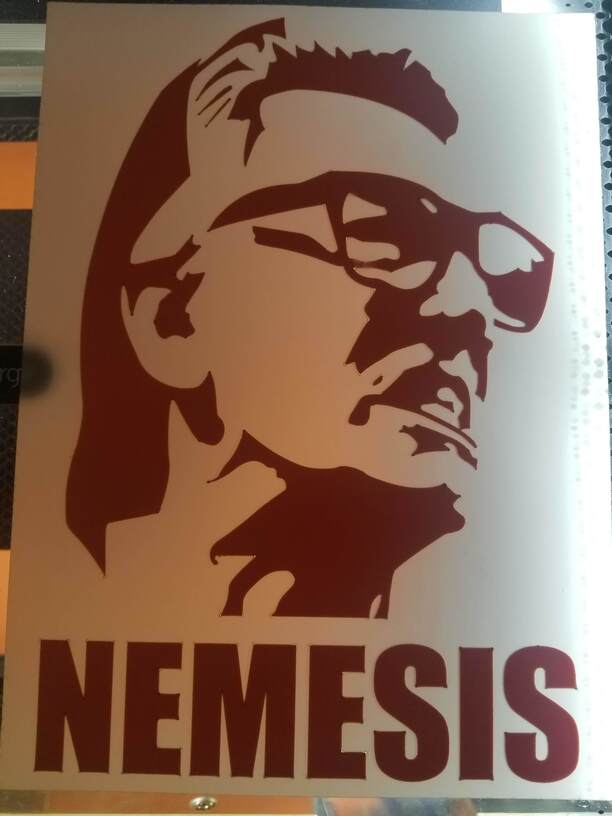
In Inkscape, I set a thin stroke on the object I wanted to transfer to the shirt, then turned off the fill, and of course flipped it horizontally. LaserFlex is cut with the “transfer material” up and the backing down. Then I set the GF to “cut” the image. The manual settings I used for this one were 500 zooms and 30 pews. It cleanly blew through the transfer material but not the backing, and did it very quickly being just an outline. It weeded exceedingly easily and quickly, but it was all manual, just like if you’re using a Cricut.
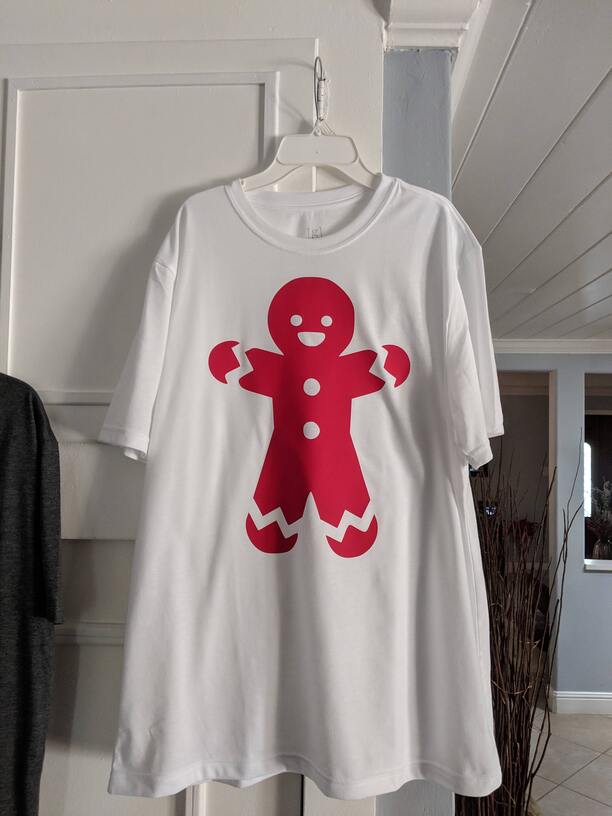
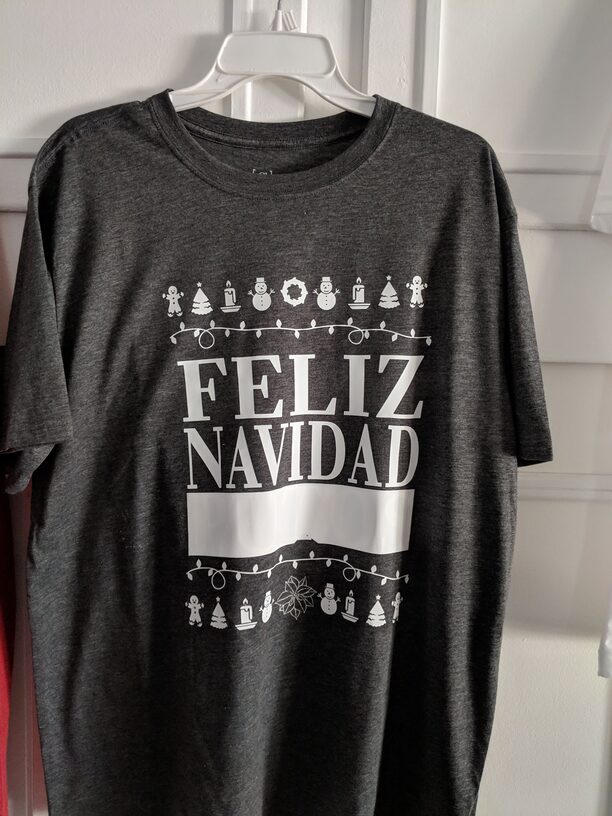
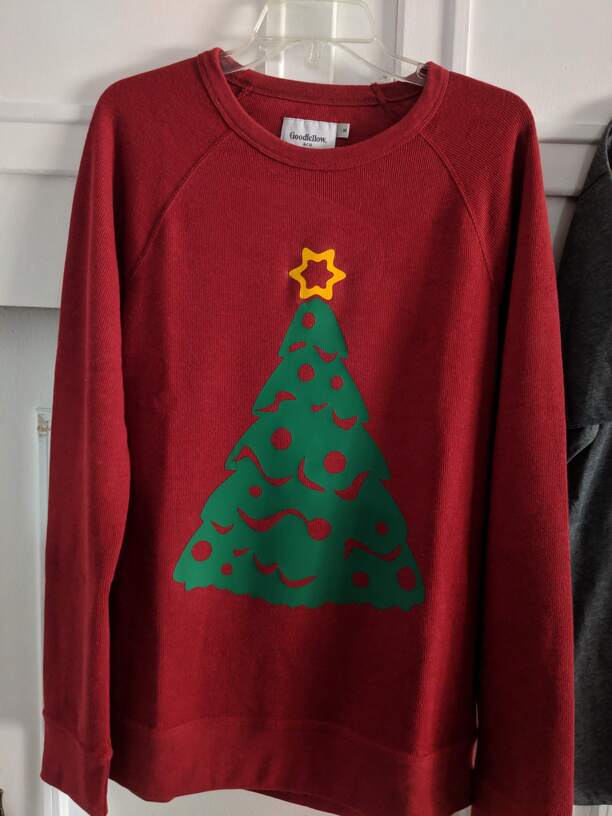
These images show it flipped so the transfer material is down as it would go on the shirt, and the backing is up.
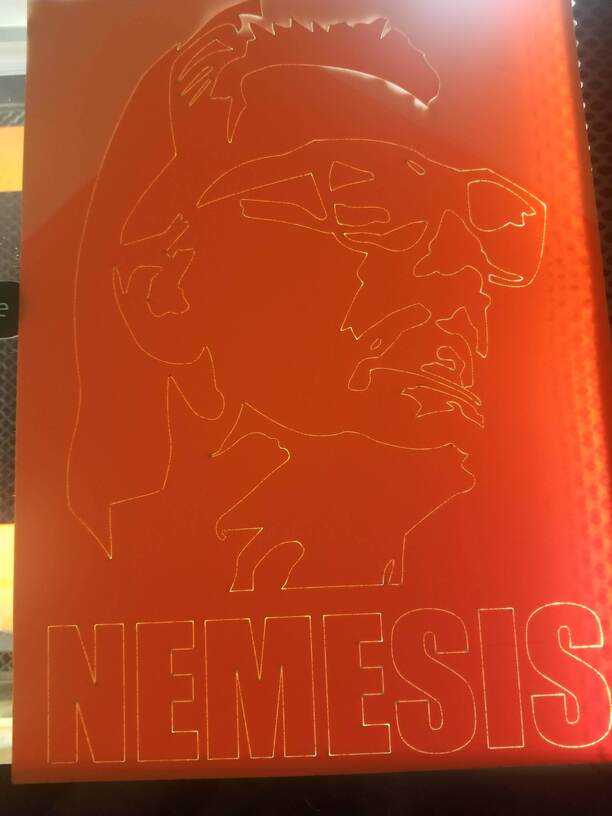
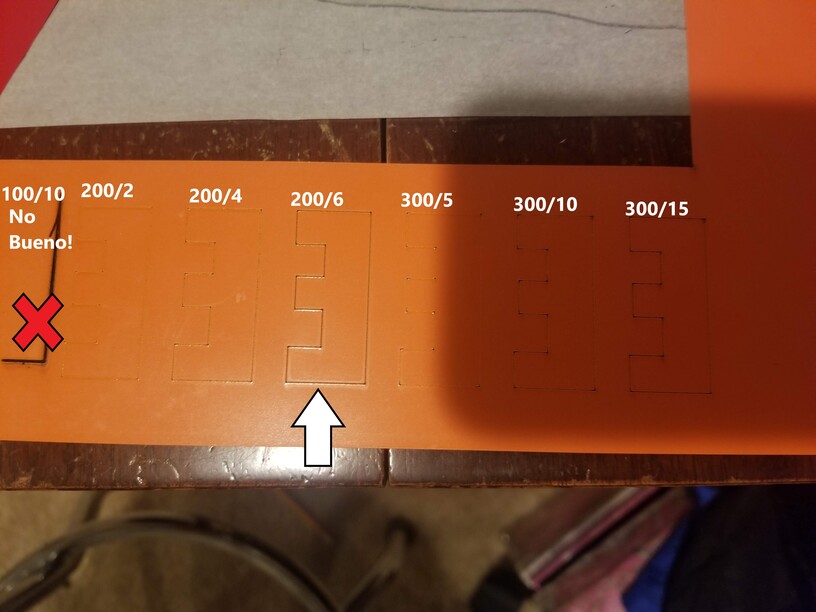
The big issue I noticed is that at 500 zooms, the GF is putting more power than I wanted down in the corners, especially as can be seen in this closeup of an “E.” That’s blown all the way through the backing, which isn’t tragic as the burn marks are in the backing and don’t affect the transfer, but enough of it in an intricate design could cause real problems in the integrity of the backing. If the backing comes apart you lose how the pieces are indexed to one another.

Afterward, I ran another test with the idea that if I reduced both the zooms and power, it might help reduce the propensity to dump too much power in the corners and burn all the way through. I first tried 100 zooms and 10 pews, and aborted that test very quickly. The second set was far better. I still see some excess power in the corners but it’s almost never enough to make it through the backing. The best result I got was 200 zooms and 6 pews, with clean material weeding and no complete burnthrough of the backing. I’m running a Pro unit FYSA, and of course your mileage will very most definitely vary, but it’s a starting point. Best of luck everyone!