I’d been watching some interesting videos recently from Tested about how to make costume props with EVA foam (interestingly, this is one of the few cases where you’ll see vinyl in what I believe to be a safe form for lasering, you are encouraged to research and draw your own conclusions here ;)). It looked pretty cool so I went to Evil Ted’s site and bought the pattern for the basic helmet to try it out. There are a few free ones out there as well if you look around. It was a PDF file so I opened it in Illustrator and modified it for laser. This was basically just some scaling calculations and removing the tick marks. I basically made two versions of the pattern in different colors so I could turn them on and off when I wanted to print one or the other. One was the version without tick marks and one was with. The tick marks are for making registration marks on the material so you know where to line things up.
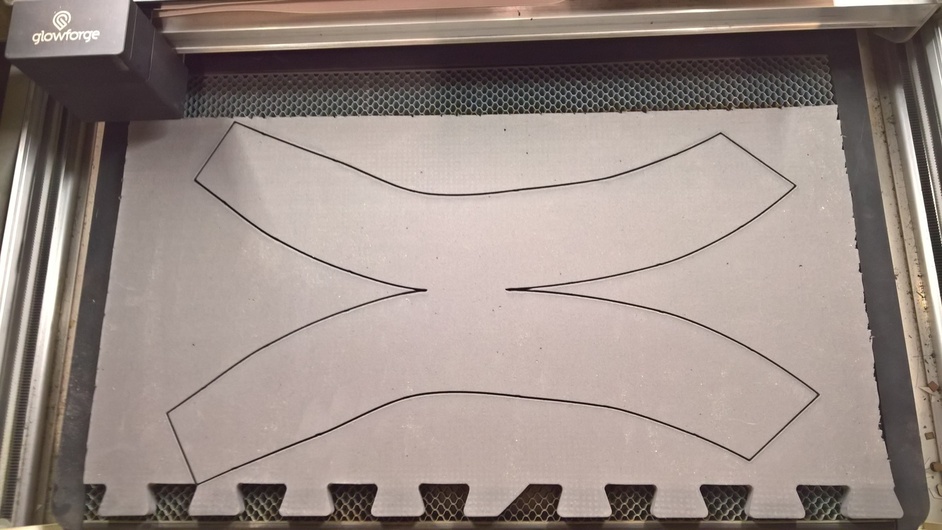
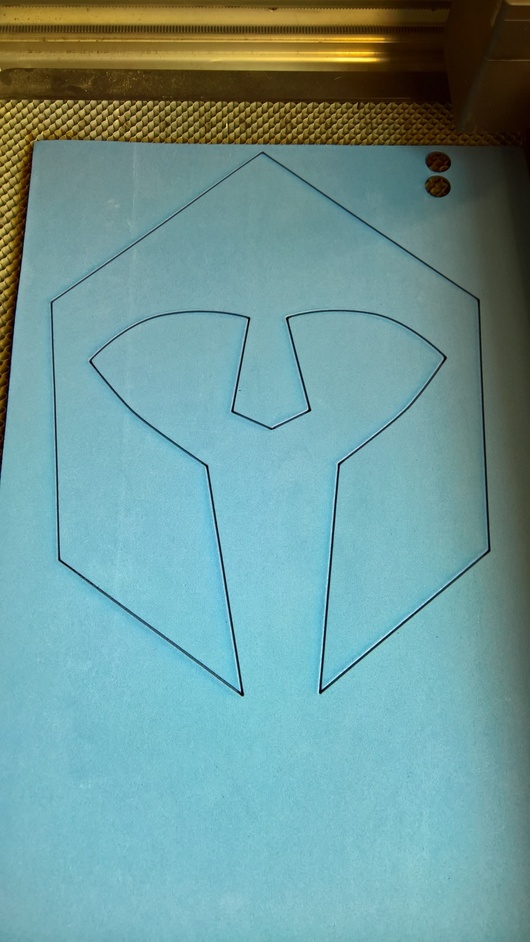
Next up was to load some 1/2" EVA foam in the form of a trimmed down Harbor Freight anti-fatigue floor mat tile. After some experimentation I found that doing a couple of passes at high speed and low power worked well. Going slow tended to end up with wide kerf lines as it was heated and receded from the cut. I cut the pieces out of the foam.
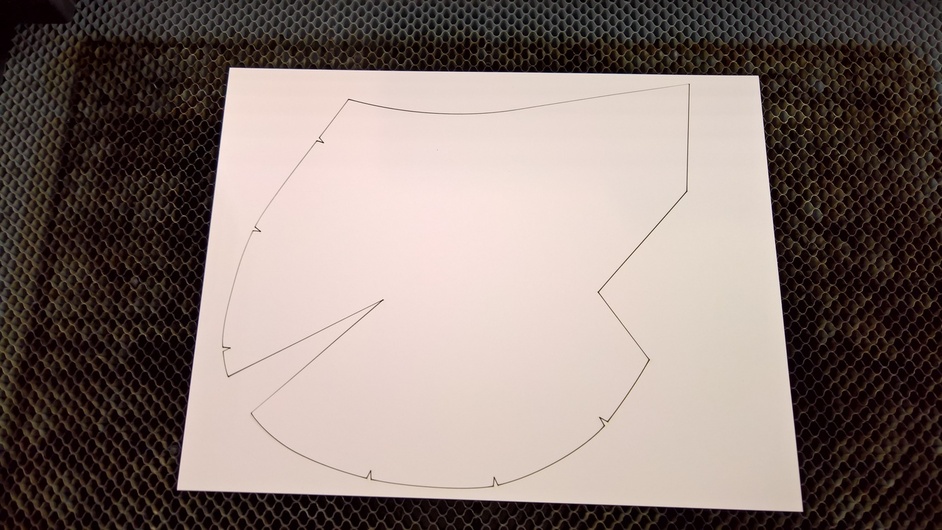
Then I used some card stock to cut out the templates for the registration marks.
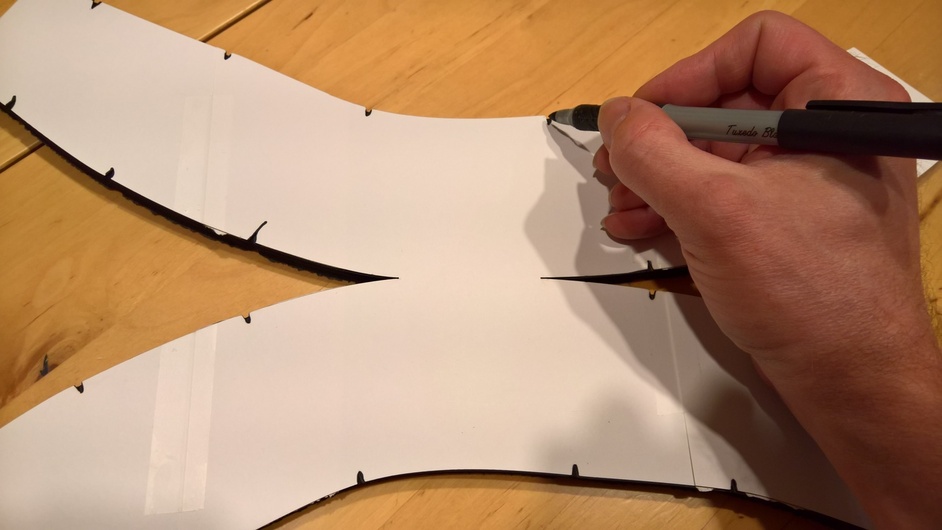
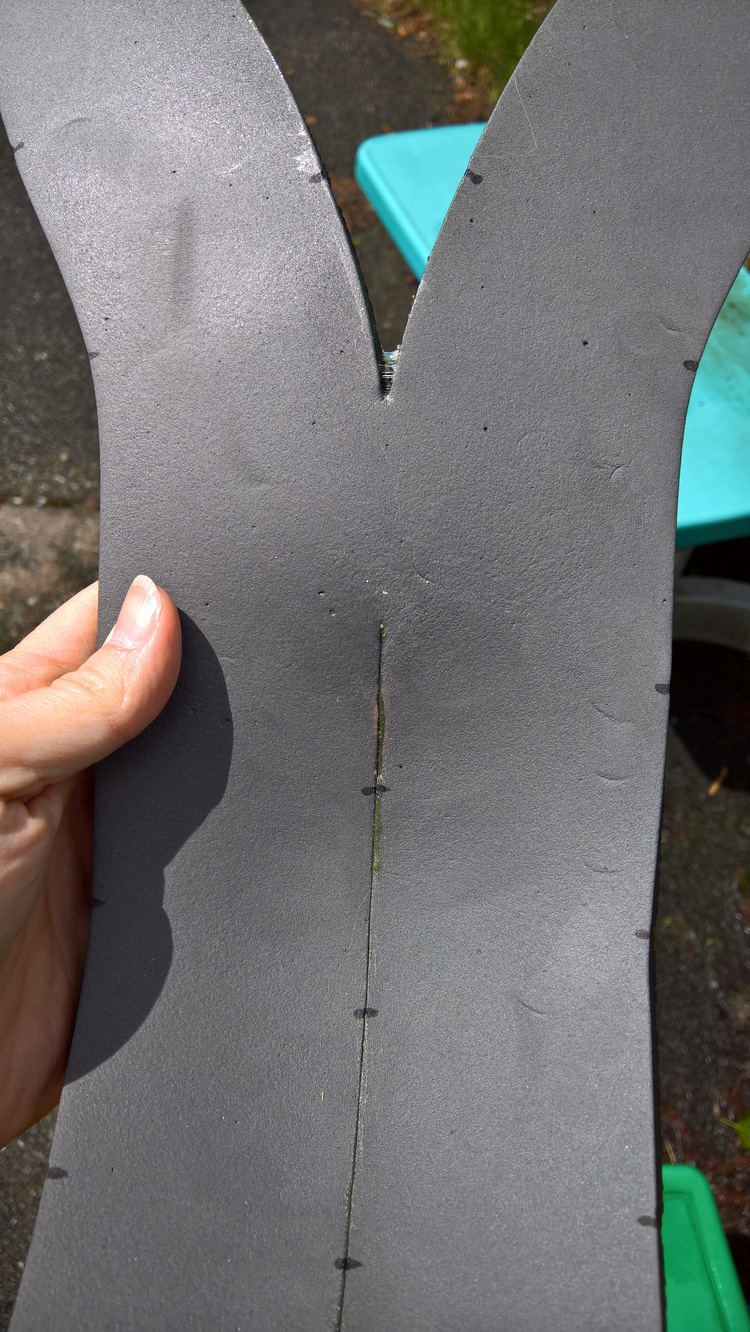
I used the card stock templates to mark the registration points on the material.
Here are the 3 pieces and templates.

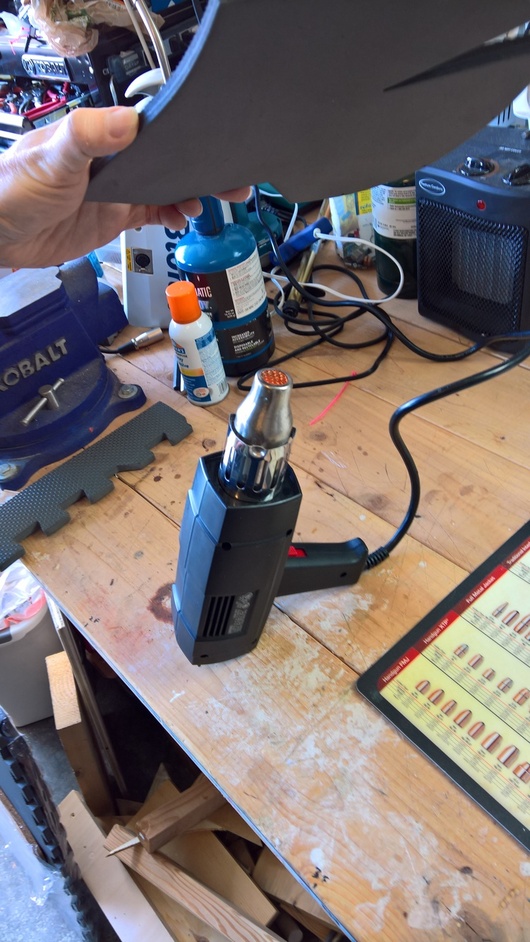
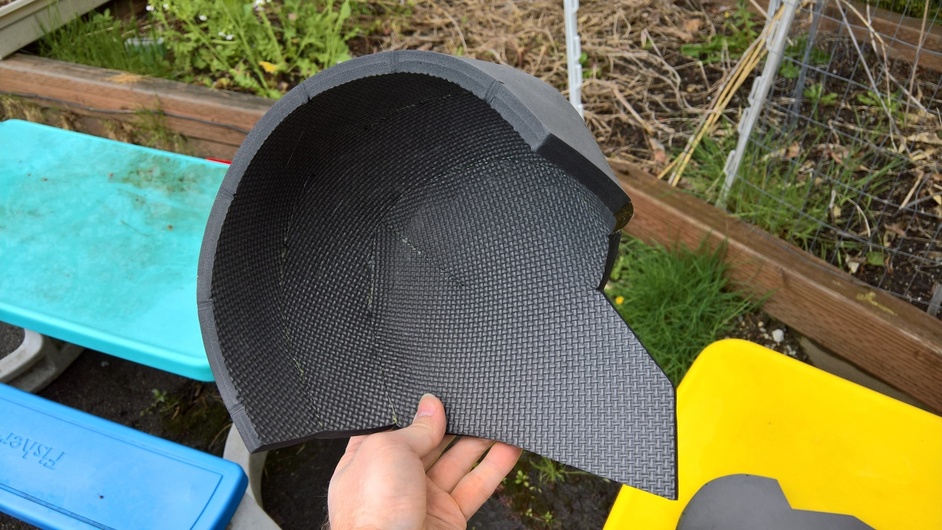
Next it was time to give the material a bit of a curve by warming it up with a heat gun and bending it with my hands.
Now I had a slight curve to my pieces.
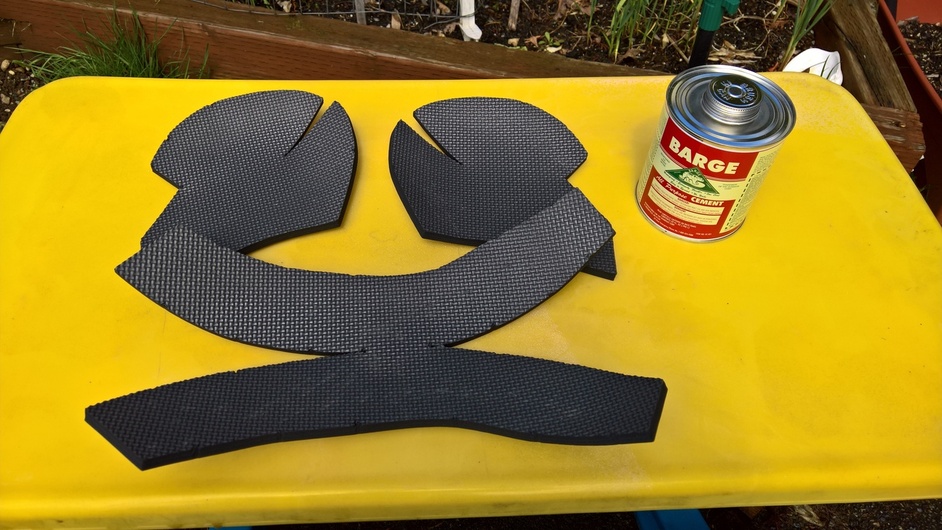
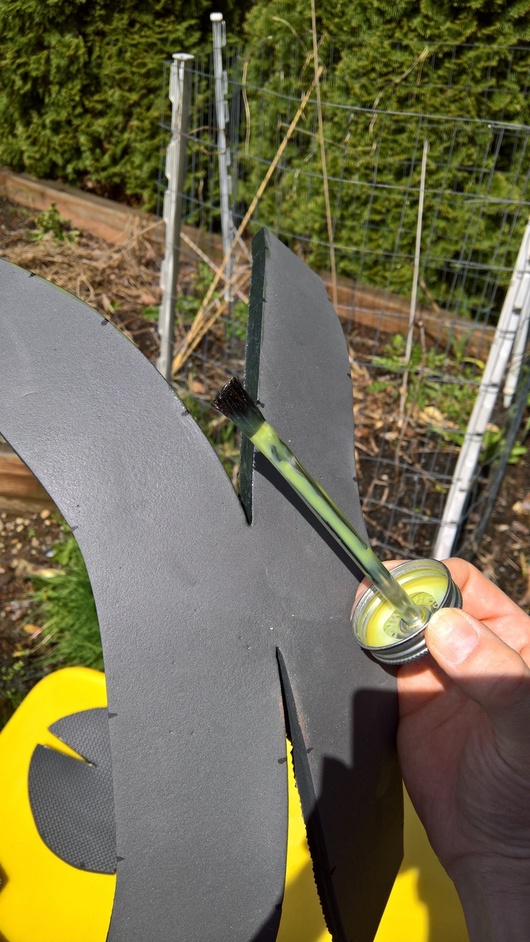
For the next stage I moved outside with the contact cement. It’s pretty stinky and I’m sure it isn’t good for me in a closed room
almost done…
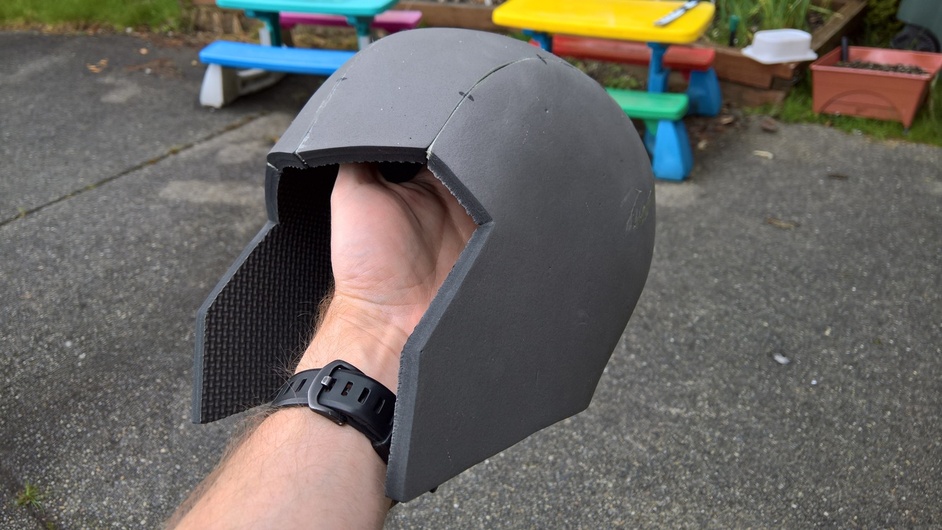
finally a fully formed Helmet!
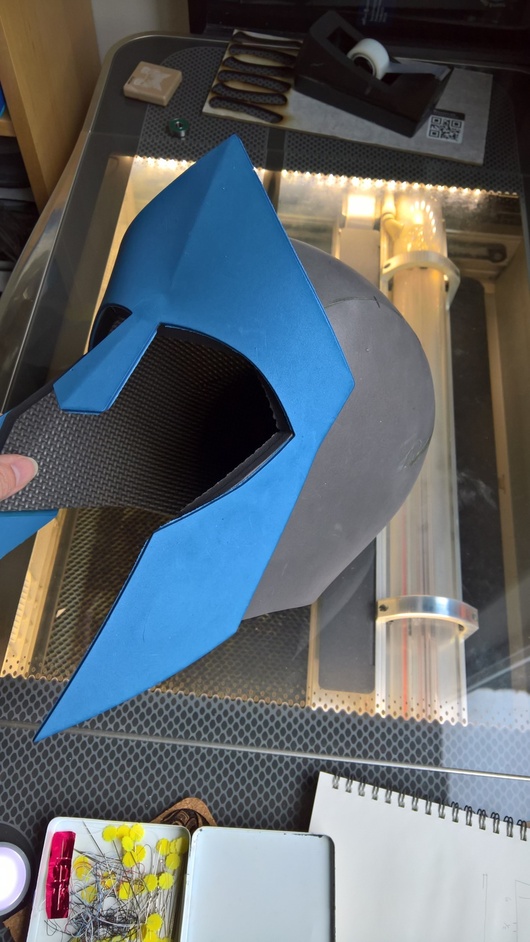
I couldn’t just leave it at that though. I had to try and customize it a bit. I decided it would lend itself well to a Spartan helm so I cut a face plate out of thinner EVA craft foam. Again, fast and light cut did well, only needed a single pass.
Add a bit more contact cement and place it onto the helmet.
Overall a fun experiment and has me thinking of ideas for Halloween
This material and process should work well for all sorts of costume bits and props as well.
 :
: