In this thread I explained my process for turning a street map from SnazzyMaps into a single-layer outline to be cut or etched.
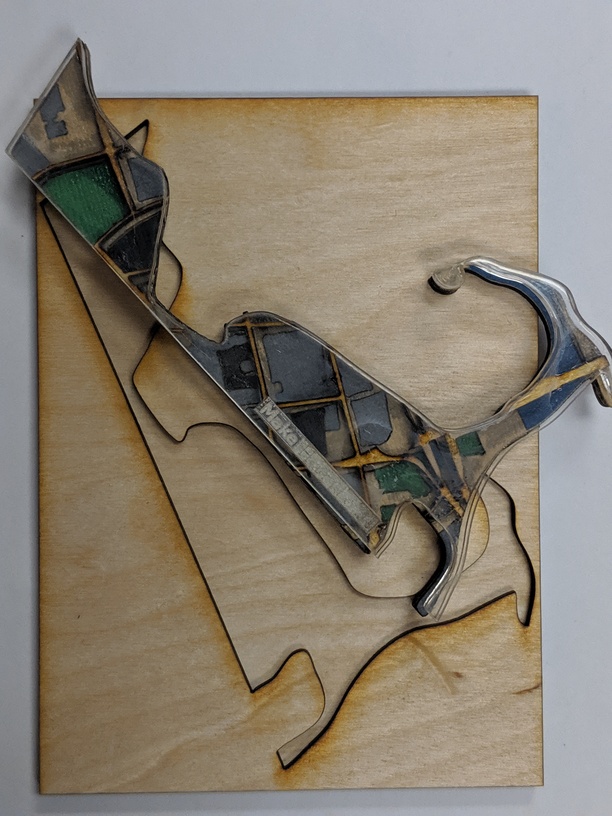
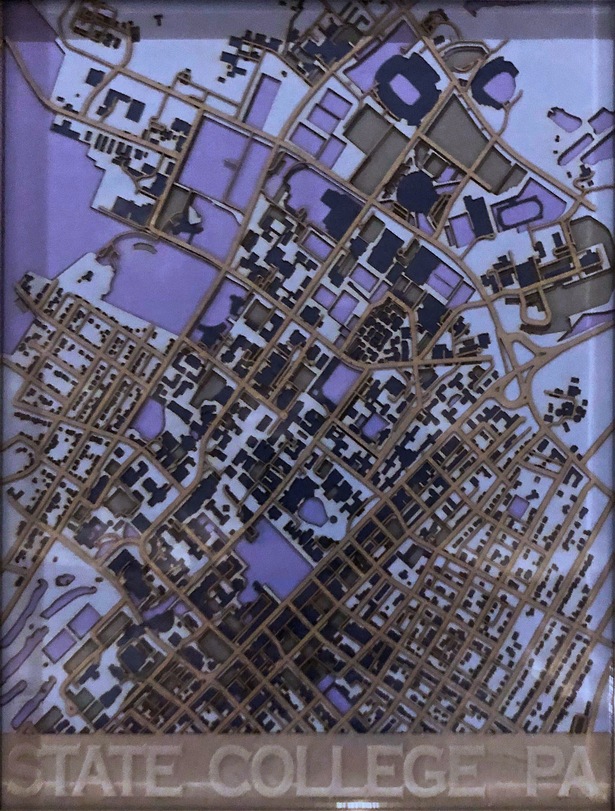
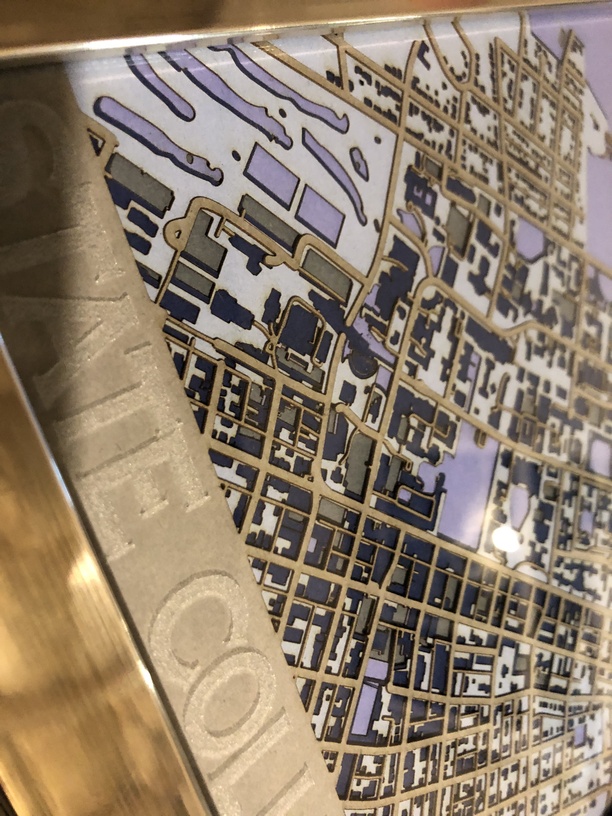
Here, I will detail my process to get something like this:
Materials:
- Multiple options. Image above is primarily blue and neutral cardstock layers.
- 11"x14" float frames from Michaels. The glass etched nicely using settings found in “Beyond the Manual” section.
Time:
- Design: 30-120+ minutes per map, depending on detail (and skill).
- Laser: 2-60+ minutes per layer, depending on detail
Steps:
-
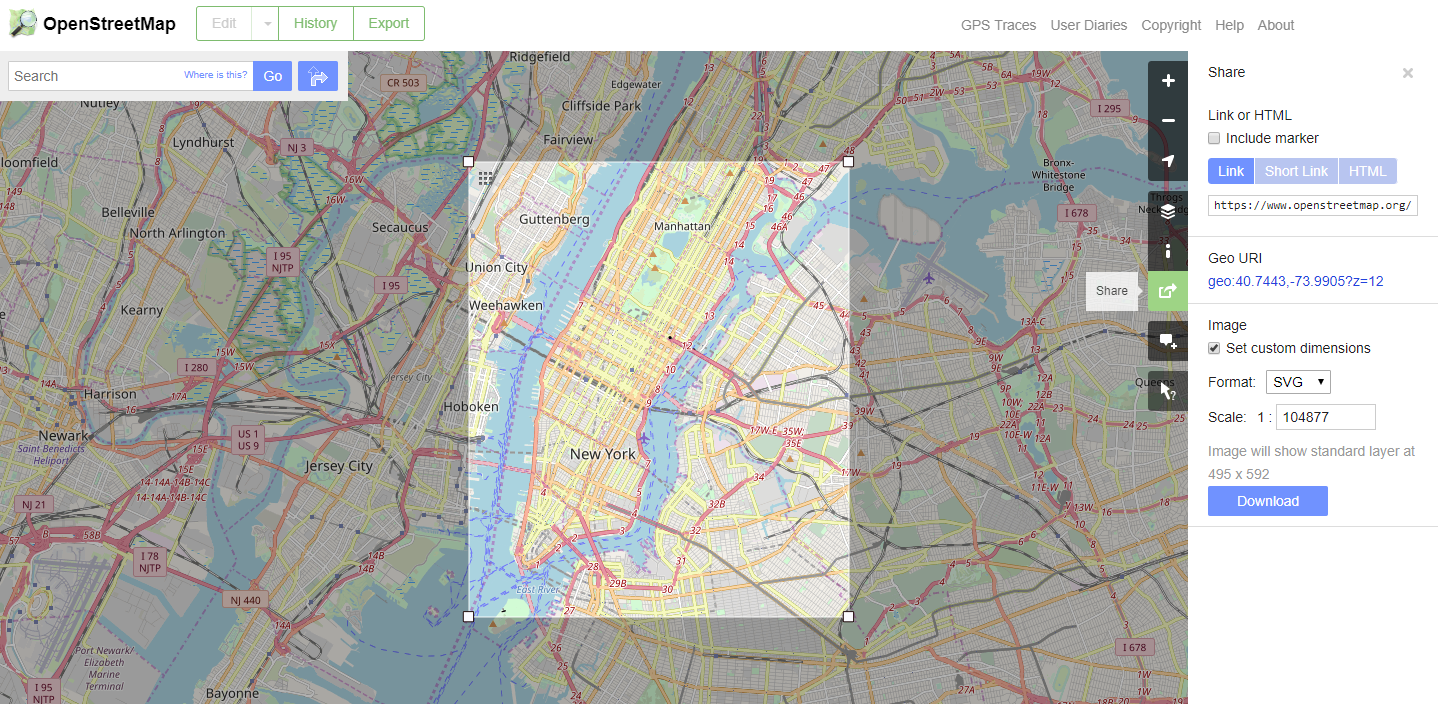
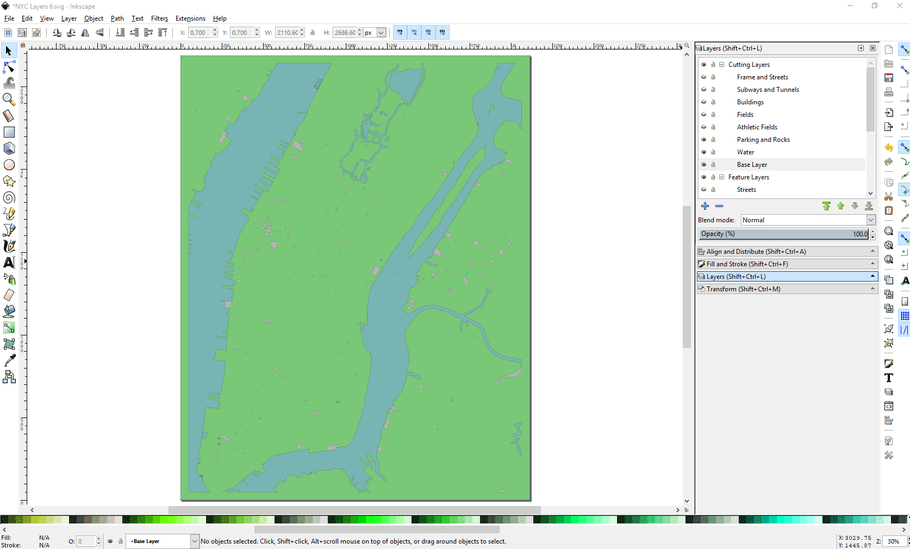
Locate your area of choice in OpenStreetMaps (OSM). I am choosing New York City, because I think it will offer the most robust example.
-
Click the “Share” icon, select “Set custom dimensions” and SVG format.
-
If you want finer detail, you will have to zoom in and select while scrolling. I wanted every building in Manhattan, so I zoomed accordingly. Select your area and download.
-
Save whatever you are working on! My computer cannot handle this step consistently and I do not want you to lose work! Save early, save often.
-
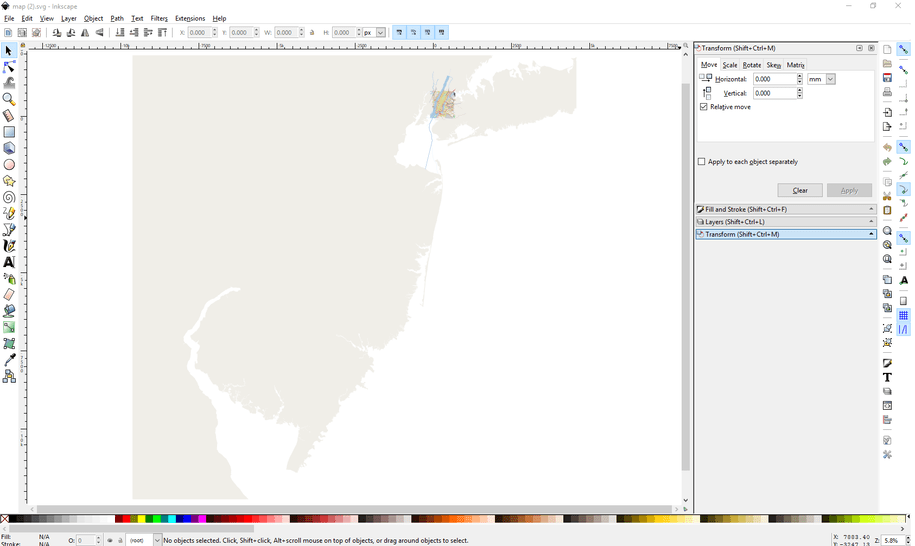
Open the map you just downloaded in Inkscape. This may take a while.
-
Your map is probably HUGE. For example, I selected Manhattan and was given the entire state of NJ due to overlapping layers in OSM.
-
Ungroup everything. CTRL+A, then CTRL+SHIFT+G many times. In total, I had 146696 objects. This may take a while. For my map of NYC, I literally let it run overnight.
-
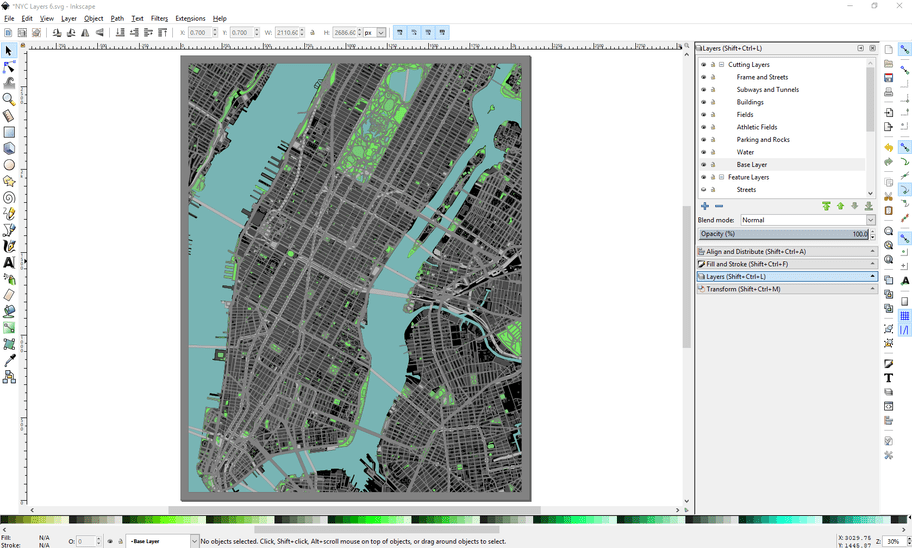
Create “Feature Layers”(CTRL+SHIFT+L). I plan to keep Text Labels, Streets/Paths, Buildings, Water, Athletic Fields, Parks, and “Junk”. Make a layer for each. You can easily incorporate more. Even if you don’t plan to use them in this map, it is nice to have features separated if you decide to return to the file with a different focus.
-
Select items and move them to their respective layer. It is helpful to use the right click → “Select Same” -->“Stroke and Fill” to instantly select all items of a particular type. Buildings with different zoning (stores, hospitals, municipal, religious) as well as streets of different volume (highway, unpaved, walkway) may have different fill/stroke, so it may take a while to move all of the objects to the appropriate layer. This is the most time consuming portion of the project.
-
After you sort enough objects, the junk you do not need will become more obvious. Move these to the “Junk” layer, and keep this layer hidden. After making several maps, I prefer keeping these random objects in case I’d like to use them later without starting over from scratch. When all was said and done, I had almost 16000 random objects, most of which were empty stroke/fill anyway and did not contribute to the map.
-
Everything should now be either erased or placed in a layer containing all objects of a similar type.

===================Take a rest. You deserve it.===================
- Create another set of “Cutting Layers.” These will be what literally gets cut into each layer of material. I choose to name them as:
- Frame and Streets
- Subways and Tunnels
- Buildings
- Fields
and so on…
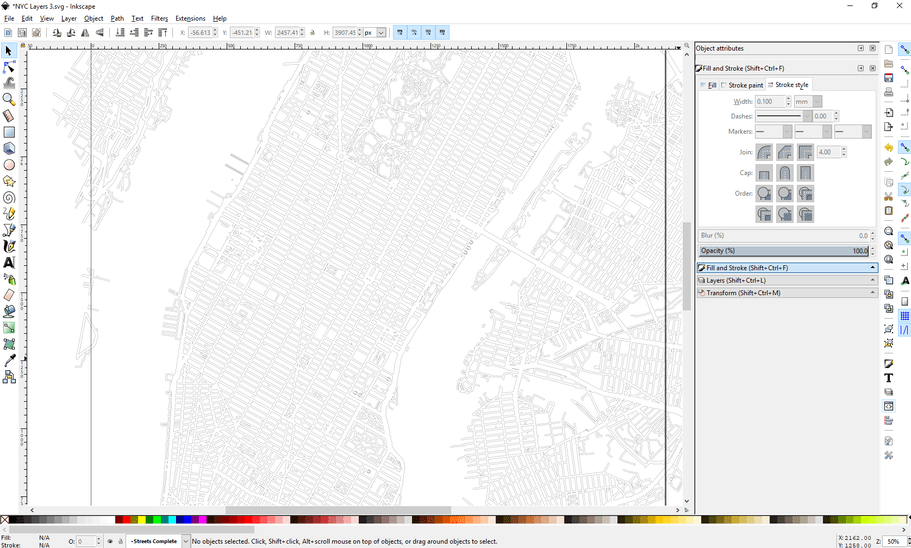
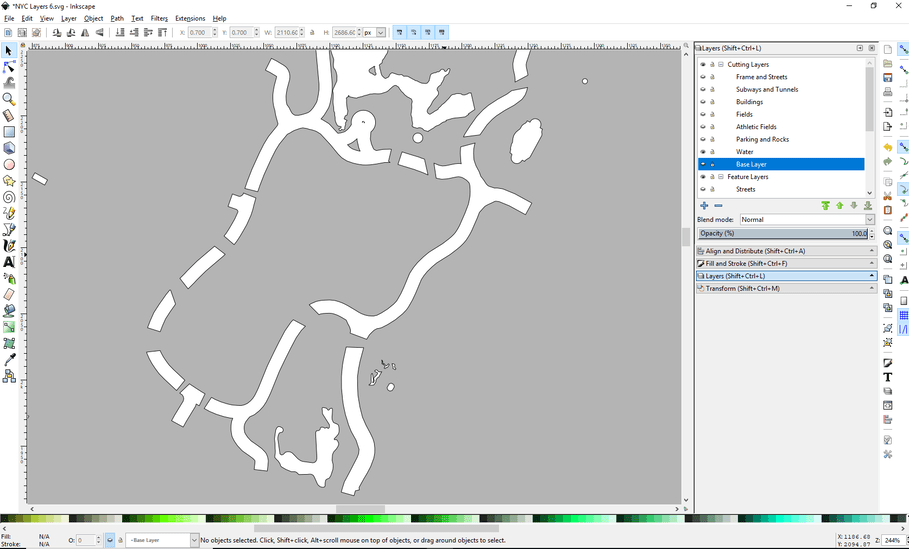
- Copy everything in your Streets Feature Layer to your Streets Cutting Layer. Do a little cleanup to make sure things look roughly the way you want them to cut. Select all (CTRL+A) and use Path–>“Object to Path.” Select all again, and set the stroke and fill (CTRL+F) so that the stroke is a thin line and the fill is empty. You should see this:
- CTRL A, then CTRL+“+”. This will combine all the streets into a single path. You should see this:
- Perform similar boolean operations for your other layers. You should now have a wireframe outline of each set of objects you want in your map. Hide them all.

==============Take another rest. You’ll need brainpower for this.==============
-
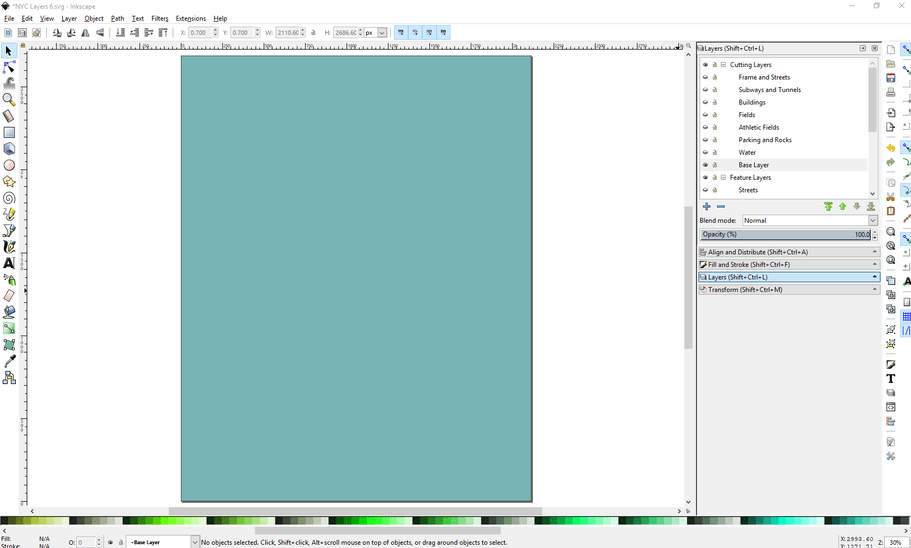
Your cutting layers will start from the bottom and work their way up. For each layer, start with a full sheet of “material” and subtract whatever would be “above” that layer.
-
To do this, duplicate (CTRL+D) the features from the applicable feature layers, and use boolean operations as necessary to add/subtract material.
My example, with each color representing a layer:
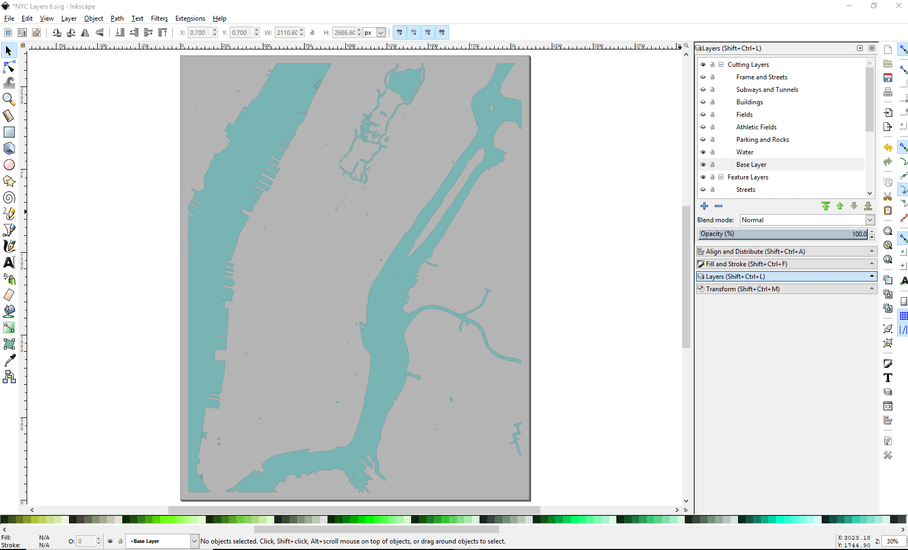

Be wary of closed paths - when you cut them out, the area inside will not be attached. The connecting streams in Central Park were a good example - to fix this I connected the land encircled by streams by “adding” the bridges back in manually:
When all is said and done, you will (hopefully) have a phenomenally detailed map that is ready to be cut many times! The file was too large to upload here, but this should work: