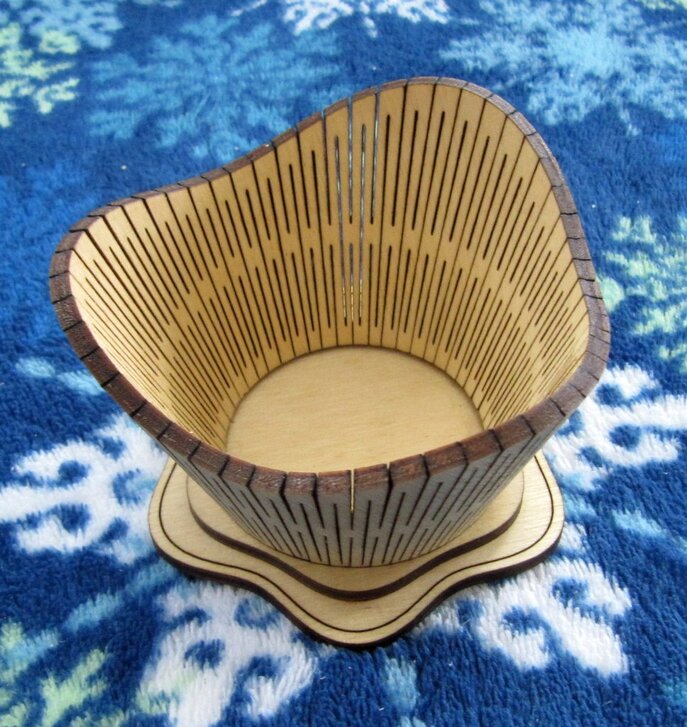
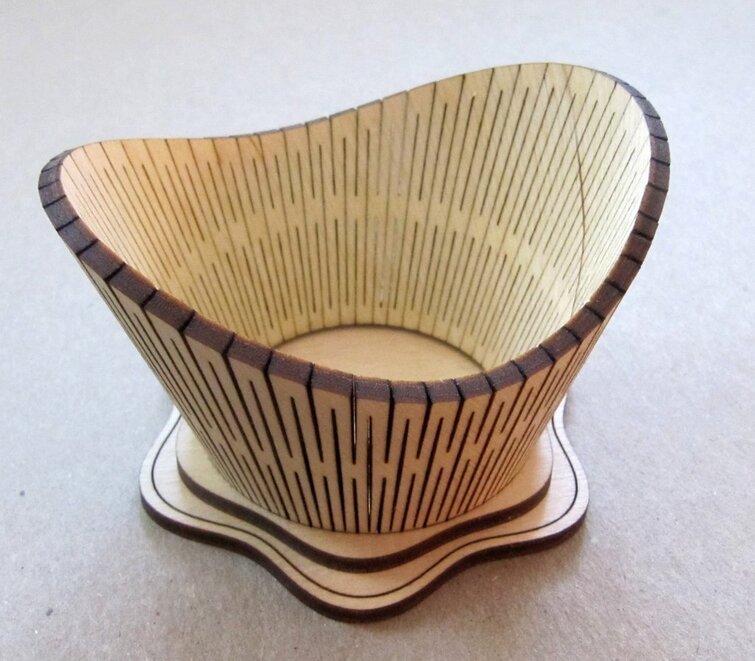
These leaky cup prototypes use Inkscape’s Living Hinge Extension for generating the basic flex cut patterns, which cause the leaks. One circle above another is only cup geometry that I have solved with an analytic solution so far.
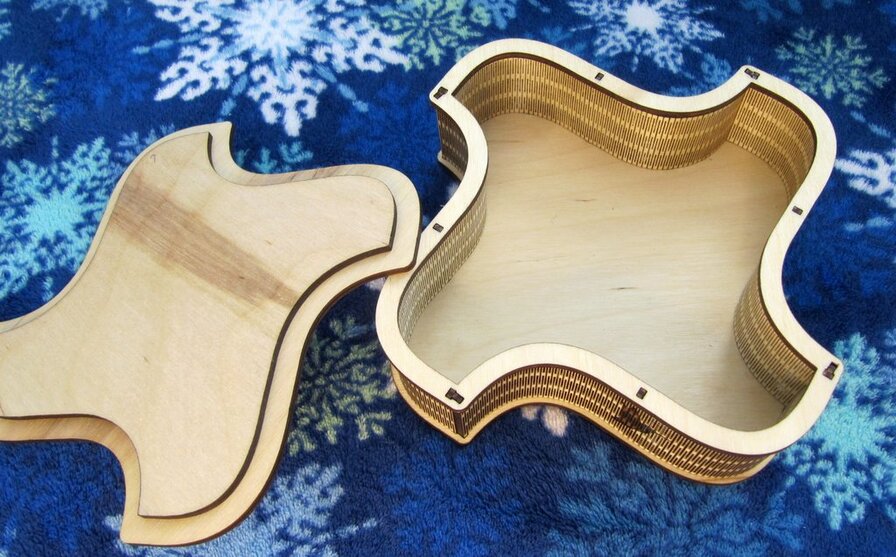
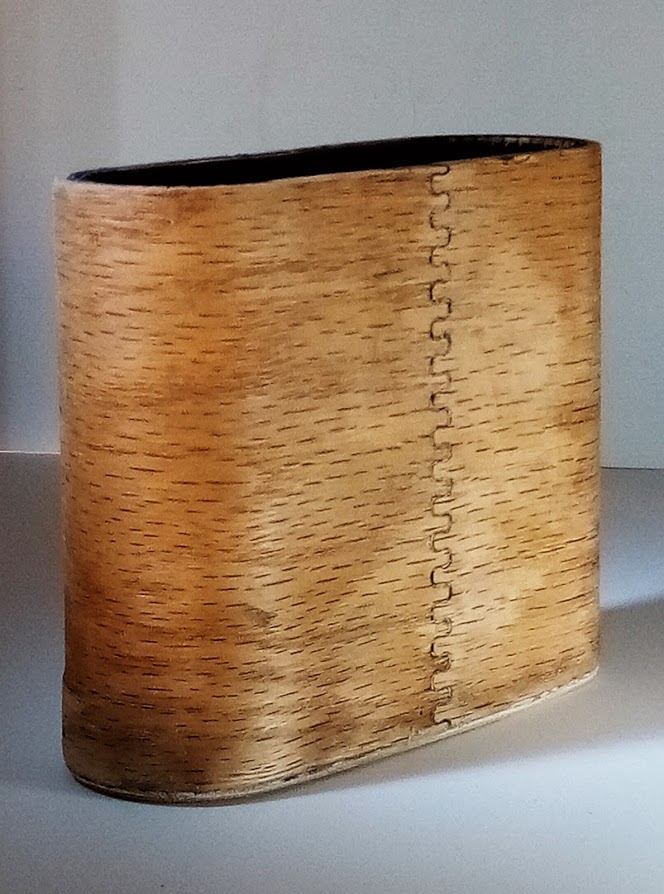
The flex wall length was limited to about 19 inches. Here fingers were used on straight sections between curved portions of the wall to constrain the flex to the frame shape. The curves are natural, unconstrained shapes.
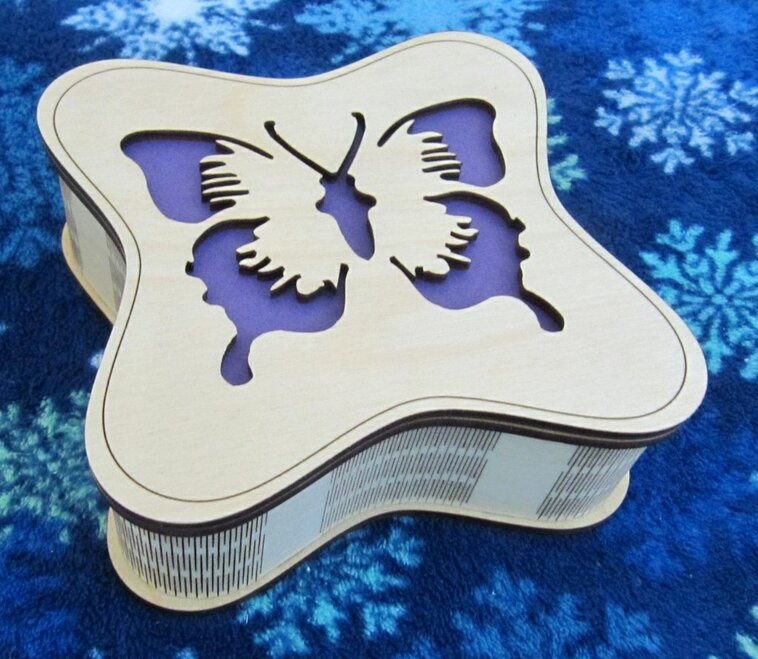
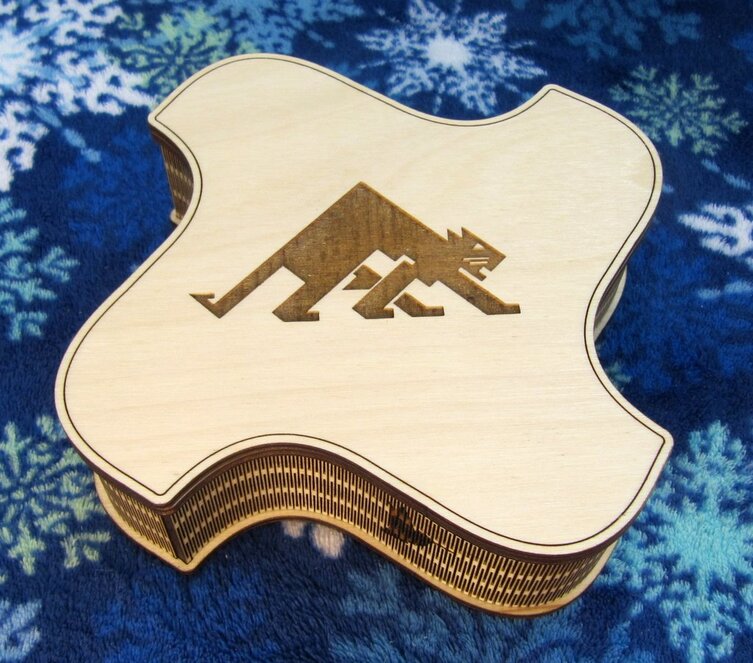
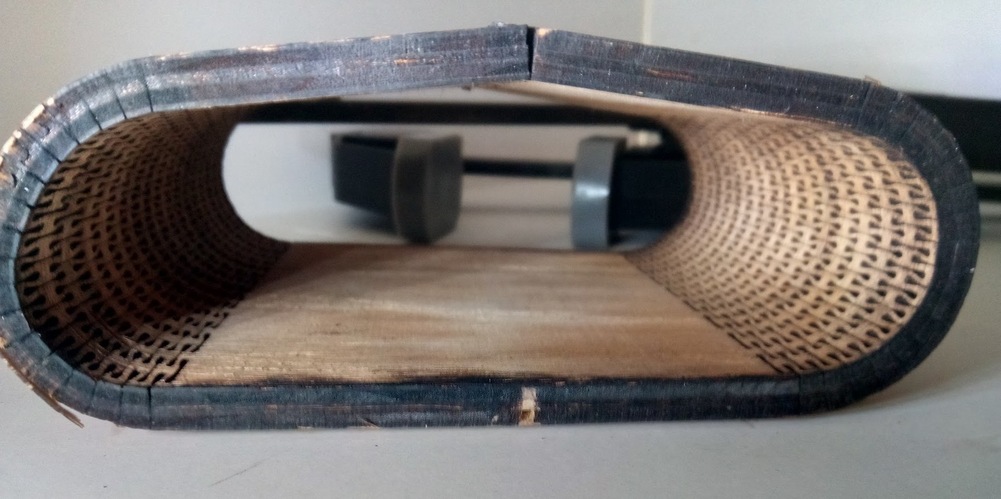
This last prototype box used fingers with widths of a single unit cell of the flex wall. Four wall sections were used to form the sine-wave pattern. An engrave was tried on the flex wall and that did not cause breaking of the flex. So more complex engraves probably could be used.
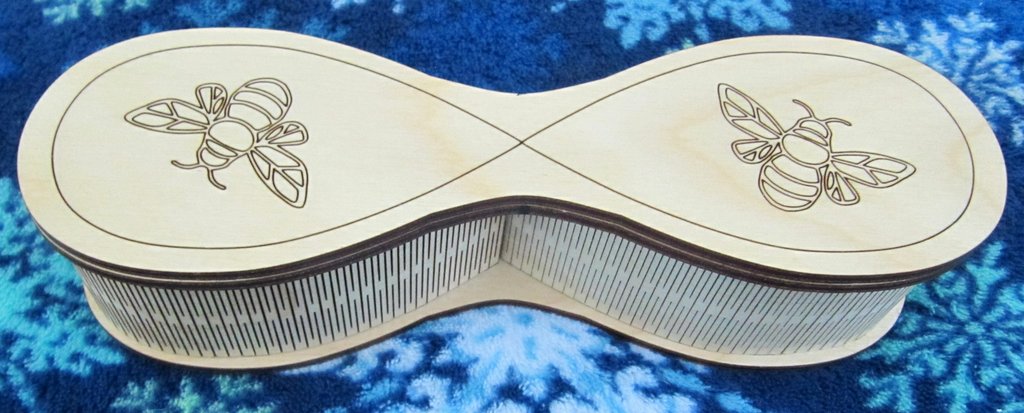
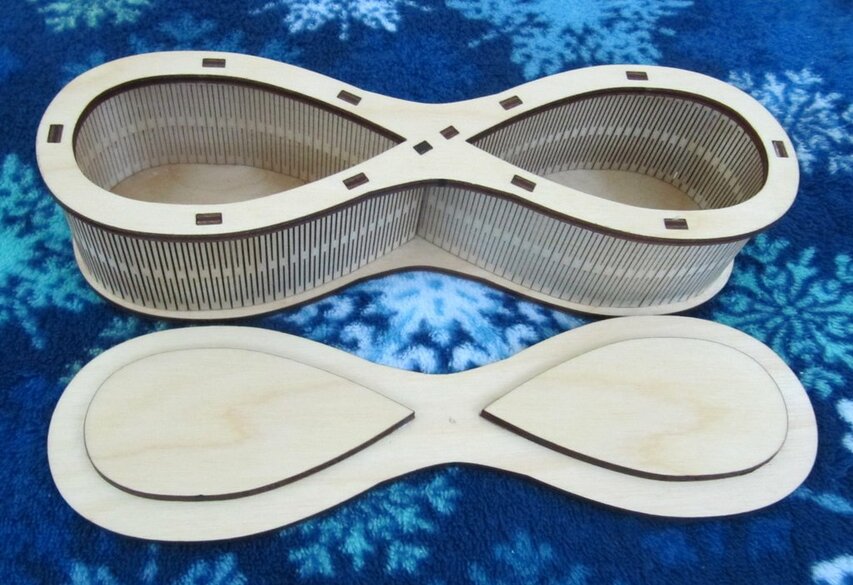
Infinity Box
43 Likes
I love these shapes!
2 Likes
Definitely going to have to look into the extension one of these days…I’m still calculating them mathematically. (And that looks a heck of a lot better.) 
Great designs!
3 Likes
I’m In Love!!
2 Likes
Thanks for sharing . These are great.
3 Likes
An Inkscape Extension, Measure Path, was used to obtain the curved path length along the design to know how long to make the flex wall sections. This extension also calculates Center Of Mass, and Area using Green’s Theorem.
3 Likes
That cup is incredible. Could it be done in acrylic?
I have an idea–if it is done in acrylic then you can use the cup for food. A dinner party and the first course served is a cup of fruit. Strawberries, grapes, little spheres of watermelon.
3 Likes
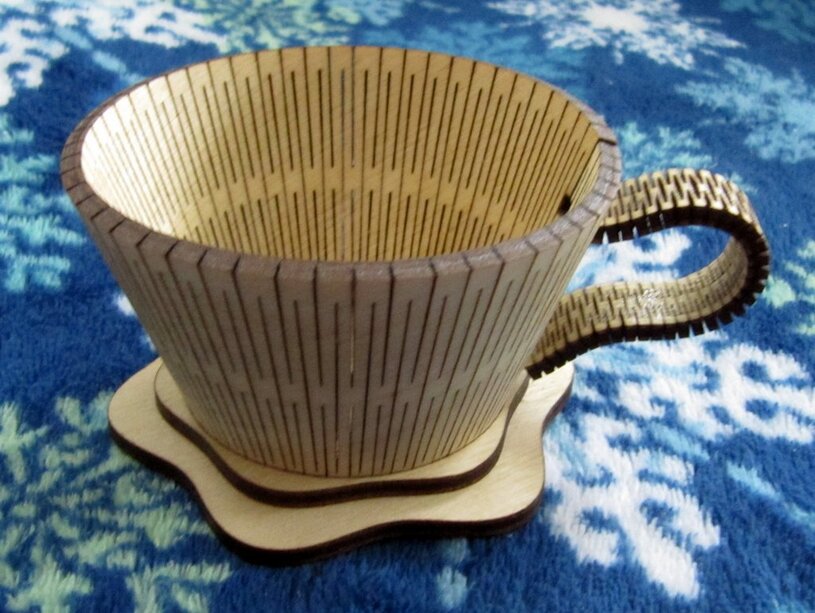
The handle might be a problem. It took 3 tries to get one that did not break. I gave up trying to get more S-shaping at the top of the handle. But with acrylic you could use heat to bend it even without flex cuts. So … Good Idea!
1 Like
Jules, maybe you are referring to the fan-shaped cut lines. Living Hinge Extension only seems to work for a rectangular Object (not a Path). I used Pattern along Path Extension to get the fan shape using a circular arc for the Path with the rectangular cut-line pattern
A second method to generate these cut lines is to draw straight lines for a unit cell of the cut-line pattern. Then use that path with Pattern along Path with the circular arc path.
1 Like
Chuckle! It’s still easier…I was designing using this:
“2πr is the circumference of a circle, so half of that gives you the length of the living hinge necessary to make it around a semi-circle”.
Then add a little for “ease” and away you go. 
Ooooo, neat!
Nice going there with exploring the living hinges!
1 Like
Living hinge is awesome. Your designs are really great!
2 Likes
Very cool stuff!
You can make the cup less leaky by engraving the pattern 3/4 or more the way through. If you calculate the length outside minus the length inside divided by the number of cuts you will have the minimum width of those cuts. a clear epoxy to seal and bond the inside and you could have a non-leaky cut 
or you could just use it ad a holder for a paper cup. 
1 Like
Haven’t ever tried making wood flexible by deep engraving the slits instead of cutting. Nice idea.
I wonder how uniform the engrave depth is using plywood, i.e. Baltic birch?
Some time ago I used a deep engrave with a LED for back-lighting the show-through engrave pattern.
Maybe for flexible wood the engrave should be on the outside surface of the cup rather than on the inside surface of the cup?
Do you sell your files? These would be wonderful to encompass flower arrangements.
No file selling here. But I’d be happy to put them on the Glowforge Free Site, if I could figure out how to do that. The cups are small, about three inch diameter at top and two inches at bottom. Might need to be made larger for flower holding.
1 Like