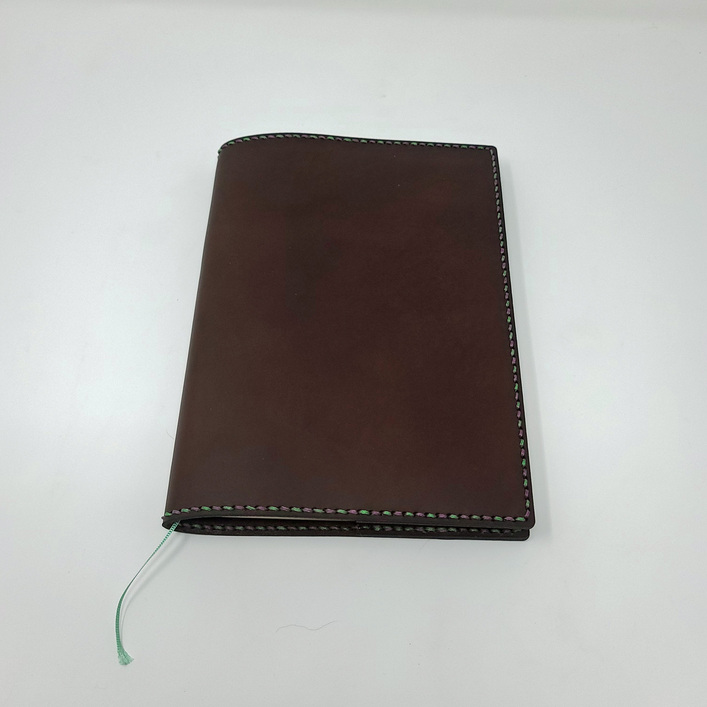
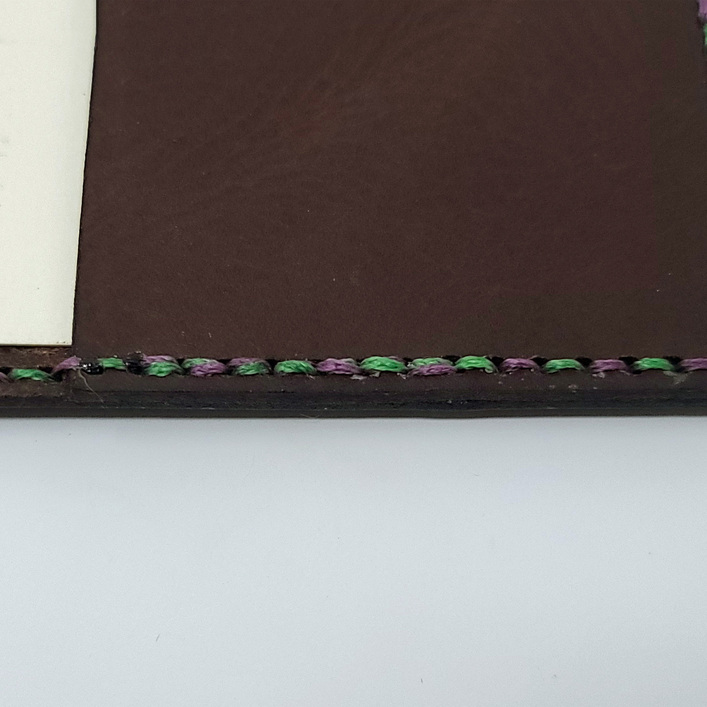
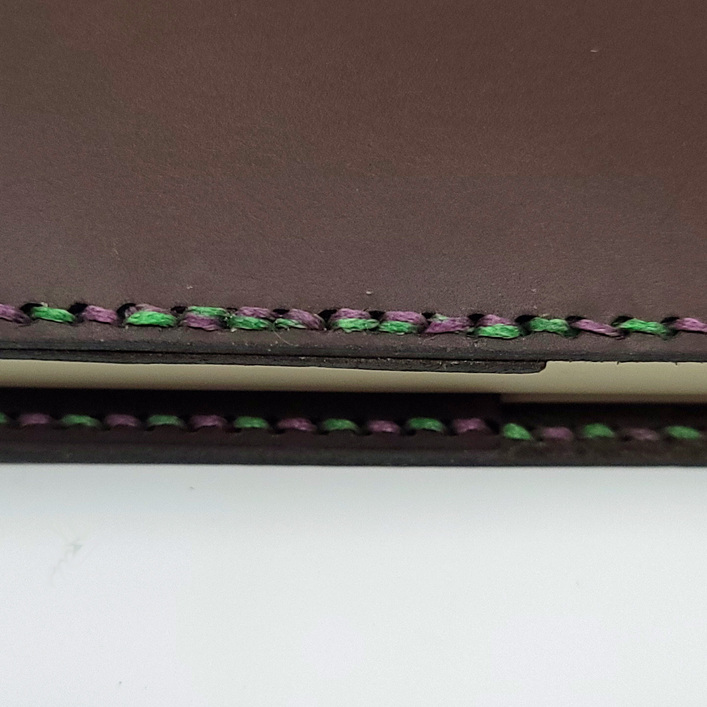
Yeah, I used @emilycarolinemiller1 's leather stitch holes here Leather Stitch Holes SVG settings. I took one of the holes and then told Inkscape to arrange it along a path. I’ll give more details if anyone needs help (just lemme know).
I surprisingly did not have any issues with char this time (although I’ve had extensive char marks on the stitching in previous projects). I think there’s a combination of things at play here.
I cut about an extra 50% thread. This meant that about 1/3 of the overall thread wasn’t used. The part that isn’t used is closest to the needle and is the first thread going through the hole. I think this starter thread sort of “cleans” the hole as it goes through and leaves less char to come off on the parts of thread that are actually used.
I think the holes I used combined with the method I used to keep consistent stitching helped minimize contact with the hole while the thread passed through it. What I mean is that the holes are diamond shaped and I pulled the thread that was already in the hole to one of the corners. This kind of “guards” that corner from being touched and prevents that char from coming off on visible parts of the thread.
The color of threading I used doesn’t show the char as bad some previous ones I’ve used. Previously I’ve used white thread or a very bright vivid red. This green and purple are bit more muted and seem to be able to get a little dirty without showing it too bad.
This leather I used just seems like maybe it produces less charring when cut. Or maybe that’s just my imagination. But it feels like my hands didn’t get quite as dirty when working with this piece as they do sometimes.
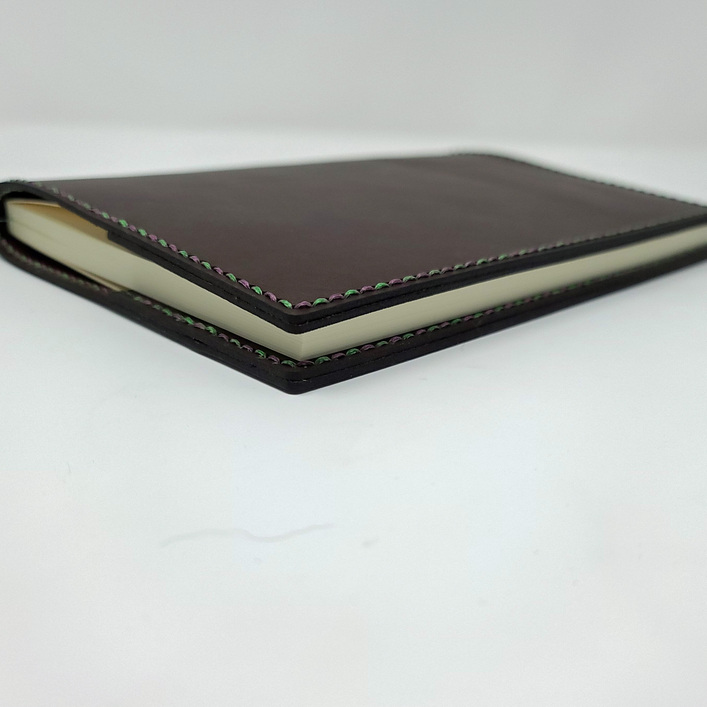
Thanks for the kind words @ryan.niemer and @jamesdhatch! I mentioned this in another thread but I’ll say it here too for any other aspiring leatherworkers. I’ve found you get much better stitch results when you consistently cross the threads the same way. I.e. you pull the thread you’re not working with towards the inside of the cover and always cross over the top of it. That way each stitch lays the same way and looks very consistent. I’m sure there are others on here that can give better advice, but there’s my 2 cents.