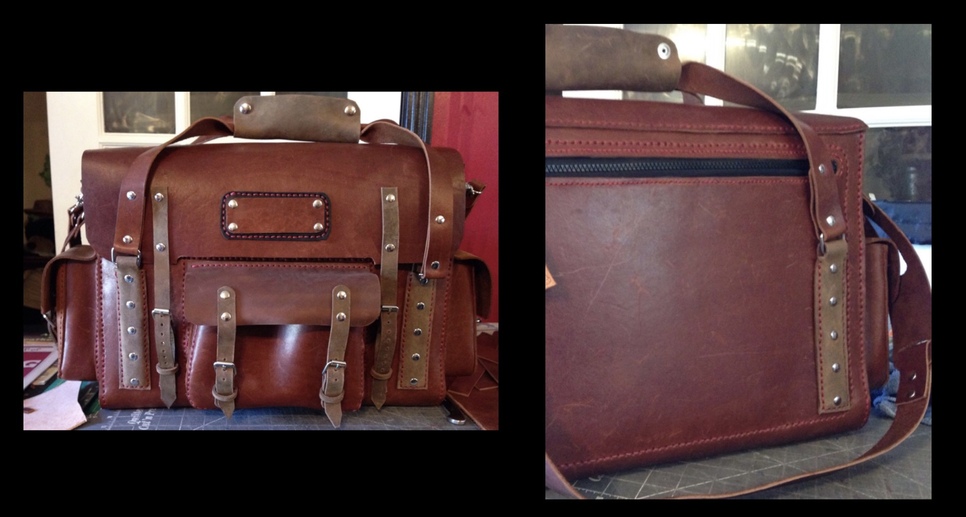
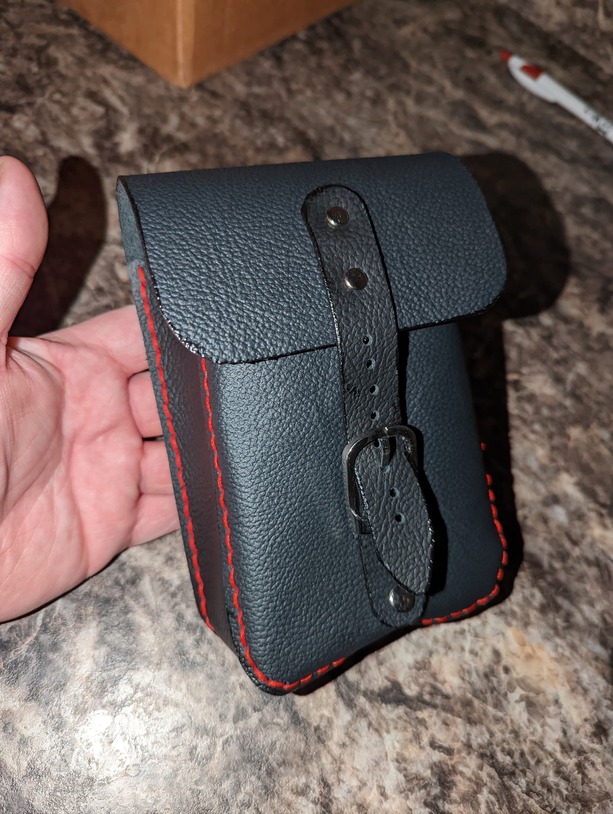
Recently I made a leather pouch for my baby neice and per passports. She was born in Thailand and through some unique family circumstances she’s both a citizen of Thailand and a US citizen.
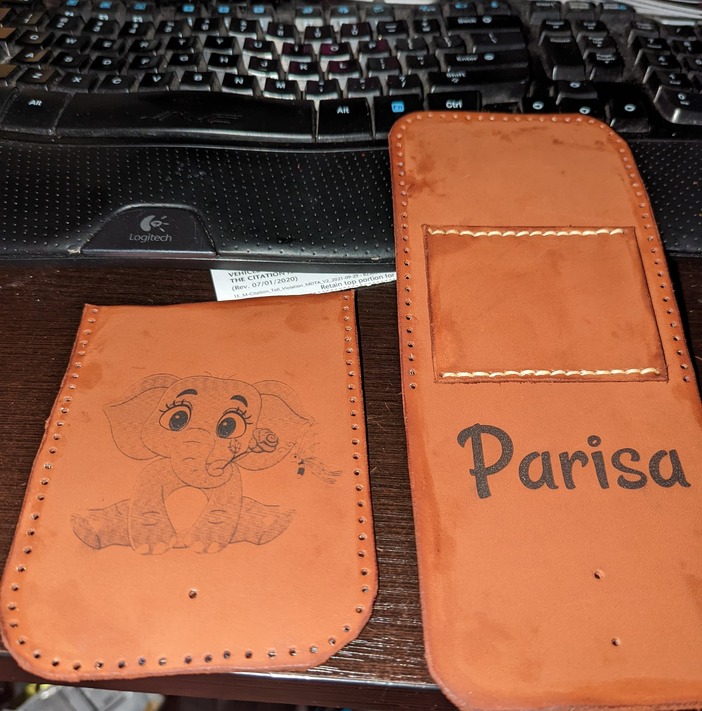
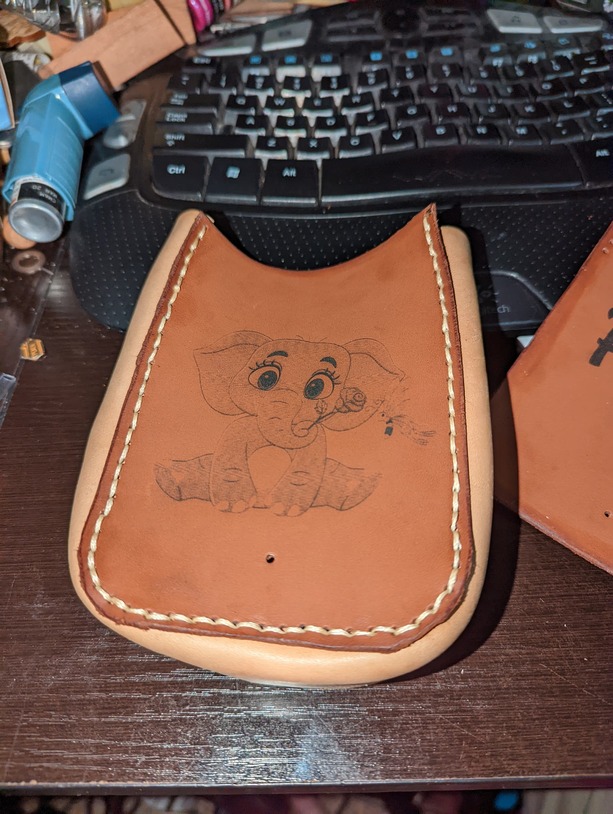
I found the free desilpunk.ro template for the leather pouch. Following his tutorial I was able to make a pretty passable pouch for her, even engraving a cute little elephant into the front with her name on the flap. Elephants are the national animal of Thailand so that was an obvious choice.
This was my first real attempt at leather working. I had tried in the past but apperently wasn’t ready to commit to it and so I put it aside.
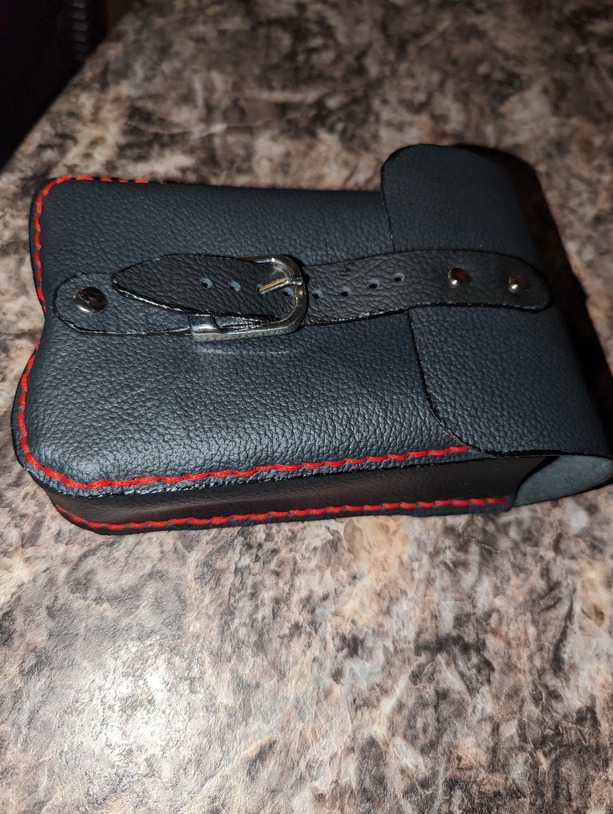
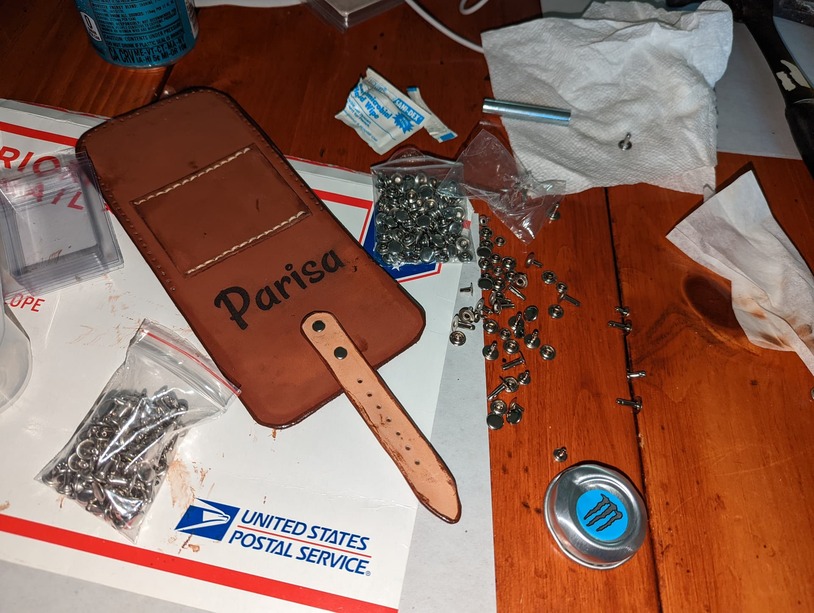
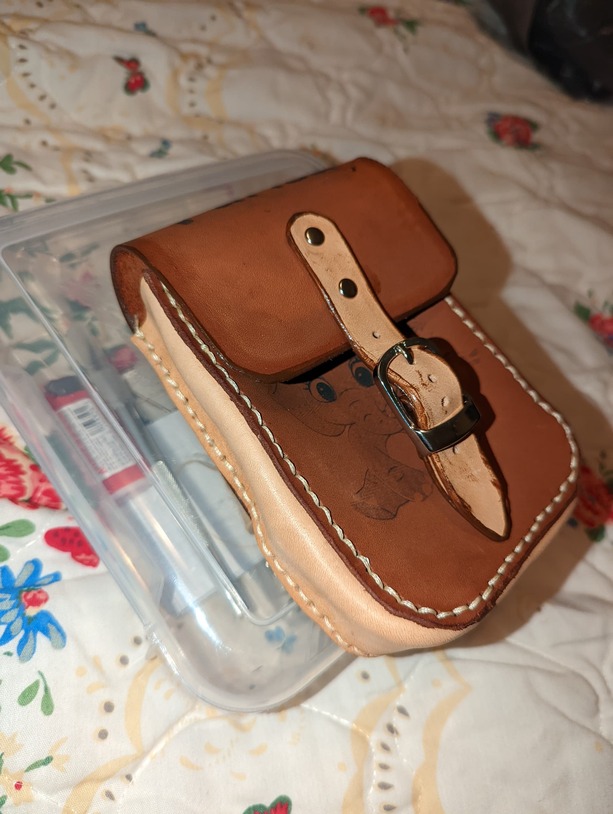
The overall pouch was a bit rough, I learned some tips and tricks along the way and even printed the stitching pony from the catalog to aid in the stitching process.
However one thing Tony makes sure to mention is that all his patterns aren’t laser compatible. That made me determined to change that but with a twist.
I set off in inkscape importing the pdf and working the pattern, it was going pretty well till my inkscape crashed and I had to start over. This time on my desktop I made short work of converting the pattern, everything went swimmingly and now it was time to bring in the laser.
Most people would probably think I was going to cut the pattern on the laser, right? Wrong! Understanding the spirit of why Tony didn’t want it to be done on a laser: you need to understand how things are done as well as getting a feel for cutting the laser. However having issues with taping the leather previously and having to re-re do the original project over (and waste leather) I pulled out my blue acrylic and lined everything up on the GUFI.
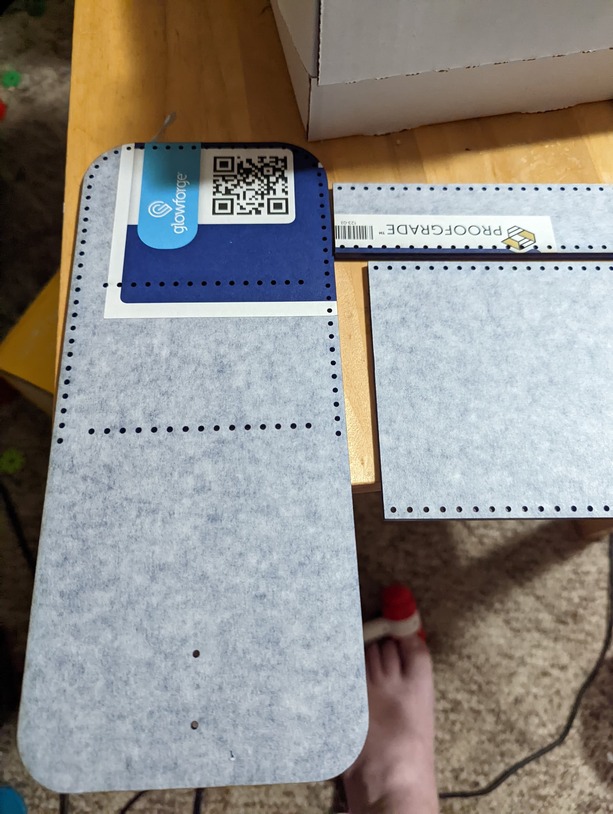
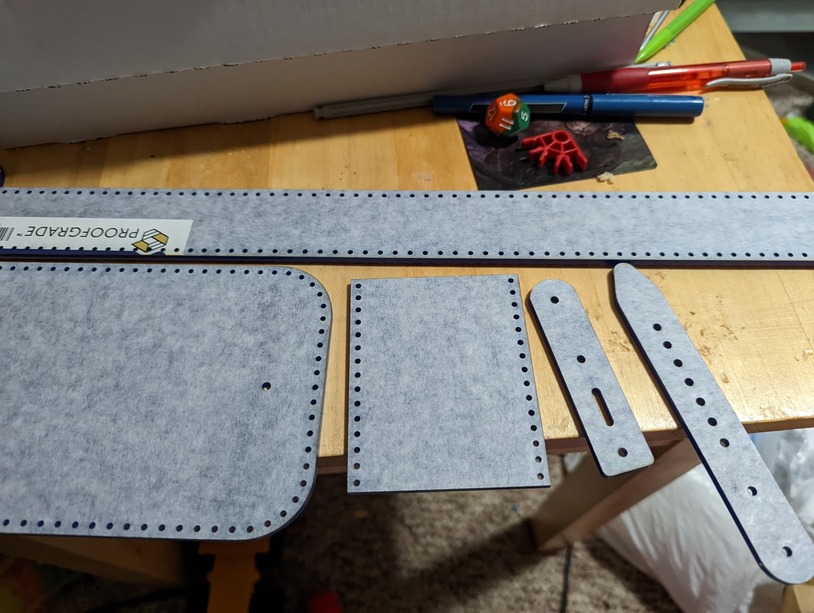
Now that I have the templates created, I goto my piles of new leather scraps I picked up from hobby lobby, 3 lbs of leather for 10$ is too good of a deal to pass up.
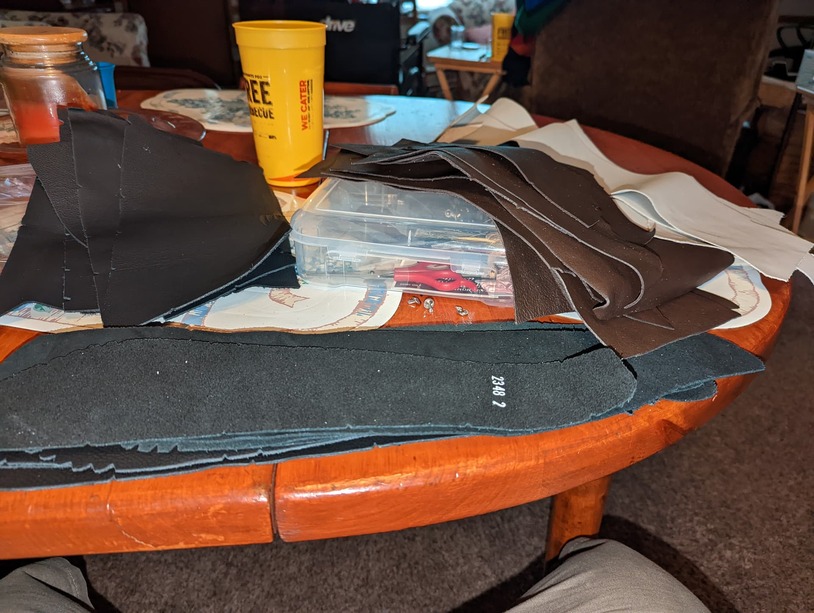
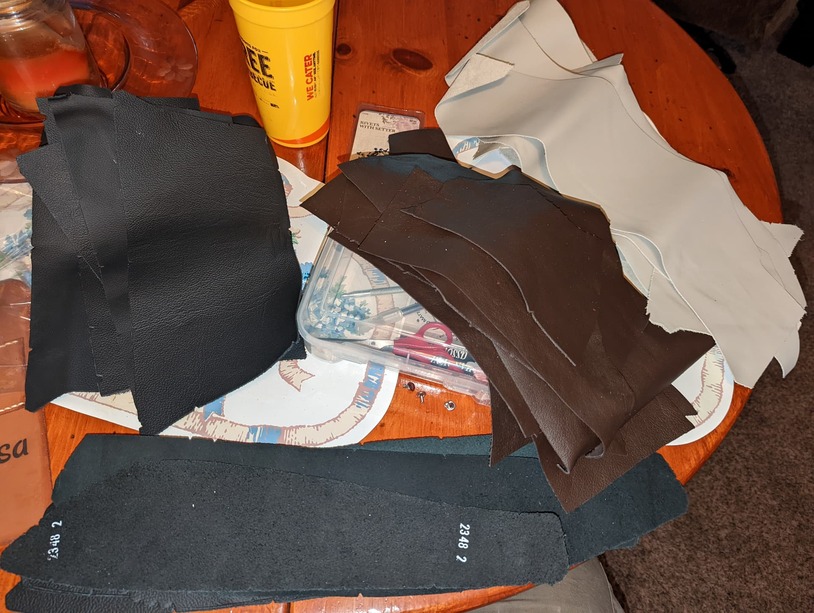
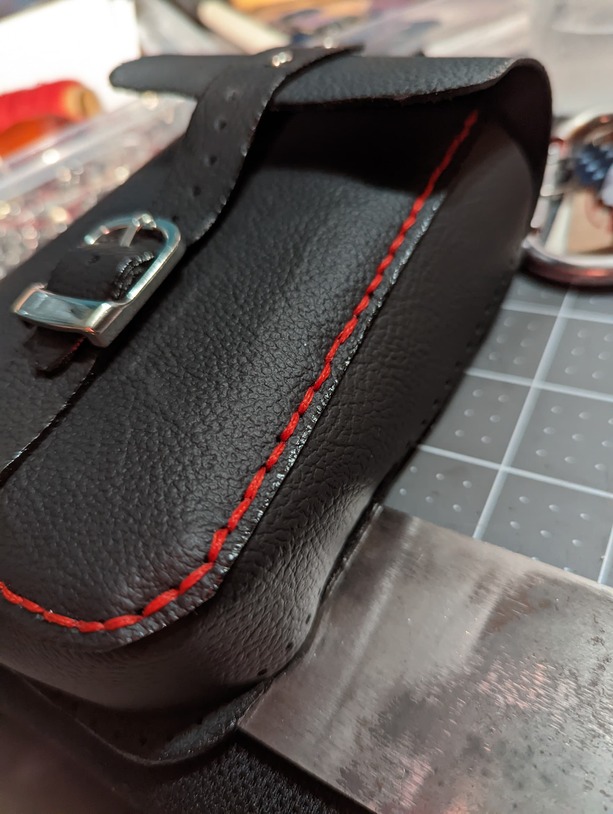
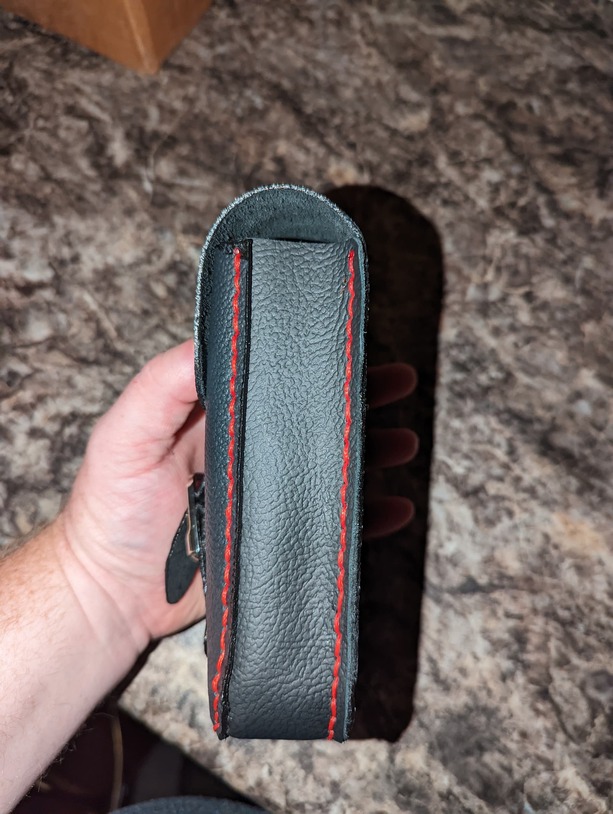
I did most of my cutting last night, today I’m working on working the edges and I’ll be applying the Realeather Edge finish once I’m done working the edges and making sure everything is nice and pretty.
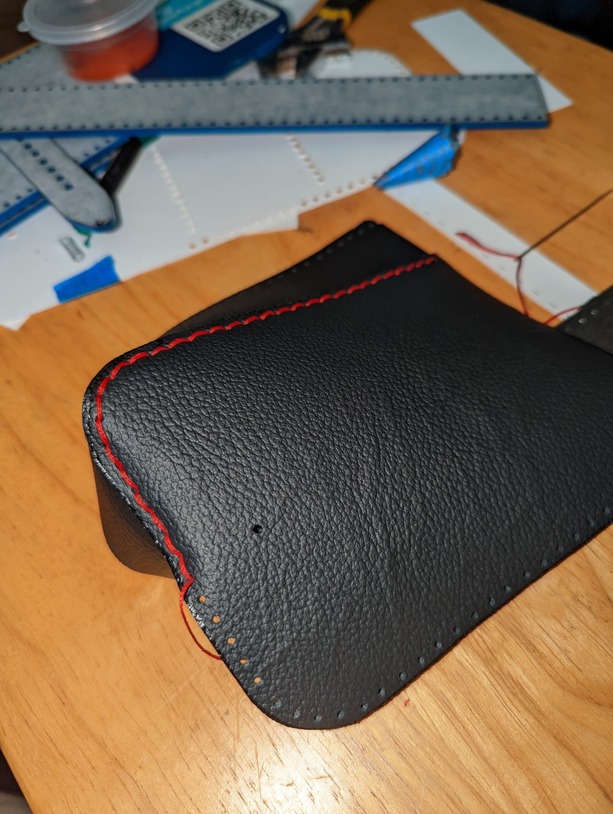
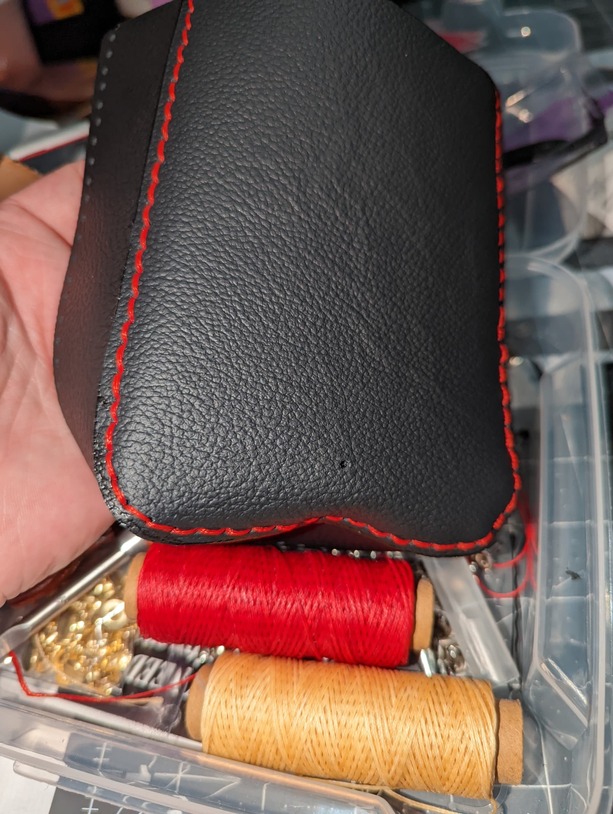
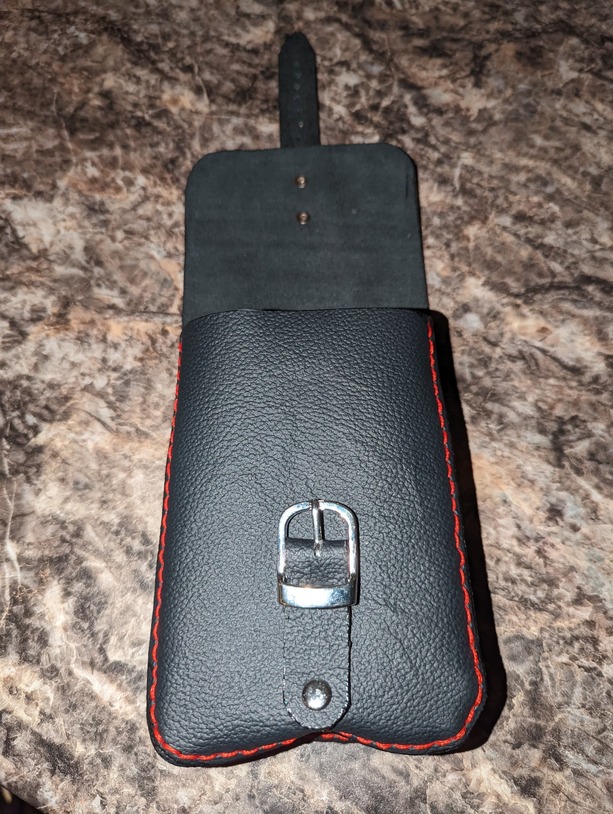
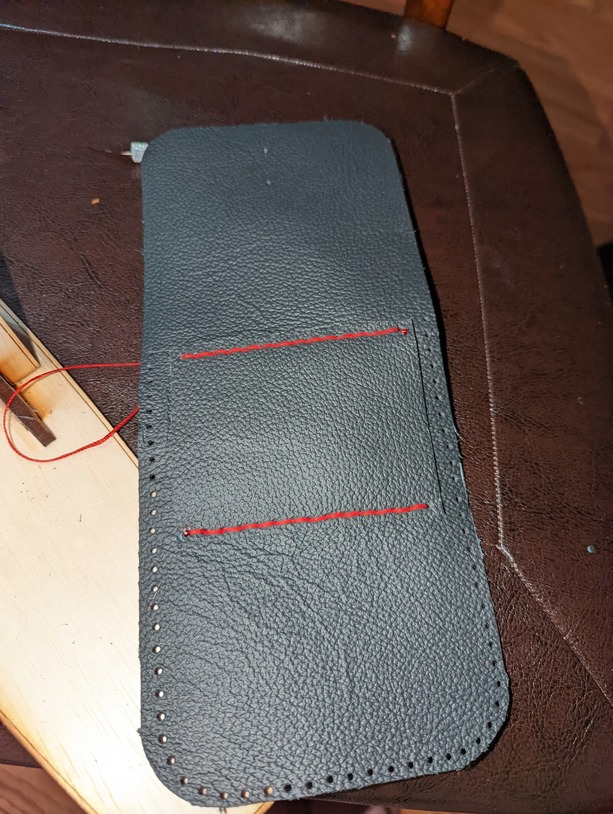
I did get the belt loop stitched on and I gotta say, the red wax thread looks pretty damn sexy against the black leather.
Personally, I don’t prefer cutting the patterns with a laser unless it’s for something extremely detailed that I can’t manage myself. Since I’m working with Black
Leather, I would have to do extra masking or a few extra tricks to even get the leather to be showable on the laser, and given the issues had with tape leaving residue, I’m not keen on that. I’m still learning this new crafting, and I’m sure it’ll be something I’ll devote many hours into it.
Thanks for reading and happy crafting!
Hock