(Note: this is a personal project, not supported by Glowforge… I do get to do these from time to time, CEO privilege. ![]() )
)
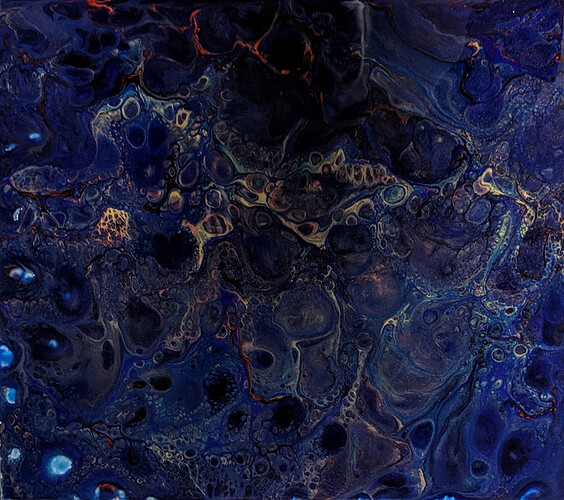
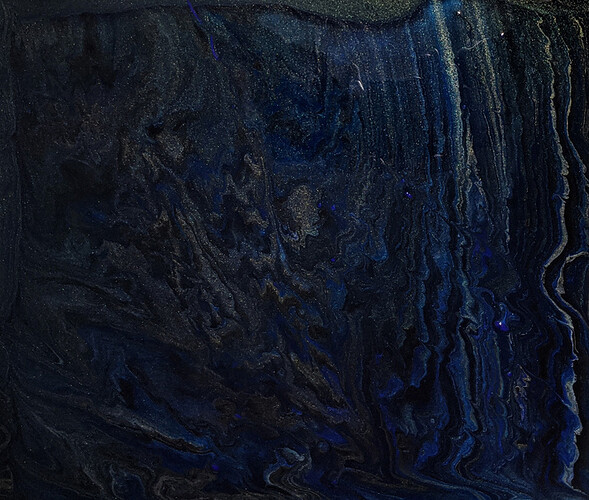
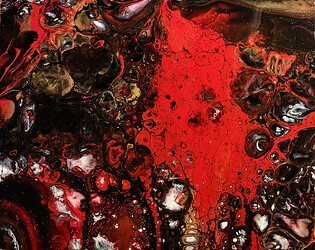
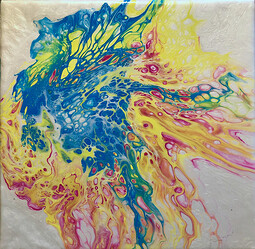
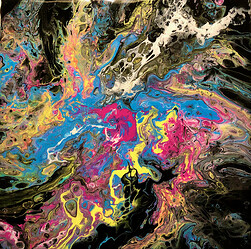
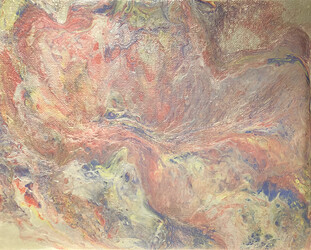
I’ve been playing around with pour painting with my kids, and the results are just stunning!
That’s a scrap of Proofgrade acrylic that my daughter used to create this pour painting. You can learn more about pour painting from a million youtube videos - basically you mix cheap paint and glue, put it in a cup, then dump the cup. It’s just as easy as it sounds. You can also get a premixed kit so you only need the plastic cup!
I love using clear Proofgrade acrylic (instead of traditional canvas) because you get both the front and back as viewable surfaces. Here’s the problem: it’s so smooth that the acrylic just runs off both sides. I come back in the morning and it looks all slumped, with all the paint on one end.
So I made this.
I used Fusion 360 to model the surfaces, then sliced it with Slicer for Fusion 360. These are both available free, and I learned to use them forum members @Secret_Sauce (great webinar starts here) and @markevans36301 (great PDF tutorials start here).
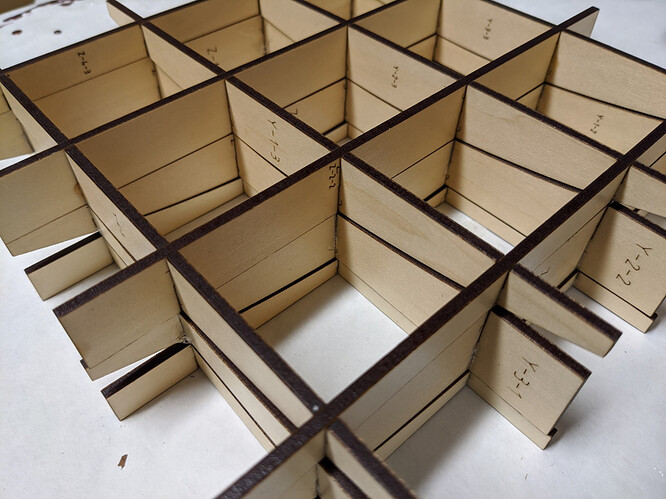
The idea here is simple: there are three trays. The bottom tray stays put. The middle tray rocks left-to-right. The top tray rocks forward-and-back. By using a bubble level (or a phone app!) and shifting them around, you can make the top surface perfectly level. Then you throw saran wrap on it and let your pour painting dry on top.
It works perfectly! I’ve done pour paintings on a full sheet of Proofgrade acrylic and they come out perfectly.
This is sized for a loose fit with Proofgrade basswood plywood. It should also work with Draftboard or any other Proofgrade plywood product.
Unfortunately there’s no easy way to capture the assembly instructions, but it’s fairly straightforward - I included two screenshots of the design in the zip file to help figure out which pieces go where.
pour painting stand.zip (1.6 MB)
If you find it useful, please share your own builds (and pour paintings!) in this thread!

