Glowforge Owners Forum
Lid Camera Calibration Beta
Everything Else
alignment
,
camera-calibration
PrintToLaser
May 6, 2019, 11:46pm
32
Here’s mine.
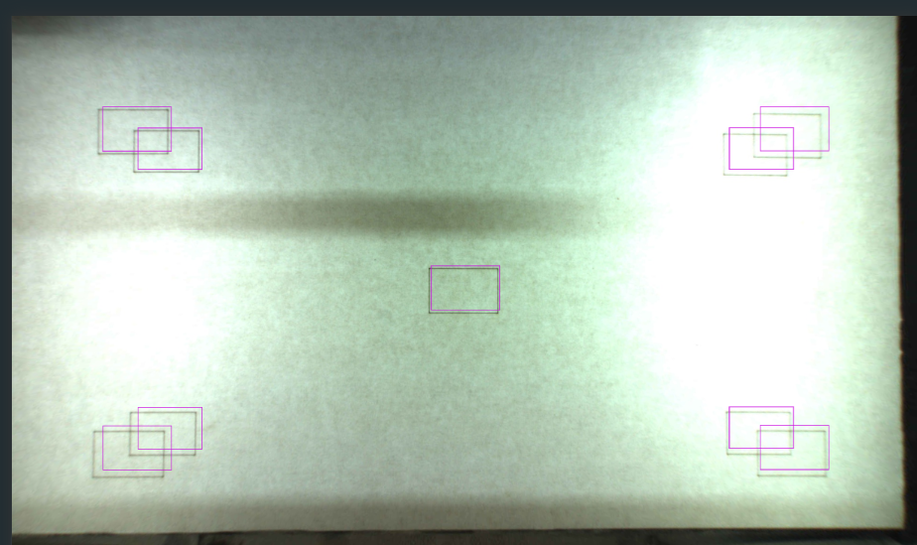
Before;
Screenshot%20(3)
917×545 476 KB
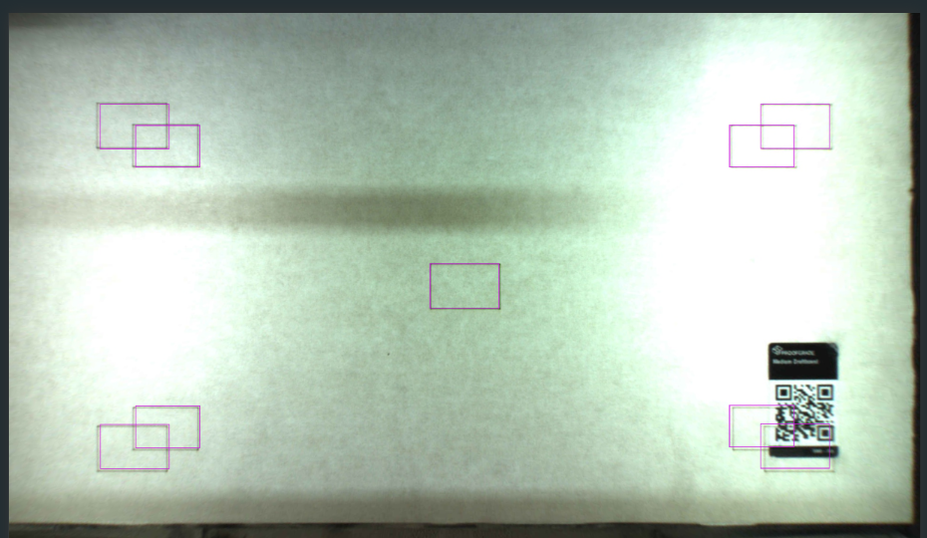
After -
Oh Yeah Baby
!
Screenshot%20(5)
927×538 484 KB
Major improvement!
14 Likes
Laser Head/Camera Alignment
Does running the camera alignment remove snap marks?
show post in topic