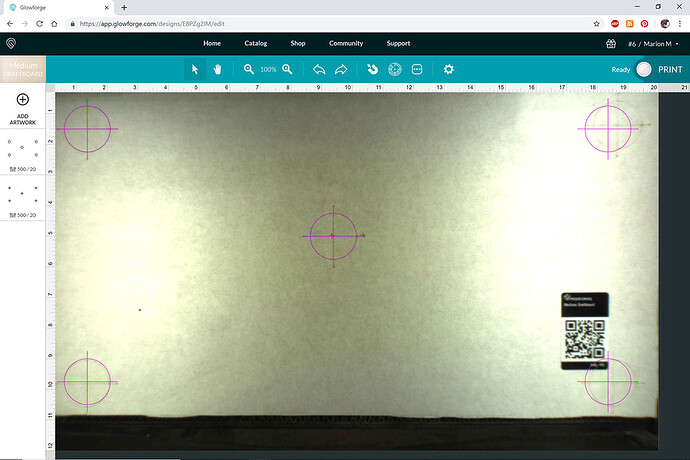
One of the most requested Glowforge features is a way to improve the alignment between the camera preview and the actual print on the software. Our team has been working hard to make this happen for you, and today we’re releasing an experimental beta tool that is available for everyone right now. We would be extremely grateful if you could try it out for us.
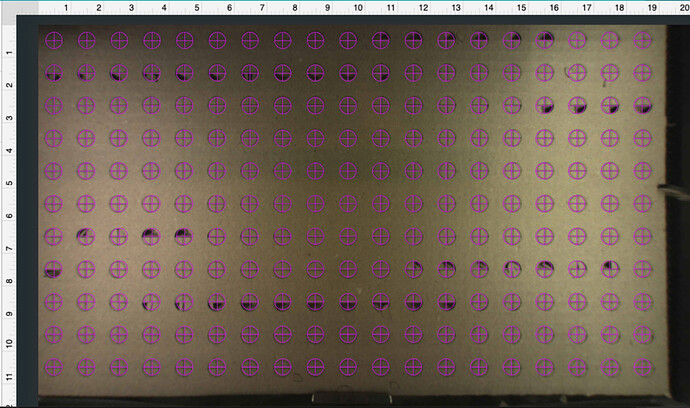
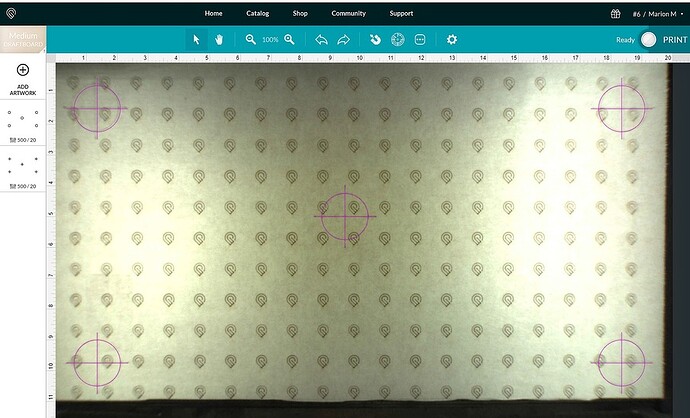
The tool builds on the data we gathered from the Snapmark experiment. It prints an entire grid of markings on a sheet of Draftboard, takes a picture, then measures its height in multiple locations to build a 3D model of the surface. All of this data is then combined with the calibration data we took at the factory to make your camera more accurate for future prints.
When you’re done, the Glowforge software will assess the results. If it’s more accurate than what you had before, it will be used; if it is not more accurate, it will tell you and not change the results.
The new calibration will then be used permanently, for all future prints, and should make the camera layout more accurate. However, once calibration is done, the flatness of your material makes a big difference in preview accuracy. The preview image is adjusted for a single height. You can choose where, and have your Glowforge measure it, by clicking Set Focus. The preview will be most accurate where you use Set Focus. Uneven material will be less accurate farther away from that spot.
How to recalibrate
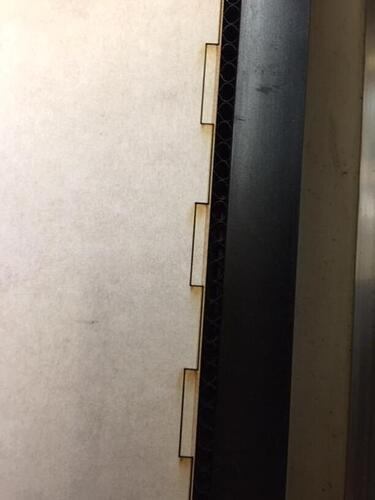
You’ll need a 12” x 20” piece of material with no markings or stickers. It’s very important that the material be exactly 12” x 20”. The feature was designed to be used with a flat piece of medium Draftboard, used upside-down (with the sticker side down). It should work with other materials that are the same size and use the same print settings as well, like Proofgrade plywood, but we haven’t tested it on materials besides medium Draftboard yet.
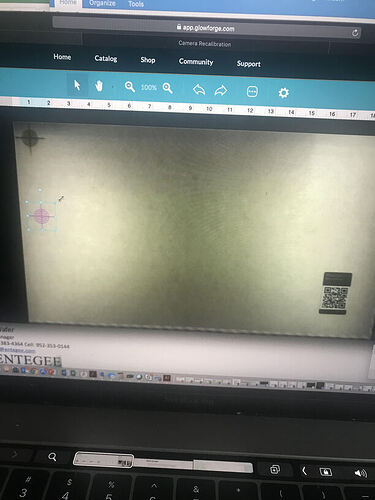
To start, visit the Camera Recalibrator page and follow the instructions. It may take up to 40 minutes, depending on the speed of your wifi and internet connection.
How to test
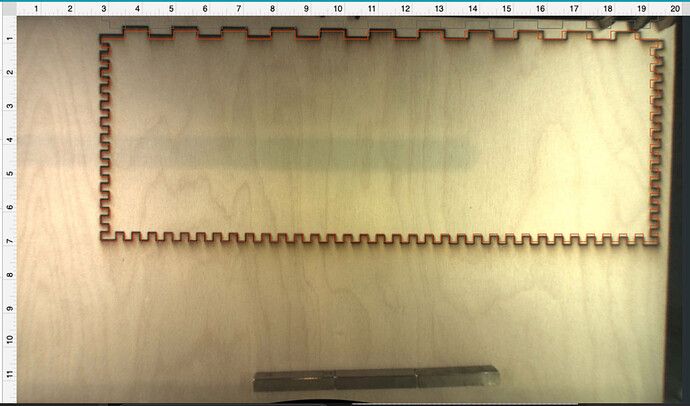
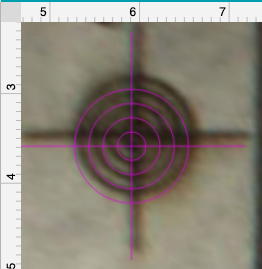
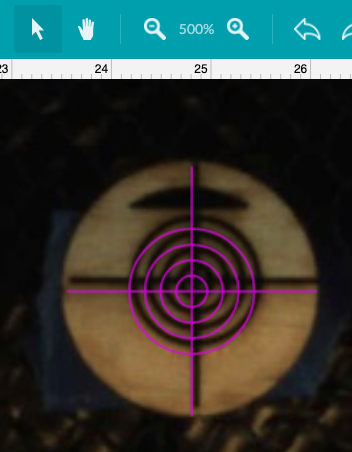
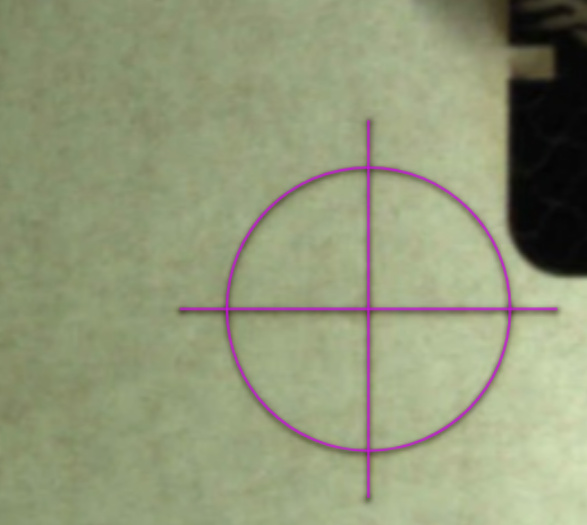
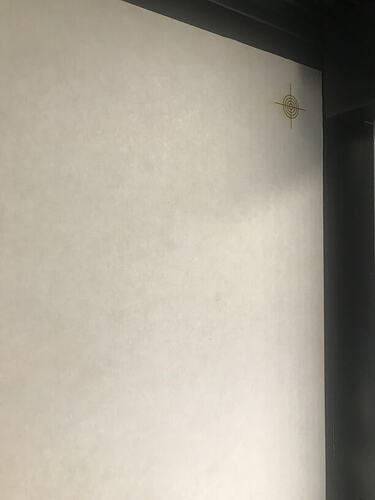
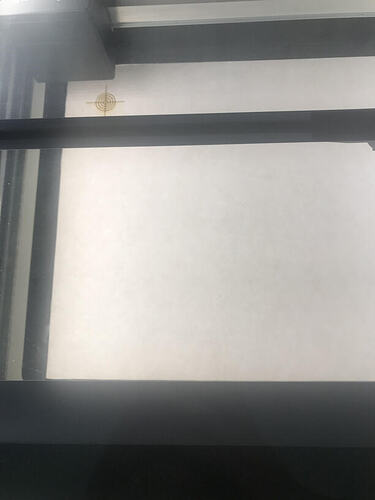
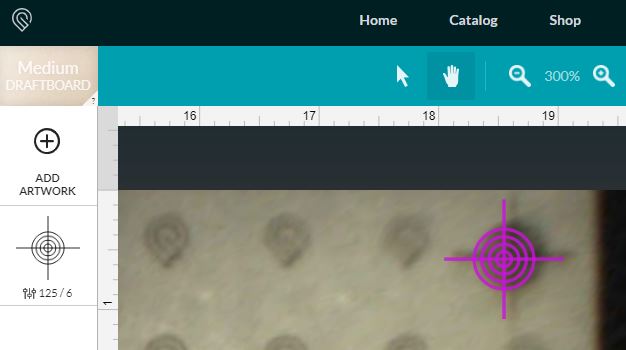
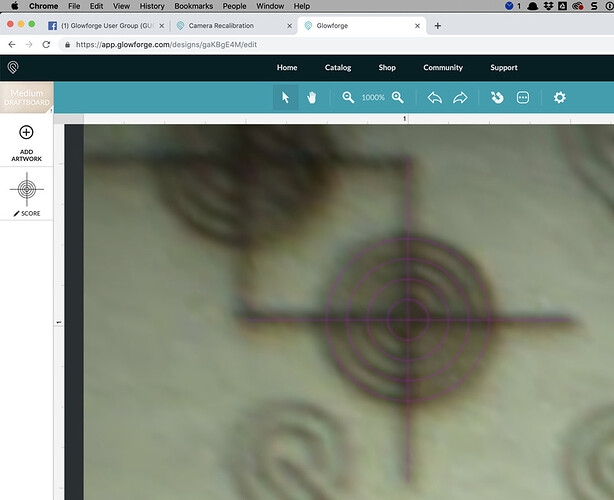
When you complete the calibration, you’ll get instructions to test the results of your calibration. This includes a test target SVG that you can use. The mark should land within 1/4" of the preview.
Snapmark
One other update - the Snapmark experimental feature made this possible, but there was still a tremendous amount of work to do to finish it. We decided to stop development of the Snapmark feature to develop this instead. You can learn more in this post about Snapmark status.
This post will be updated with changes and clarifications - thanks so much in advance for any feedback you can share!
