This is a fantastic update. Thanks, GF team!
6 Likes
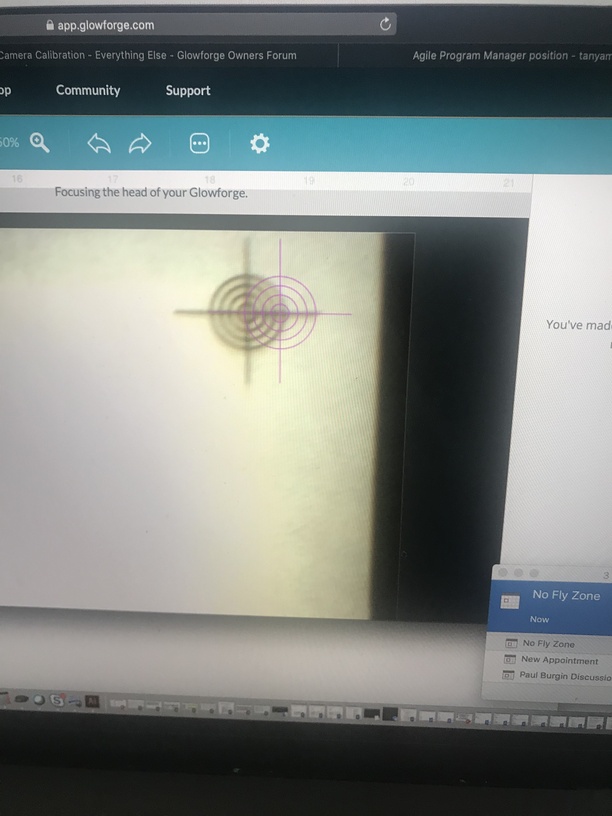
Edited after further testing, it is not lining up on the purple to the score.
I guess I just never noticed that the left side wasn’t visible before today when I was expecting it to print in the upper left corner exactly. lol. Ok. Time to test it on something else. Thanks Jules.
5 Likes
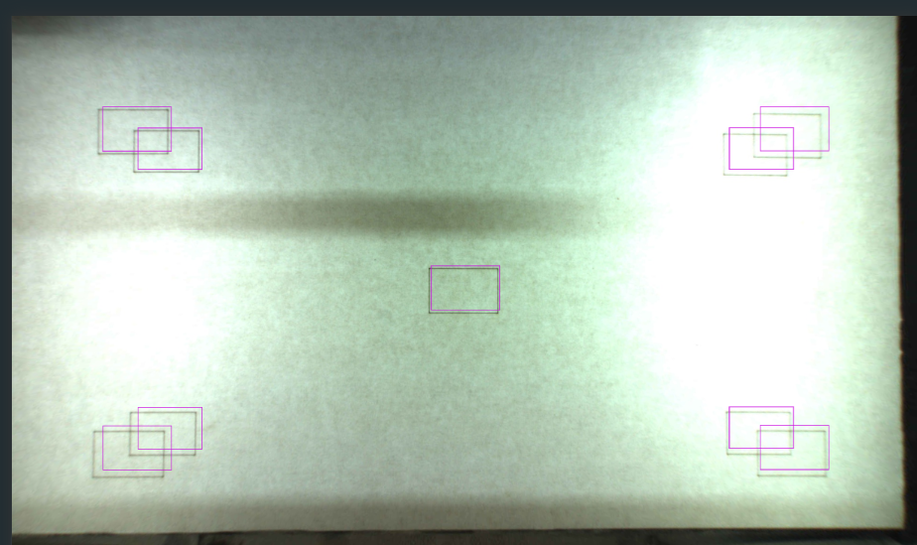
Groan. Testing not successful. It isn’t lining up with the purple after it is finished. It is way off. I’ll have to recalibrate and see if that helps and sacrifice my last piece of PG Draftboard. I tried 4 more times and they all ended up with the purple way off.
If it were me, I would disassemble the tray to remove the steel grid and lay it on a known FLAT surface like a granite countertop and flatten it. I have taken it apart before, and it’s easy to do.
3 Likes
Wait…before you do…check to make sure that you are not into the No-Cutting Zone on the right side with the initial placement. (Gray striped bars.)
And if you do have to re-run the calibration, you can carefully peel off the sticker from the front of your sheet of Draftboard and use the same one. Make sure you have a flat sheet.
1 Like
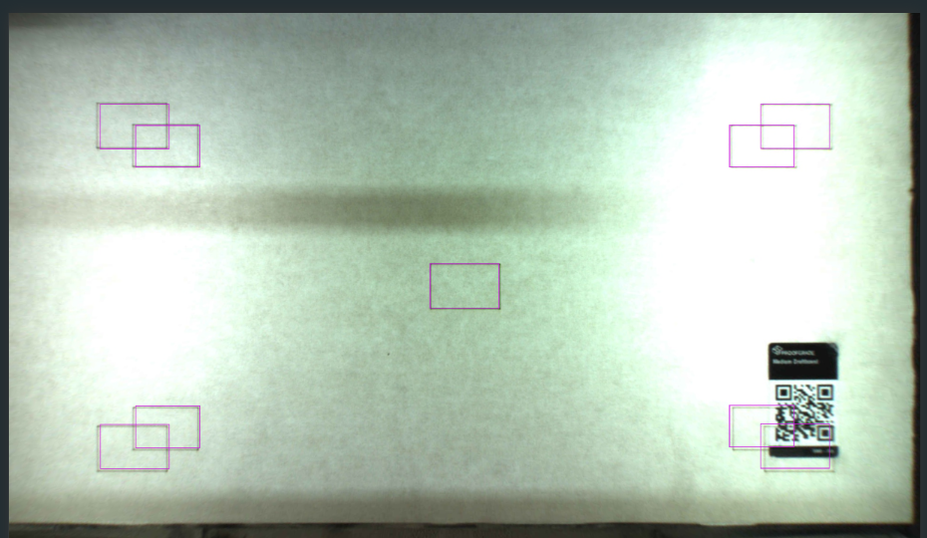
Definitely not in the no cut area. It would say no artwork if I was right? I was in the cut area and in this pic you can see I’m well inside the right side margin

Nope, that’s significantly off. Try the calibration again using the other side of the sheet.
How far off was your alignment previously?
I recommend you get a screenshot of a completed op before you run the calibration so you can directly compare the results of before and after.
2 Likes
Just three arrow clicks on the keyboard to the left and three up and it would be spot on before. So minimal but enough to be annoying when trying to be precise so wanted to do this. Seems like it didn’t work out so well for me lol.
The team might need to make an adjustment behind the scenes. I’m sure they’re watching the results here, but I’ll tag @kevinmcvey just in case. 
Sit tight!
So do you think I should wait to see what they say before removing the masking and trying to recalibrate again?
14 Likes
They can roll it back if necessary. If it was me, I’d try the calibration again. (Use the same piece of wood on the other side.)
1 Like
Well, lol. This is the same piece of Draftboard. The GF calibration marks are on the back of this one. So I guess I need to use another one. I’m not overly upset or anything as I’m sure they’ll figure it out with me even if I’ve to go through some material.
1 Like
Thats amazing. Mine was very similar to your before picture. Just a few clicks off.
1 Like
You can re-cover the board with fresh paper if you have some sticky track spray and large enough paper… I used the same board twice this way. Just make sure it is smoothly applied with no bumps or bubbles!
10 Likes
If it were me I would not use up another piece of Draftboard—I would peel off the masking and apply new masking (of course you would need to have 12” masking available but that is a very useful thing to have anyway) and reuse the old
Awww, TJE beat me to it!
10 Likes
Sight down the edge of your board to see which way the camber (warp) is and place it on the side that has the middle touching with the edges sticking up, and use the bed pins to clamp them down.
It’s important that the material is flat.
2 Likes
Here is a zoomed in portion of my “after.” Forgot to take a “before,” but I was getting a couple mm off near the center and 1/4” off on both left and right sides. Now it’s dead on almost everywhere.
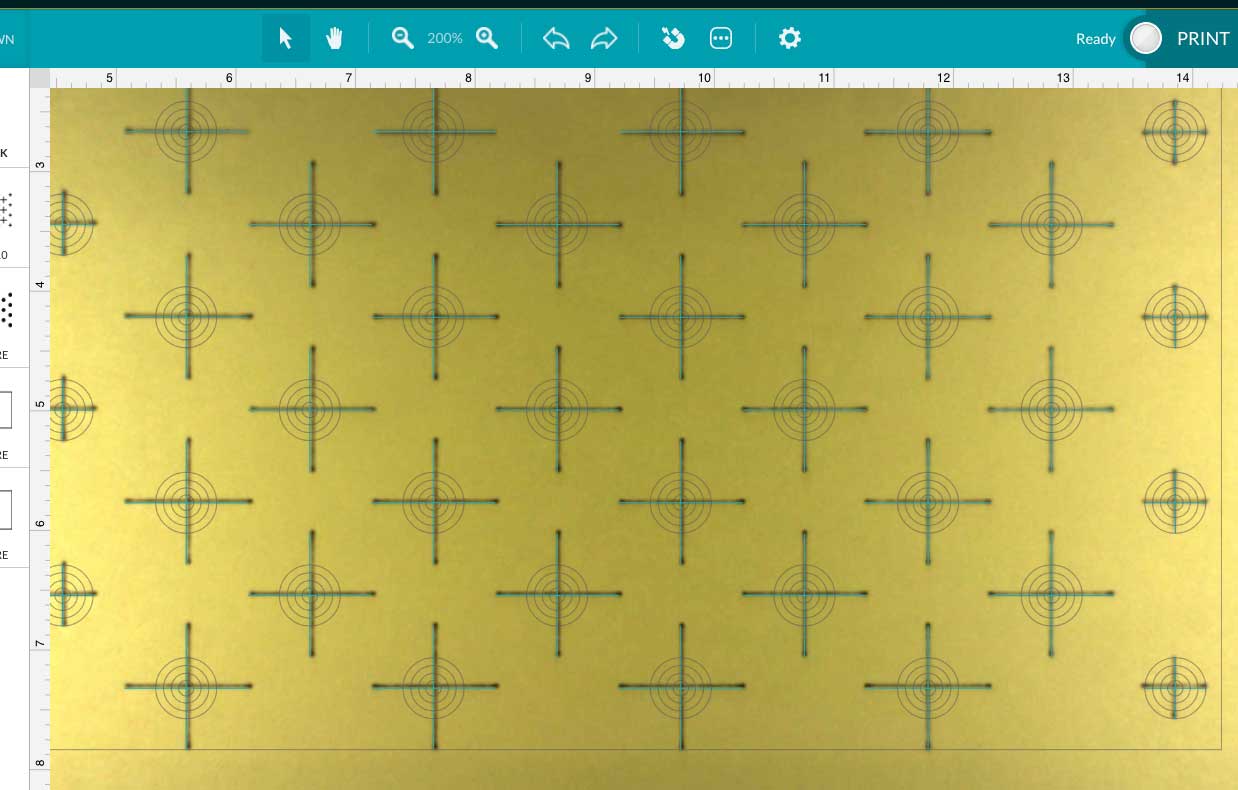
9 Likes
I’ll try that. I have some that was recommended on here that I use for other items that aren’t already masked. I’ll have to give it a go tomorrow though before my kids disown me this evening. Thanks everyone for your help. I’ll check back in tomorrow with results from remasking, pinning down etc.
3 Likes