I’ll have to give that a try. Thanks!
1 Like
Someone who is much more knowledgeable than I will take a look and weigh in soon, probably before the end of the day tomorrow if not sooner.
Don’t forget to use the Set Focus command before printing the mark, too, or else the results will be less accurate.
3 Likes
Perfect alignment all around for my GF Pro.
Thank you GF Team! Exceptional Work!
6 Likes
Thanks Dan. I definitely used the set focus on it. I’m looking forward to working it out and I know they are swamped right now. So that’s fine on the time if they need till tomorrow.
1 Like
OK, I’m missing something here.
In the process there is no opportunity to use set focus…  unless you do that after placing the material and before starting the tool.
This is so great! This is a sheet of 1/4" PG acrylic. That thin strip you see left at the top is only .107" wide! Have never been able to cut this close to the edge of a sheet before. Thank you Glowforge team!
8 Likes
I meant for the “did it work” print at the end, not during the calibration. Apologies for being unclear!
3 Likes
Looks like a complete success for me! STOKE! Thank you GF TEAM!
First test: Upper Left
Second test: above the sticker (bottom-ish right)
Time to get busy really using my insane hoard of scraps!
9 Likes
How important is it that the wood be exactly 12" x 20" ? My proofgrade medium draftboard is 12" x 20 + 7/16". Most of my non-PG stuff is actually cut slightly smaller to fit the actual cut area of the machine so I don’t end up with so much waste around the outer edges of things.
3 Likes
You can use it as long as the cuttable area of the bed is completely covered. (Make sure that you place the material so that the bottom edge of the grid is covered.)
(How small do you have it cut?)
5 Likes
*"
*The single biggest problem with communication is the illusion that it has taken place"
Thank you, I’m a little slow sometimes.
3 Likes
Exactly this. The biggest problem is when it’s not quite 12 in.
2 Likes
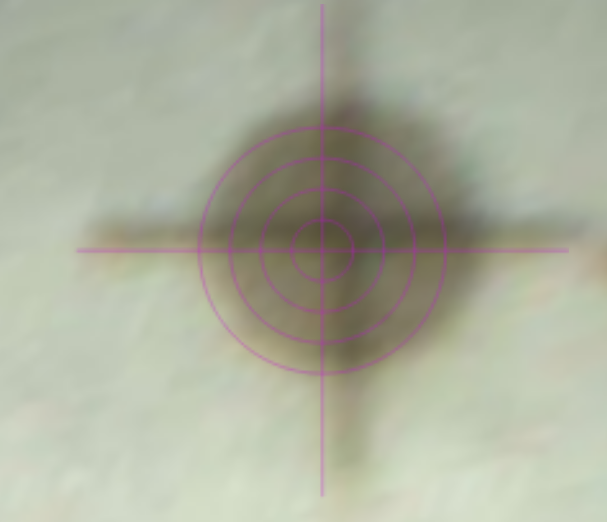
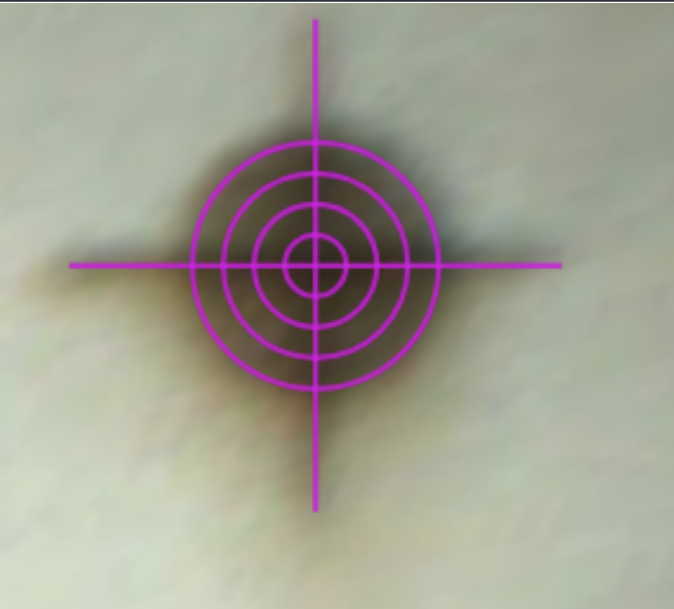
Not sure if this is good or not. Unfortunately, I forgot to do a before shot so I am not sure if it is much improved. It does not look as good as others have achieved. Everything looks a little off to the left.
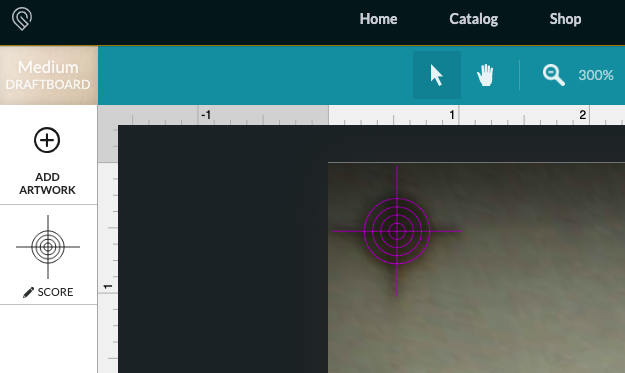
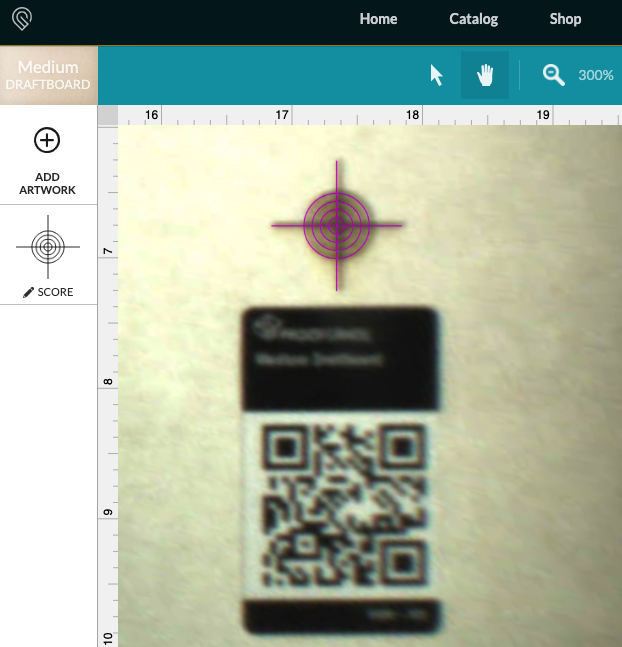
I placed the target, did a set focus then printed.
Top Upper Right of Bed - 500 magnification
Top Upper RIght As Far As I was Allowed to put the target (this one doesn’t look so bad)
Top upper LEFT near sticker
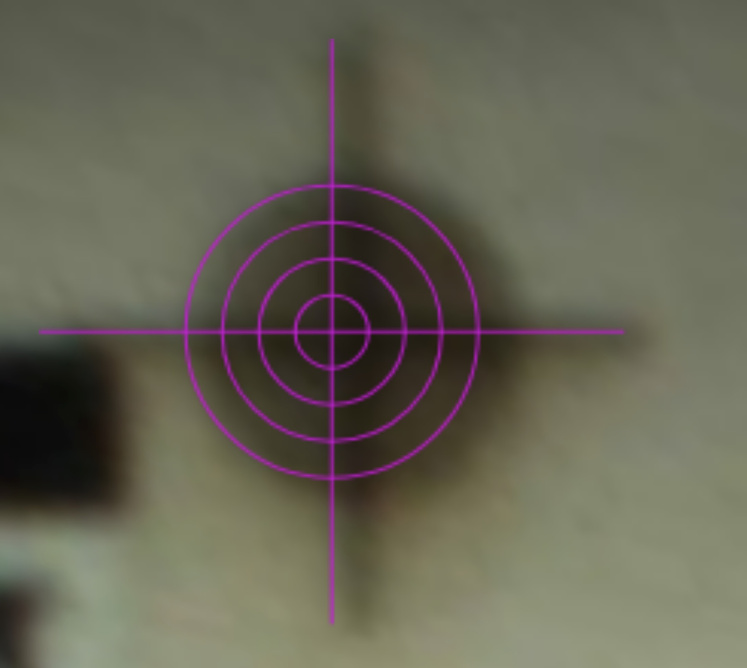
Looks off a little to the left.
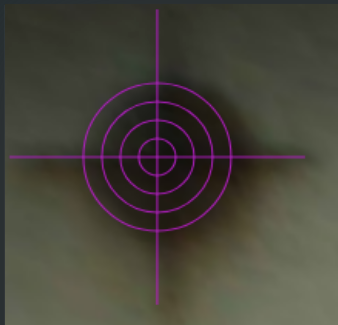
Top Upper Left as far As I could put the target.
Run it again?
Best present ever. And it’s not even my birthday!
3 Likes
I needed this just yesterday, when working with a sheet of 2’x4’ material, and needing to get 7.75" of height three times out of the narrow side and couldn’t risk cutting my board down to pieces that close with the alignment issues! Glad I waited so we’ll see tonight.
I believe I just have thick draftboard, will that be suitable or it must be medium something (I have other woods in medium)?
1 Like
Dang, I just ordered some stuff and I knew I forgot something… Turns out I’m out of PG Draftboard. This looks like an awesome update, thanks @dan and glowforge team!!
4 Likes
Amen
5 Likes
Does the material used have to have the exact same thickness as the PG draftboard? Since I cannot order it because I’m in Europe 
I think thickness doesn’t matter within reason but flat is very important.
5 Likes
The material doesn’t matter as long as it covers the entire printable area of the bed, is light in color or masked, and is perfectly flat, The thickness does not seem to be important since height measurements are taken. I used medium draftboard for one test and other 3rd party material considerably thicker than medium PG material for others. All worked just fine.
4 Likes