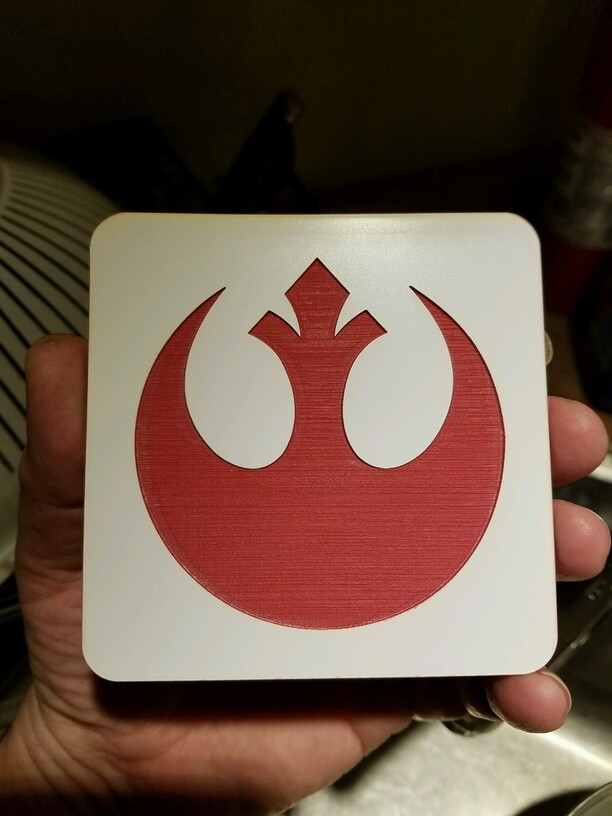
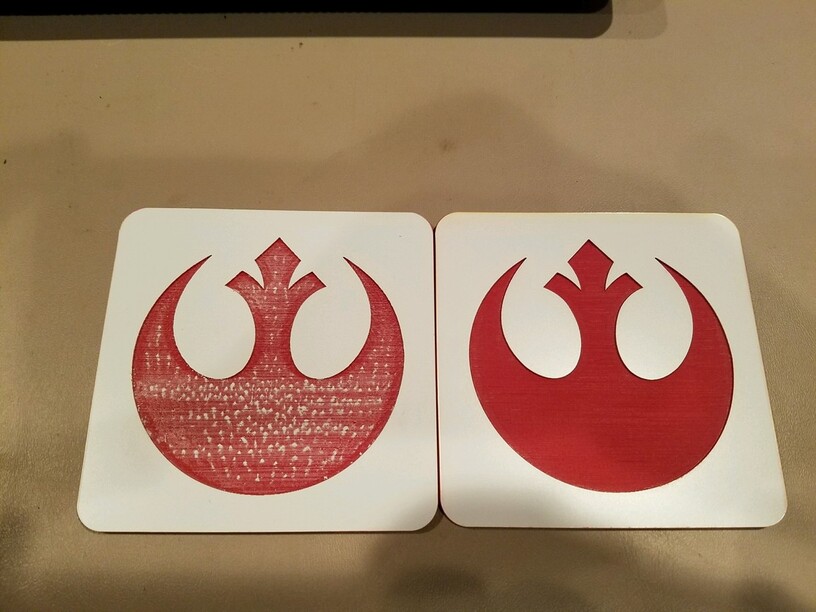
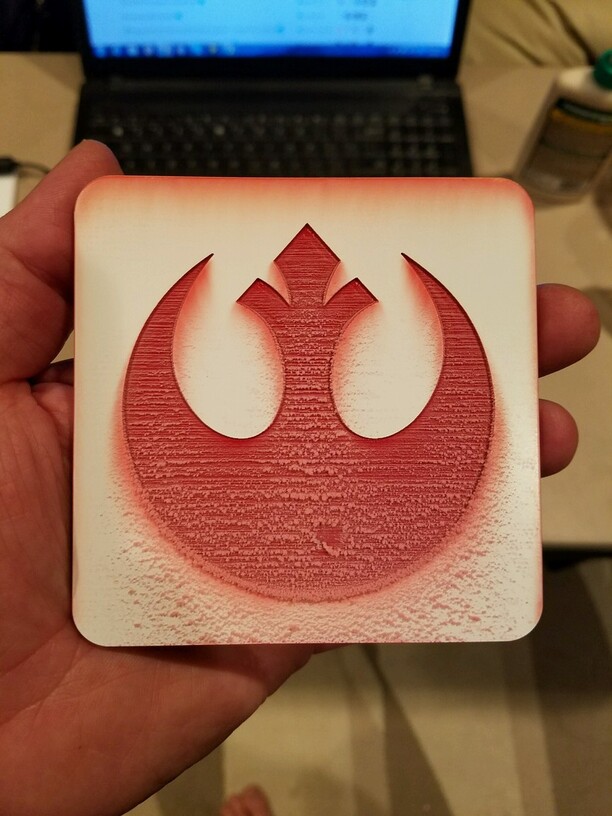
Btw, I tried cleaning up the original ones with a second pass, and I failed to align it perfectly, darn. But, check out how nice & deep the 2nd engrave is, and therefore how much stronger the color is!
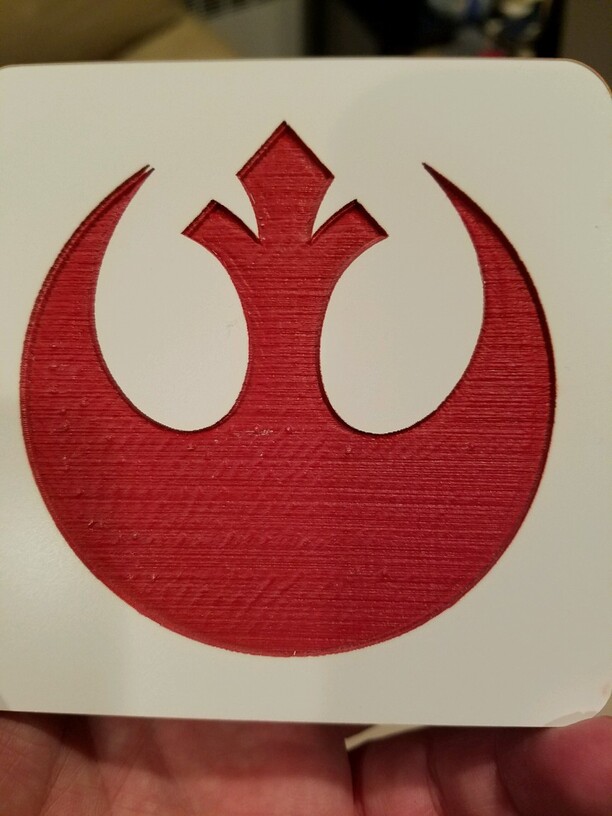
Keep in mind though that this was done after a clean up; I am not sure if this would work well with 2 passes & no cleanup, cause if you do that, then you are running a 2nd pass over this (this is before clean up):
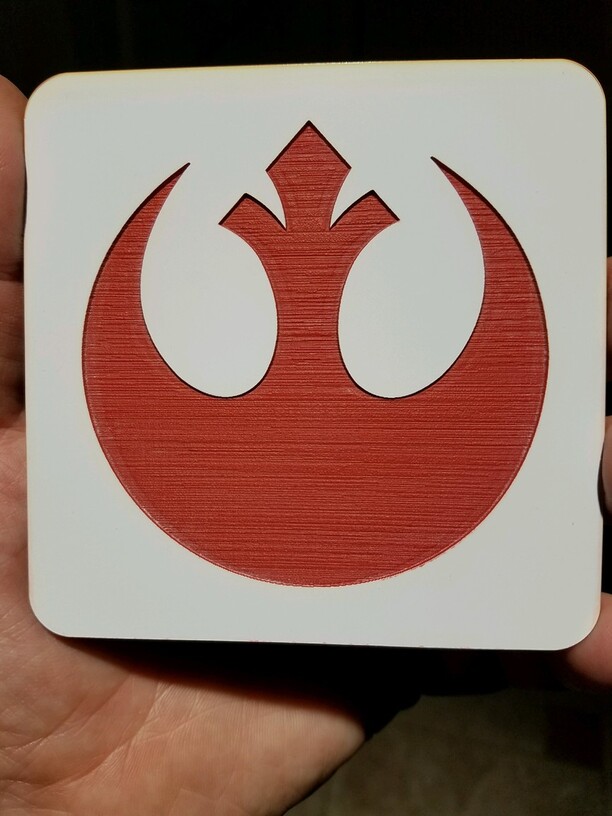
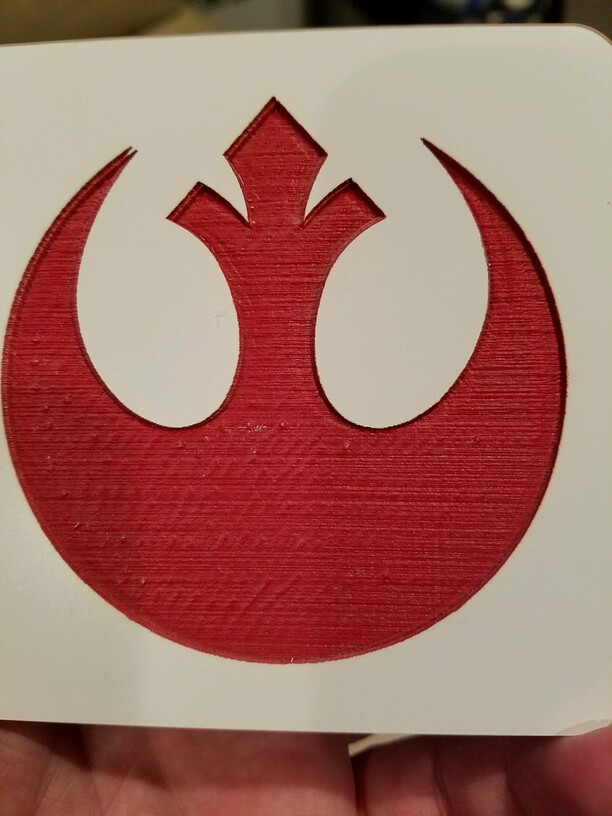
Oh, and a couple of notes: I ran this by choosing the automatic settings for ProofGrade 1/8th White Acrylic, and then cleaning them up with lighter fluid & rubbing with a paper towel, as well as then washing with dishwashing soap and water. I also used the fluid on the edges, as they were a little tacky, as inventables warns can happen with too high a dpi setting, and they were then perfect.
I tried using the settings recommended by inventables on the left over scrap from the first run, but I had to shrink it down to 1/4 inch x 1/4 inch to fit, and the settings were too strong; the engrave cut through, and the cut melted / warped the material. I should have taken a pic, sorry, will post that tonight. The GF automatic setting worked perfectly on that small size, too, though…
I originally used it for removing the sticky glue residue left over from the proof grade protective paper and / or masking tape on other acrylic prints. (I also found that it also cleaned up scorch marks pretty well, but that’s a side note).
Then I found that even though I hadn’t used any adhesives tape on the first coaster print (the black and white ones), the residue that was left behind was kind of tacky / sticky, and resembled the glue left behind from the tape / pg paper. Well, that adhesive is usually petroleum based, which Is why lighter fluid (and other petroleum distillates dissolve it and clean it up so well), and I figured since acrylic is a (maybe??) a type of plastic, and I think that the 1st color of the 2 tone is (maybe?) a type of plastic, why not try the lighter fluid on this, too…and voila! Worked really well, especially on the red / white ones.
Fire eaters only get the girl once - for some reason they don’t find lighter fluid tinged kissing very erotic
That was from my Ren Faire days. (@henryhbk I loved Carver’s faire - it was my first one probably 30 years ago…Sterling Forest in NY right over the Hudson is my fave though)
Now I use electronics - the fireball shooting trident I made last month used my wrist fire shooter - which uses flash paper and flash cotton for the load and accelerant.
I prefer the term “adventurous” to “stupid” - it’s not like we ended up dead or anything
Not sure. We’ve got weddings and bring the girl back to college gumming up our summer weekends. Trying though - we’re in central CT so it’s not a far drive. BTW, there’s another Sterling Forest Ren Faire in NY over near Buffalo if I recall correctly.
I love seeing the progress in the use of the two color acrylic!!
Does anyone else look at these and wish the fill didn’t have a “line” pattern to it? I know some talk was mentioned of defocusing to try and smooth the ridges, but is there, or will there be an option to engrave fill with different fill patterns? I’m coming at this from a CNC/CAM background in which you can do trochoidal cutting or offset cutting of a pocket in material. Perhaps these wouldn’t be the fastest way for the laser to ablate the material, but it would leave an, in my opinion only, prettier texture of the pocket floor.
Is this a hopper thing? I tried to search for a similar topic to no avail
As long as engrave uses side-to-side motion, that’s going to be the default fill pattern. But I’m sure someone smart could set up an svg generator that would super-low-power scores in whatever pattern you wanted. Might take a while tho.