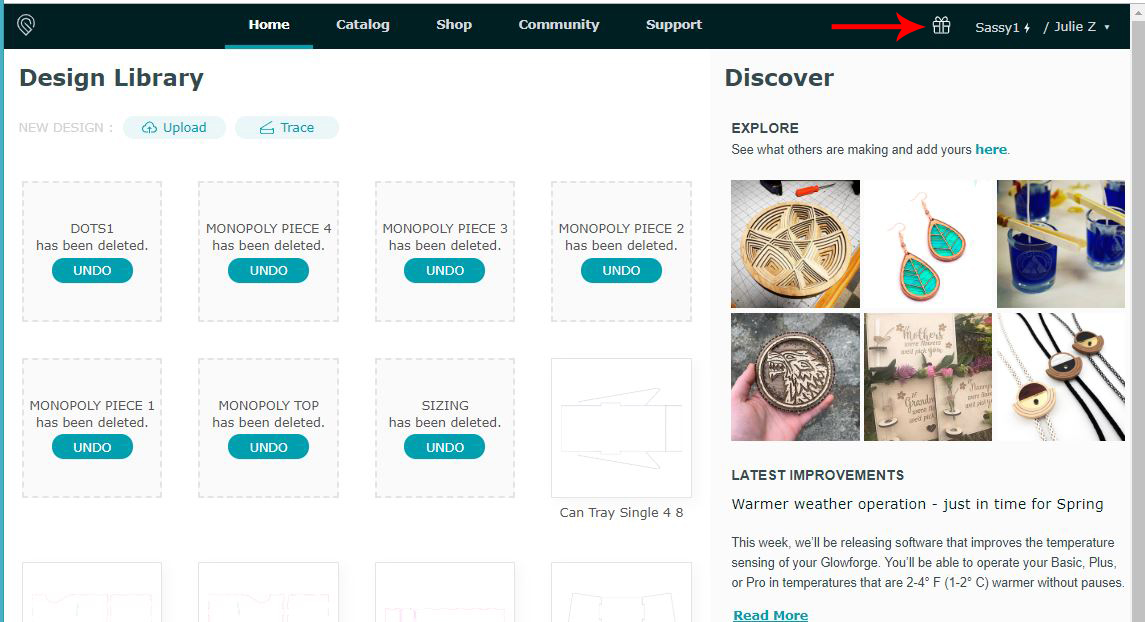
Thanks for the Magic Wand Templates that appeared in my app.
How did you get from the 2D vector drawings to the curved 3D wands in the video that was playing? (This is a half-rhetorical question because I don’t actually believe it is possible, but if it is, I’d like to know how.
Sandpaper and glue. 
Round or shape the edges a bit by sanding. Create the raised edges, swirls and knobs with hot glue. Then paint the whole thing.
3 Likes
I can also design a 3D model, use a slicer program, cut the layers, glue them together, apply filler, sand, carve, stain, and polish – but we can all agree that the laser cutter doesn’t really add to the process. It’d be faster to go to the store, buy a small lathe, and probably get better results.
That’s not to say that you can’t do interesting things on the Glowforge, but it is a little disingenuous to show that video and imply you can make them from the vector drawings provided.
4 Likes
Yeah, I kinda felt that way, too. ![]()
7 Likes
Doesn’t strike me as being even the slightest bit disingenuous, it points interested people towards a side area of creation. (Without having to buy a lathe or 3D printer.) The technique is well known and has been done for years by creative types.
And the various shapes created on the laser give the wands a new dimension that you can’t get by doing it on a plain dowel.
I was tickled to be reminded of it, and think the wand designs are great.
3 Likes
Including some raster engrave patterns to approximate the 3D designs shown would go a long way toward making them more appealing.
4 Likes
I dunno…I think they’re pretty appealing just like that. 
You could put the designs in Gimp and do a lot toward getting you rounding and other vine-like bits. By doing mirrored version on each shape they can be deeply engraved and each side put together you could have a very nice rounded shape that a bit of sanding and polishing can make great.
I was and am particularly interested in the stand for those wands , but to use the methods laid out with some quarter inch wenge could be amazing.
2 Likes
Not to hijack the thread, but is anyone else interested in the actual holder? I would love to see that pop in to the catalog. That’s one design I would actually consider buying.
11 Likes
Thank you.
I get tired of being That Guy. The one who sees the big thing in the middle of the room that no one is talking about.
I agree. I figured the wands were just a tease, but The Stand.
Wanna Gotta Needa. (for what I do not know, but I need one).
9 Likes
Agreed.
4 Likes
Oh @bailey great and wonderous controller of marketing…the wand stand? Any chance? Soooo cooool!
1 Like
Definitely the stand. Absolutely. But THE ACTUAL stand, not some flat uninteresting version of it! 
8 Likes
That was my main interest from the moment I saw the stand and wands. A sort of click-bait and switch, or feels like that ,
5 Likes
The front is two layers…do you think the swirlies are inlays, or embossing? And that curved top – you’d have to do it with veneer, maybe. I can’t tell what the bottom of it looks like.
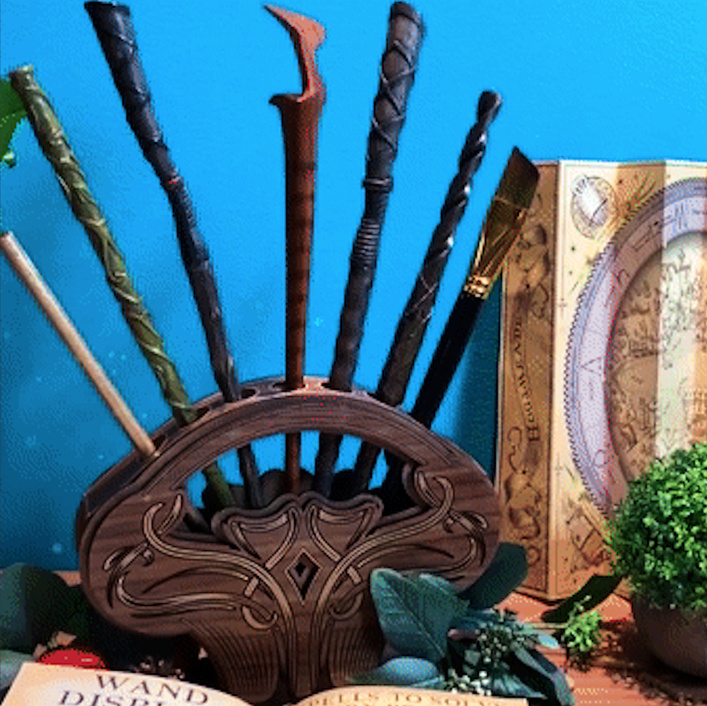
7 Likes
Definitely inlays as you ca see the base material at the outer edge.You could make it marquetry on a darker wood or even MDF though I would not want MDF in much of anything. If you made the base material of the curve basswood or even oak you could get it wet and bend it . I might even do the holes with a drill press after it is bent as they would cause a lot of weakness otherwise, making an even bend difficult…
The whole thing is dropped into an engraved hole in a big flat stand that looks too big for the job and probably some holes for the wand points to rest in. I would want to make the base much smaller
1 Like
Ditto, especially without some sort of guide for getting from point A to B. What might be a well-known process for some is a totally new concept for others.
3 Likes
Did this template only show up for some people? I’m not able to find any announcement or photos of the finished project, other than the SVG linked to by OP. Where was this content dropped? Thanks!
1 Like