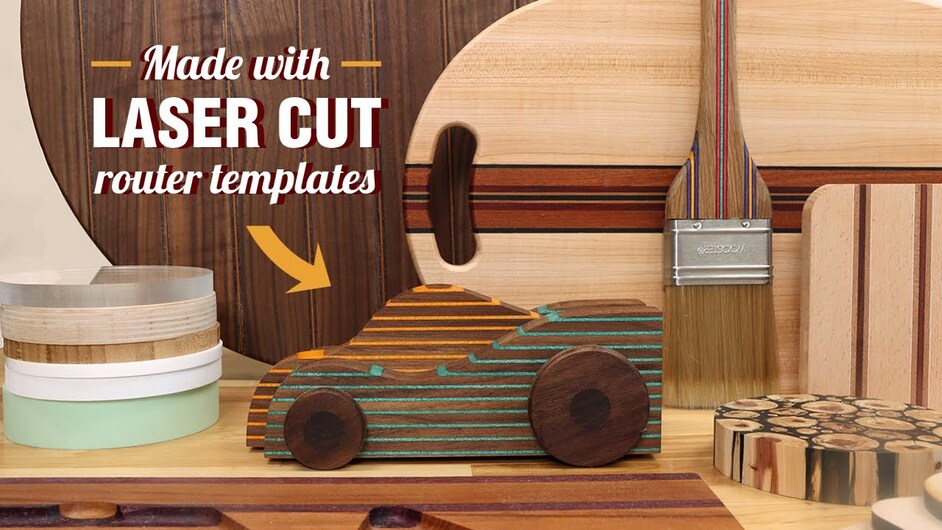
Hi everyone! I just wanted to let you know that I released a new video on making router templates with the Glowforge. This is useful if you want to cut thicker materials, larger materials, or materials that can’t normally be cut using a laser cutter. It’s almost-kinda-sorta like owning a CNC machine.
I actually liked that!
I’m a tough sell on videos, they are too slow, too long and generally poorly made. Yours was none of those things. Well done.
Well done, Thank You for your great ideas.
Thanks so much, @evansd2 - This was a fun one to make. I’m still struggling to learn how to make videos that are somewhat entertaining while being straight to the point. But it gets a little easier each time I make one. It’s just like anything else I guess. ha! I’m already excited to start the next one about inlays. Thanks again!
I don’t think you have any problems in the video area. You are a natural & the videos are very entertaining & educational. Keep up the great work. I shouldn’t say work because you make it look fun. Have a great day.
Rod
Hi Rod, thank you so much. I really appreciate it! They’re definitely fun to make - it doesn’t feel like work at all 
Beautiful work. I could never bring myself to actually use that paint brush!
Thanks so much. I hoping that if I use the brush, my painting will look SO MUCH BETTER. ha!
interestingly enough, that is one of the uses i had planned for BEAMER

Wow, that is amazing!
I feel like I need more equipment now… because that is SO COOL!!
Nice work! Great vid! There’s a Norm Abrams vibe going on. Nice workshop, too. So clean and organized! The boards are sweet, too! What’s next?
I really really liked that video! Great job! You have an amazing wood shop. Thank you for posting this.
Several comments:
- Your video was great and very informative
- Your video editing was also top notch
- Your shop is super clean. Whatever you are doing for dust is working great.
Thanks for sharing!
Cute! Was wondering why you would use the fancy wood for the rounded edge (first example)? Definite “less is more” by moving along and not showing the techniques you showed before, that others would show speeded up perhaps, that some would love and others would feel a bit left behind.
Thank you! I really appreciate it! Next, I’m planning to do build a data visualization that I’ve been working on - it combines laser cutting, CNC, programming, electronics, etc. But then I’ll be making an inlay tutorial video that showcases about a dozen different inlay techniques. The workshop is definitely organized… I have a lot of stuff crammed into that one-car garage. I love it though. Thanks for watching!
Thank you very much! That means a lot! I’m still pretty new to the video thing… but I’m learning fast. It’s so much fun. It definitely gets easier as you go (like anything else. ha!). For my dust collection, I’m using a few small Festool dust collectors. I learned that strategy from David Picciuto from Make Something. They are pricey but they work really well and I don’t need to add ductwork anywhere. It really needed to be as dust-free as possible as I also do a lot of work in electronics, coding, 3D printing, computer work/design - dust collection is really important.
Thanks! I was actually using the fancy wood on the first example because I wanted to experiment with using the colored veneers that I bought from Roarockit. I actually bought them for an inlay video that I’m planning, researching, etc… but they were too cool to not use in this video as well. Once I started with the glue-ups, I wound up spending a whole day making more, making way more than I needed. ha!
Would be fun to cut those before adding like this
Looking forward to more!
This topic was automatically closed 32 days after the last reply. New replies are no longer allowed.
