I’ve had my  for awhile now, and have graduated to making my own designs. When it had just arrived though, I was just learning Inkscape; dealing with SVGs after half a lifetime of jpgs, etc. Getting some of the catalog designs and being able to personalize them on the fly was a boon - to me, and to my friends. I could show off what the could do immediately and everyone was impressed and pleased with their personalized presents. That was not the only benefit, I also learned how I could visualize my own designs and even got an idea on how to make my own closure for one of my own designs later on from how the Desktop Tool Carousel is put together. Many months later, the personalized catalog designs are still in favor with my friends and get requested as presents. How can I refuse?!! Sometimes it gets me a free lunch…
So, how to easily personalize some catalog items? For those of you unsure - some insights follow for the following catalog items:
- Classic Airline Luggage tag
- You’ve Got Mail Holder
- Desktop Tool Carousel
- Miracle Hinge Coffee Sleeve
Some general tips:
- If you think you might make more than 1 it is definitely worth it to buy the unlimited version. If something goes wrong (and while still unfamiliar with your it very well may) you can just reset and start over, before you even print.
- When designing your personalized text or image, place it just outside of the design field on the left, i.e. -0.5" x -0.5". This way when you upload the artwork it is not lying on top of the catalog design. Especially text can be hard to pick up again as one unit.
- Once you have a workable design, save it as a template, before you change text to path. That way you have size, font, and placement that you can refer to over and over.
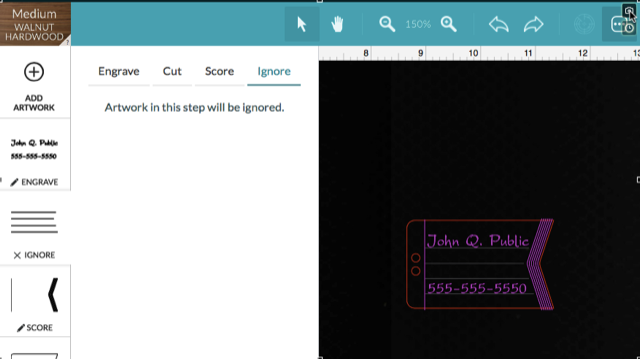
- Once you made changes to a design on the GFUI, it keeps the latest version. To reset to the original design, click the instruction icon (1st icon shown in this photo) on the toolbar and Reset Design. (on a one time purchase, if you’ve made a mistake, use the back button on the browser - which works only on the current job).
- Use the recommended
 materials - you’ll get the best results.
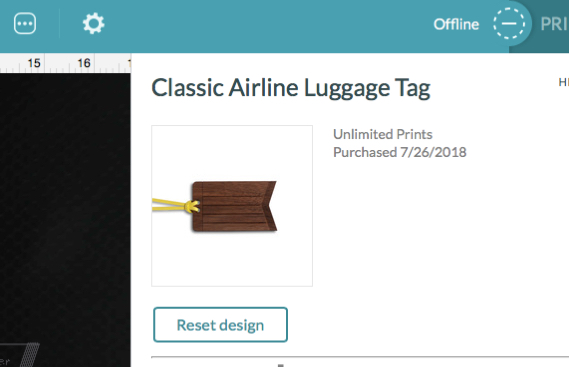
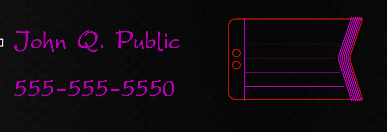
Classic Airline Luggage tag
- Load the design.
- Set material to PG medium walnut hardwood.
- Add artwork, upload your text saved as a plain svg.
- With the arrow key draw a box around the first line of text so you highlight all of it at once. You can now resize and then place on the tag. Do the same with the next lines.
- I usually use the lines for placement, then set the lines engrave to ignore.
- Print!
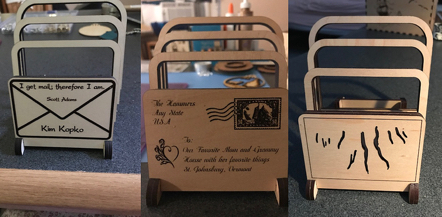
You’ve Got Mail Holder
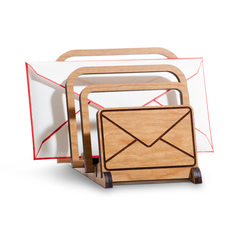
The first mail sorter I made, I simply added some text to the envelope (follow above instructions). But I also measured the panel for future use. Design within a rectangle: 3.11” x 2.01”.
- Load the mail holder.
- Add your artwork, do a minimal resize if necessary and place on the front panel (over the envelope).
- Set the envelope engrave step to Ignore.
- Print!
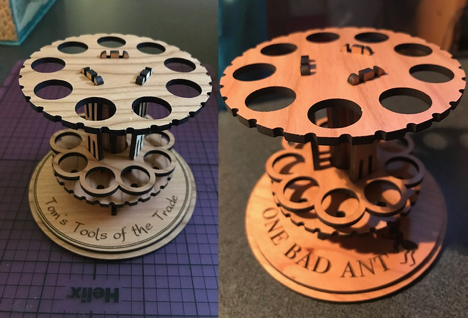
Desktop Tool Carousel
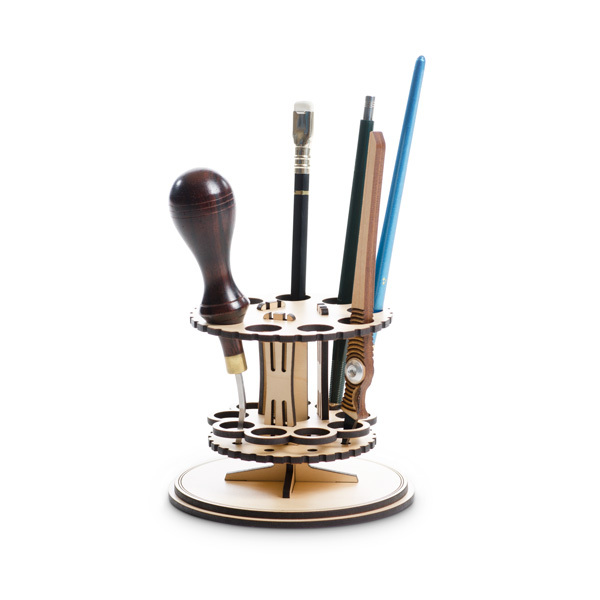
The desk tool carousel is also a favorite and I personalize the bottom round with a quote or company logo or just a pretty round border. Template svg for this:

- The outer circle is the size of the smaller circle at the bottom, the one with the score, and the one you want to engrave. The inner circle is a guide on which you can add your text.
- Search Youtube on how to put text on a circle path in the graphic program you are using and convert to path.
- Delete the circle you used to make the path.
- Upload design and artwork.
- Place artwork on smaller circle.
- You may want to set the circle score step in the catalog design to Ignore.
- Print!
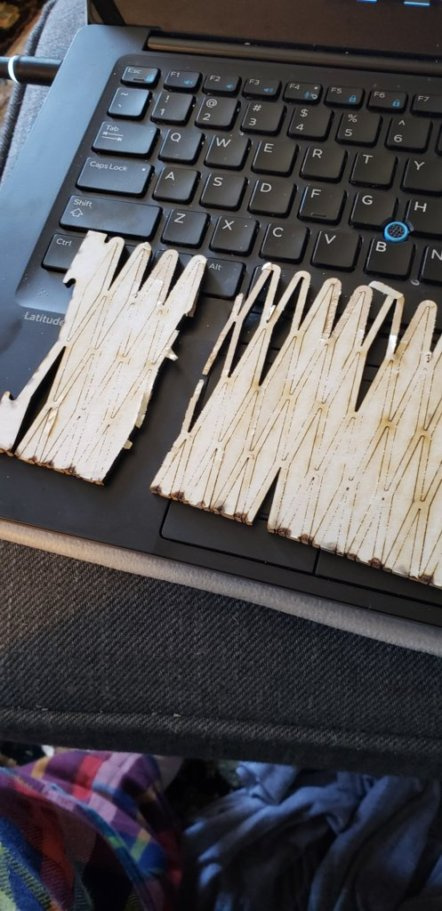
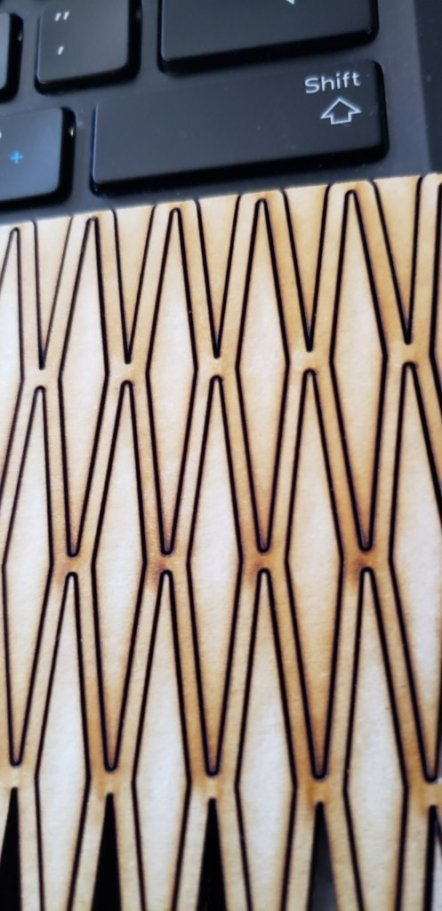
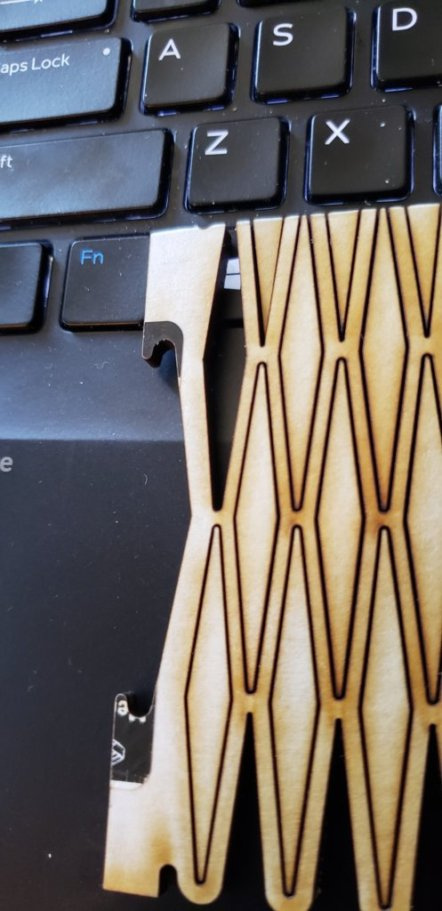
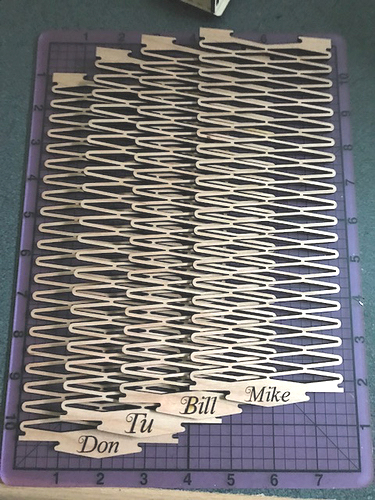
Miracle Hinge Coffee Sleeve
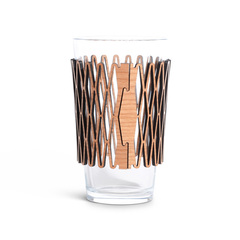
My husband’s lunch buddies all wanted a coffee sleeve, I think I made 12 by now… all personalized.
- Create your text.
- Upload the catalog design, and then your artwork.
- If the artwork loaded on top of the sleeve, move the sleeve out of the way first to another part of your screen. Then capture the full text (by using your cursor to draw a rectangle around the text), rather than individual letters. Move them out of the way, close to where they ultimately will go. Move the sleeve in place on where you want it to print. Now grab the text again as before and place it.
- Print!
Because the sleeve is big and the text is small it does require some patience, changing screen size shifting screen, etc to get these placed. Use the back button the the GFUI if you have to. It is worth it though when you see their faces!
Well, that’s it. You got the drift! Don’t dismiss those catalog items. Have fun with them!