I’ve successfully made a few blocks for block printing. Now I want to make multi-colored blocks, however I need each block to line up perfectly with the others… Any tips on how to accomplice this on the GF? Off of the GF it is easy because I made an L-shaped bracket and just butt the corners together, but if the burn itself isn’t also lined up…
Some more detail on exactly what you are doing would be helpful.
I think you are talking about cutting blocks for each color to be printed on top of one another and, are asking about how to register the blocks. Is that correct?
Are you cutting/carving pieces on the Glowforge and mounting them on handles/thicker pieces of wood?
Maybe some photos of what you are doing would help.
There are quite a number of printing registration techniques. I have experimented with quite a few. One is likely adaptable to what you want.
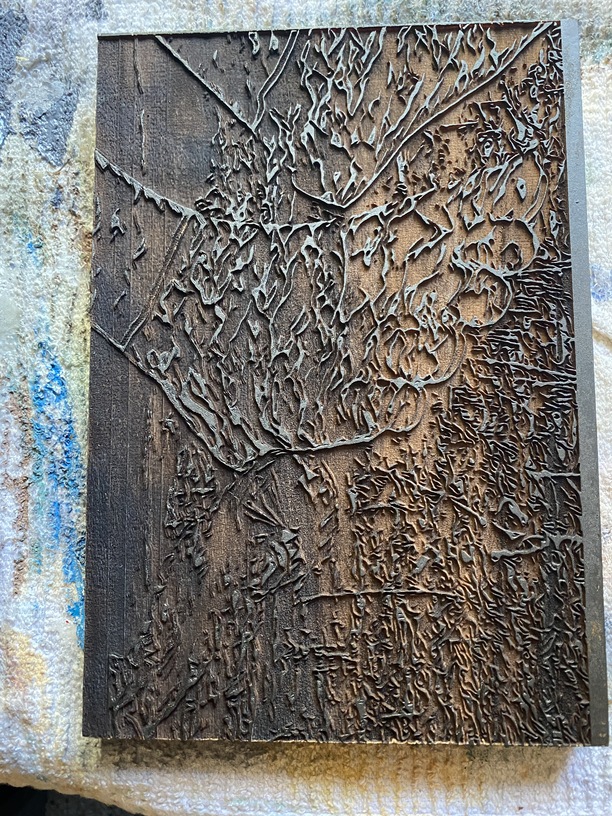
Right now I’m working on a two color print: black, and another color to fill the negative space. Here’s an image. I just need to be able to line both identical blocks up in the GF. Once outside of the GF, I can take it from there because I have a setup that holds identical sizes of wood in place, which works as long as the engraving is aligned across the blocks. So, my first step is making sure I can get each color (because my images are separated into colors to engrave) to line up on an identical board in GF, so when I transfer to my setup I can know that everything aligns…
Ahh, okay, I think I understand: you are laser carving the entire surface of a piece of wood to use as your printing block and, you need matching designs carved on two identically-sized boards.
This is likely a job for a jig. If you have calibrated your machine, you can likely get very good visual registration with the camera but, probably not hairline registration, which will likely show with what you are describing.
There is quite a bit of discussion in the forums on various registration techniques. Here is a tutorial on the basics of how jigs work, which you can likely adapt:
Searching on “registration” and “jig” will get you many more discussions with variants.
I would probably include an outline vector the exact size of my board in my artwork. I would put down a sheet of paper in the machine, doing something to attach it to the bed (painters’ tape, removable adhesive mat, etc.) and, use the laser at a low power to mark the outline.
I would use the outline to position a corner bracket piece to the outline. I have some acrylic rulers with magnets I made for that purpose but, you could just cut a square out of MDF or Draftboard and, lock it down with honeycomb pins or tape. The key is for it to be fixed to the bed so you won’t move it accidentally.
Then, you can then disable the outline vector in the Glowforge user interface and, carve your design. As long as you do not move anything in the machine or in the software, it will cut and engrave in the exact same spot.
Another simpler approach would be to use a board larger than what you want for your final block and, cut the final size piece out as part of the same job where you carve it. Then, the blocks should be as well registered as your original files.
In my experience (and this is not my primary specialty), when you are trying to do hairline registration, you usually need some way to make adjustments at print time to get it spot-on. Visual alignment with a calibrated machine should get you there if you can adjust the printing position of the second block by a couple millimeters at print time.
Most of the time, when I am attempting what you are describing, I have just done a flood fill or print of the base color, then over-printed the second color with an opaque pigment-based ink. Hairline registration for something like what’s in your image can be difficult under the best conditions.
Welcome to the forum.
You have asked a question in an old post, so it is possible the original poster won’t get back to you quickly or at all. In general, you can find lots of information by utilizing the search function here in the forum. For engraving wood, I usually start with one of the Proofgrade settings and adjust as needed for my image and desired final effect.