Hi everyone, I hope the holiday preparations are going well for you! If you need a fun gift idea here is a video I made exploring a technique for making custom puzzles .
The heart of the project is this Cuttle template that allows you to preview the puzzle size and how the image lands with all the cuts, and then allows you to export all the files you need for every step.
The template is fairly self-explanatory so in the video I covered mostly the steps for making the puzzle, in summary:
You start by uploading an image (this is a Cuttle Pro feature) and selecting the number of columns , rows, the size of each piece and the bleed.
Then you download the files which include a blank, a PDF with your image properly scaled for printing, and the final puzzle cut.
You start by cutting the blank, which is a rectangle that is slightly bigger than the final puzzle. Then you remove it from the bed and prepare one of the sides for gluing the image by sanding off the finish.
Then you print the image PDF on good paper, glue it on the blank, put some masking tape on it and place it back on the Glowforge bed for the final puzzle cut.
Then you remove the masking tape from both sides and optionally apply some clear coat.
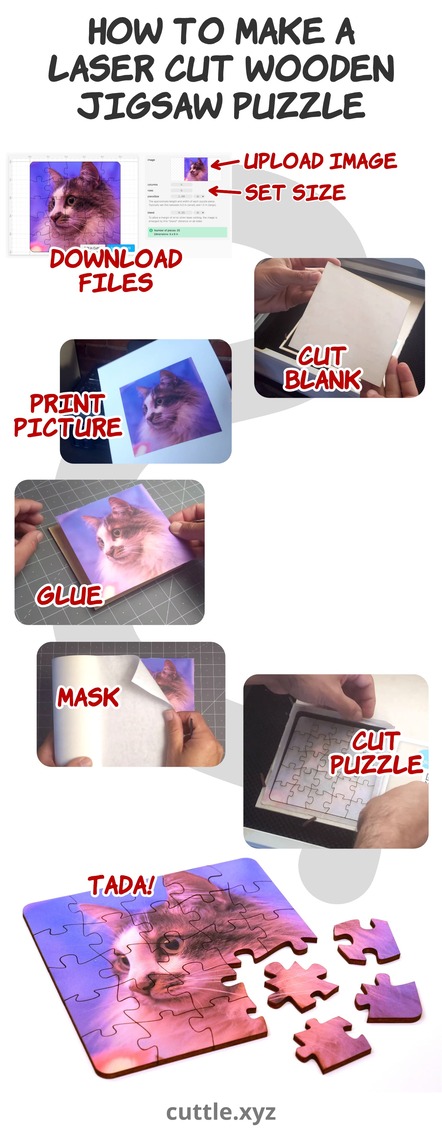
@tobyschachman made this really nice summary of the process in a single image:
In the video above we used a premium matte printing paper for the image, the wood was Proofgrade Light Maple Plywood and 3M spray adhesive to bond them together.
I thought I could get a fancier look by using photo paper but I had mixed results. I don’t think it cuts as cleanly and several pieces delaminated a little in the process of peeling off the masking tape. There are many types of photo paper out there and I only tested a couple though, so if you want to achieve that shiny look you might have to experiment a little.
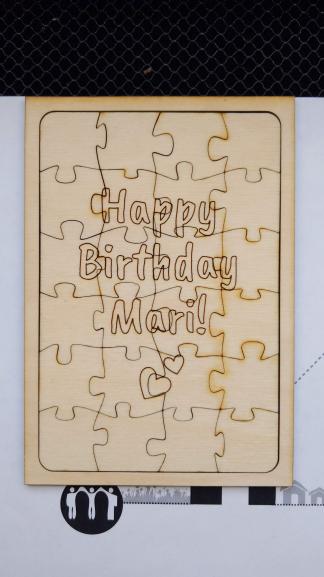
Another experimental idea I tried was flipping the blank and scoring a custom message on the back which you could see if the puzzle is put together on a glass table. Or, I suppose, if you where to have a design that covers the whole area you could make a double sided puzzle
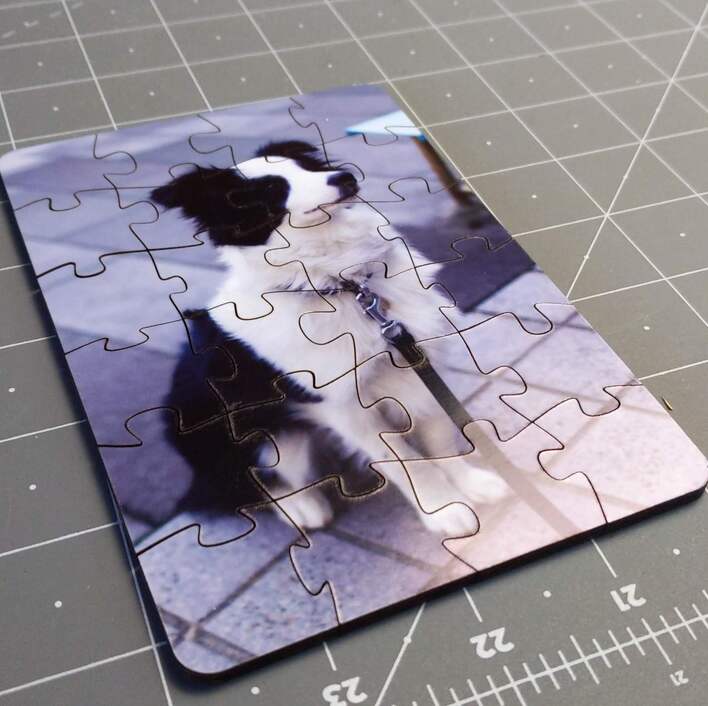
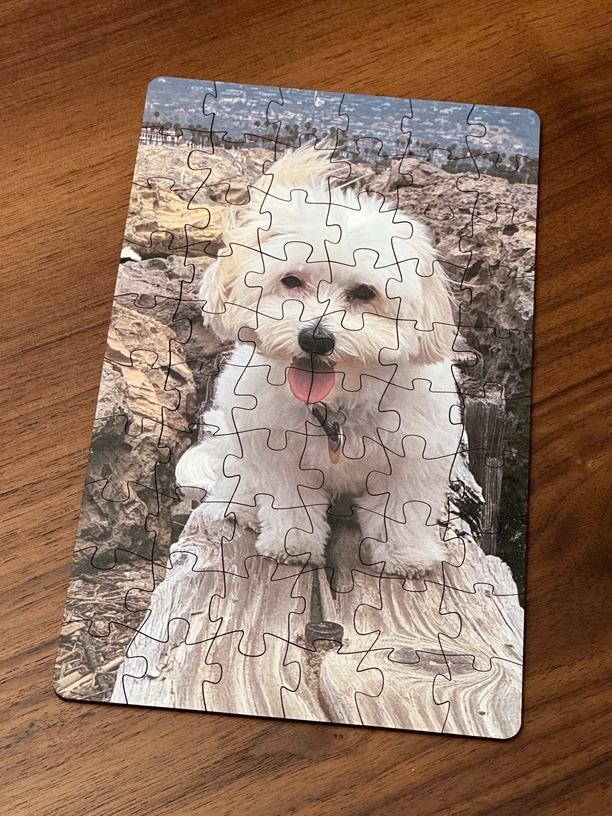
Just finished making this 6"×8" puzzle made with a photo of my dad’s dog. I hope he likes it!
If you look closely (edit: left side 4th piece from the top) you’ll see that there’s a small blemish where the masking tape I used while laser cutting tore off some of the photo print paper. I think this might have been caused by a bit of spray glue getting on the front side of the print, so be careful when handling the photo print after applying the glue. It might even make sense to only apply glue to the wood side to prevent this.
What I’m wondering here is why couldn’t a picture for being cut into a puzzle be placed face down before cutting. Jyst a thouggt as i was reading the forum here.if it works could be a life saver for some other ceafters out here in GF land.
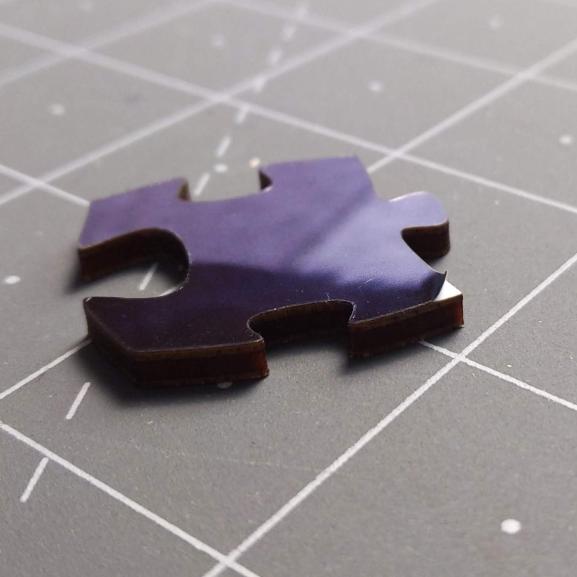
Is your idea that if the puzzle is face down you could get away with not masking it? In my experience the back of a piece also gets marred from “flashbacks” on the honeycomb. Would you need to raise the sheet a bit above the honeycomb?
The jigsaw puzzle Cuttle template is already good about ordering the cuts so that the inner pieces get cut first.
I understand bigger professional operations will put a lot of effort into tuning their air assist system to do clean cuts without needing any additional masking. For example:
Not sure if these kinds of techniques are possible with a GF but I’d love to hear if anyone has any experience with that!
I find that the GF makes a good amount of smoke/haze no matter what my settings, so if I’m not planning on sanding/cleaning the piece I will mask the material on both sides.
The biggest bit of advice I have is to have a squeaky clean cutting tray to cut down on most of the back flash residue redeposit.
The next best bet would be the air suction tray that @evansd2 designed. That might help to keep the dirty vapor from redepositing on the back of the puzzle.
I know of several companies that cut puzzles upside down, since they have score lines on the backs of the pieces to add details to shaped pieces (called whimsies).