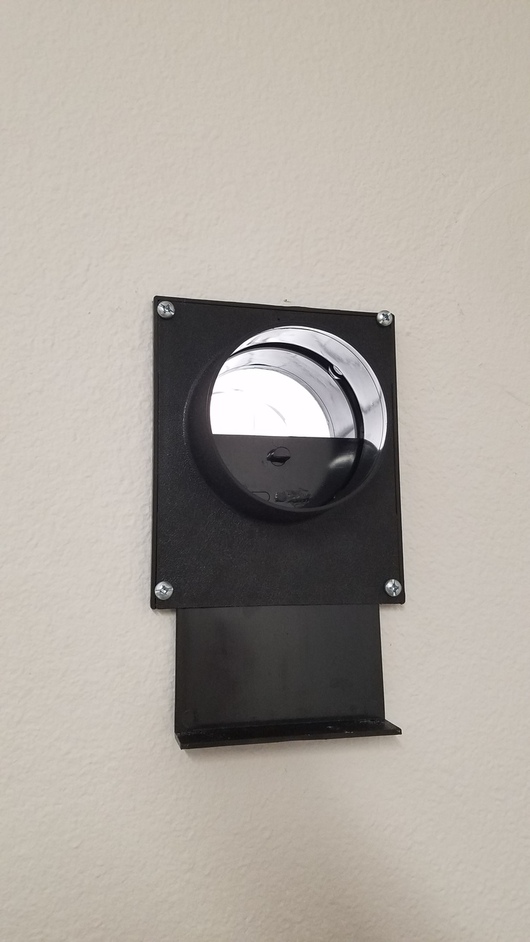
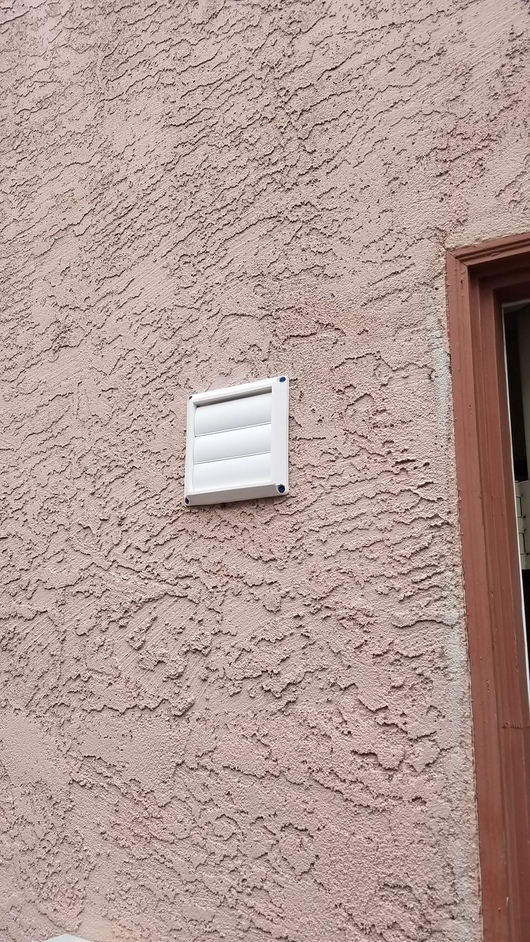
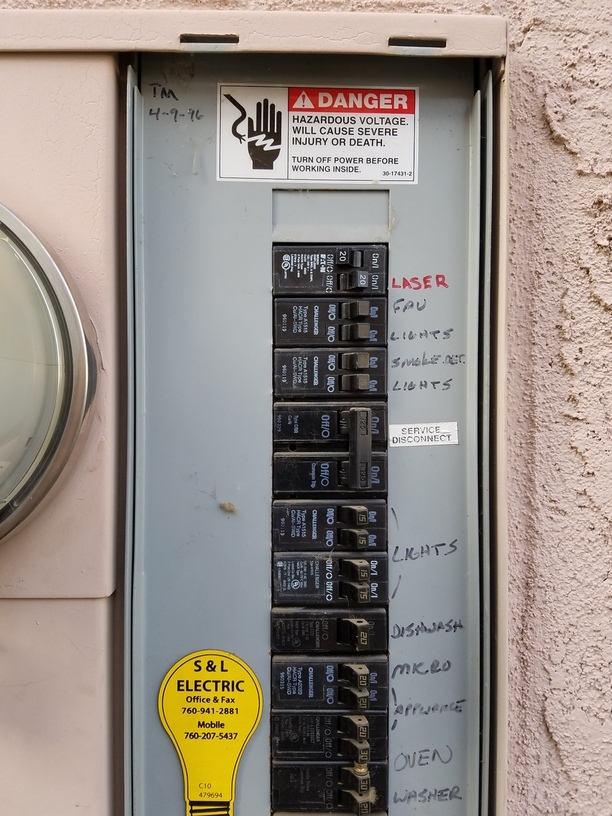
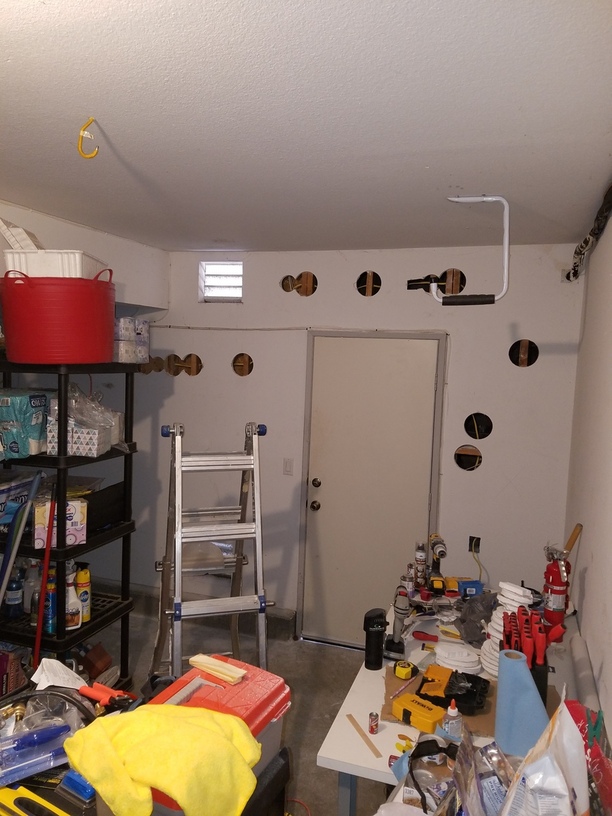
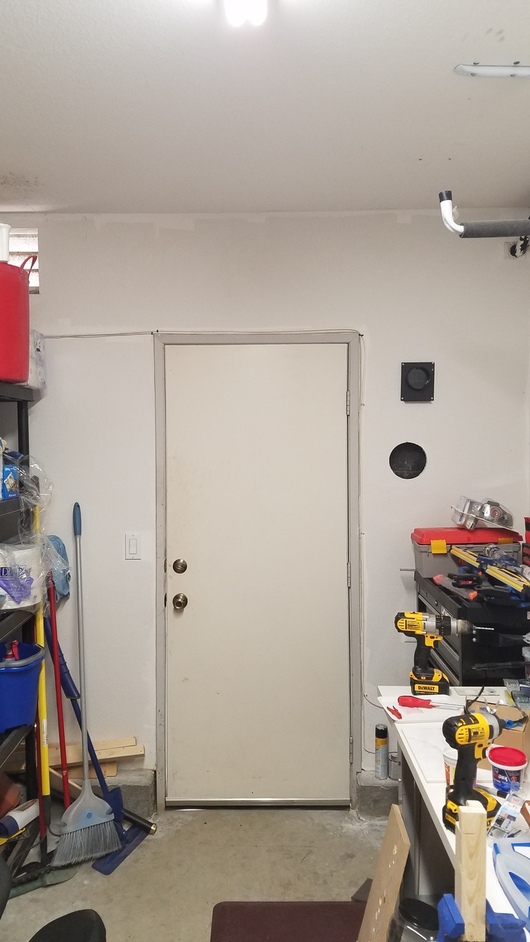
I’ve been lurking on this forum for awhile and now that delivery is getting close I thought I should start posting a bit. Spending the long weekend getting everything ready for a glowforge. Pulled a new 20amp line through the walls (all to code) and drilled a hole to vent outside.
Nice, neat job. I’m envious!
6 Likes
So looking forward to seeing what you make with the Glowforge. Thanks for posting. The workshop is essential for this enterprise. Always good to see them to help motivate the preparations.
3 Likes
Getting the vent in … makes you feel so good! Great job!
1 Like
Good job! I need to practice patching drywall. I understand the theory but I’ve never actually done it. Having the capability to put holes in the wall and make them go away again would unlock dozens of projects I have in mind.
4 Likes
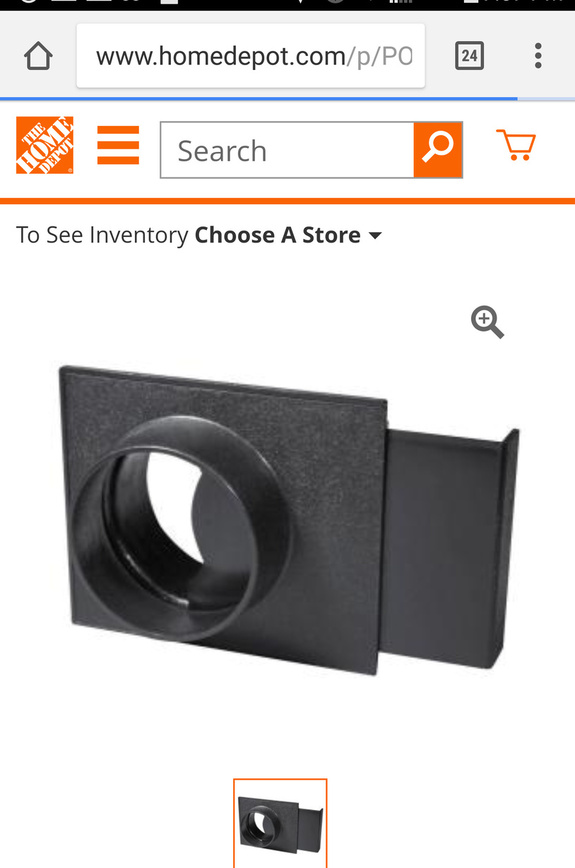
I like the “gate” on the inside of the vent. Where did you find this?
You’ve done well to wait as there are some great new products out there that are so much easier these days.
I think a stud finder might make life easier  Good preparations.
Patching is a breeze. Use a 6" or 4" circular drywall cutter in your drill to make the holes. Save all the circular drywall plugs. Place a 2" wide strip of 1/8" thick wood on the inside across the center of the hole. Secure wood and circular plug with drywall screws. Spackle, texture and paint.
10 Likes
Woohoo
1 Like
22 Likes
Fantastic work!
1 Like
Ha! I still have 1 hole to plug (wall access to clamp and seal the vent during installation). Maybe I’ll try to make a video of that when I get around to it.
2 Likes
Thank you. Pulling 20 amp cable through the wall took hours. The rest went pretty quick. Found an old chromebox and hacked it to run Ubuntu so I’ll have a great little design station setup right next to the glowforge.
3 Likes
NAILED it! ROFLMAO
1 Like