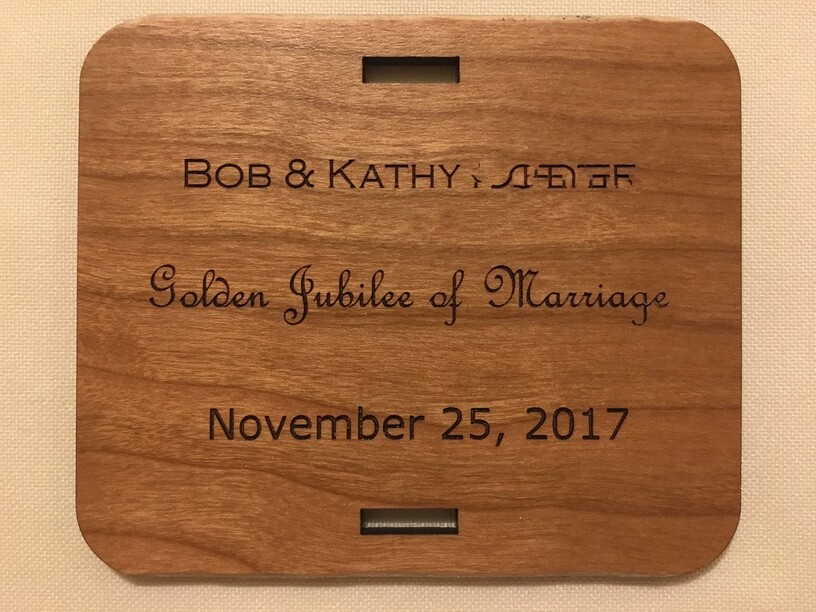
Since I did the Proofgrade round tokens for a 40th, I wanted to try something else for a 50th of some parishioners. I wanted to do something special for this couple because they are a huge part of our parish and Kathy has been a source of inspiration for ideas, projects and materials for the Glowforge. All the cool kids were doing travertine coasters for Thanksgiving so I headed to Lowes hardware to source something interesting. Didn’t find 4x4" travertine there, but did find some sheets of 2x4 polished marble that would work just great. 15 tiles per sheet. Two sheets would do for this.
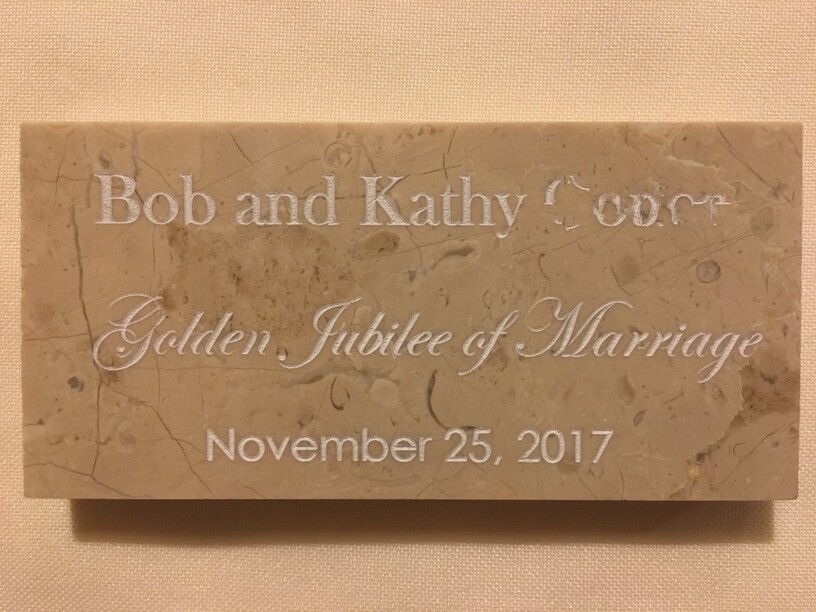
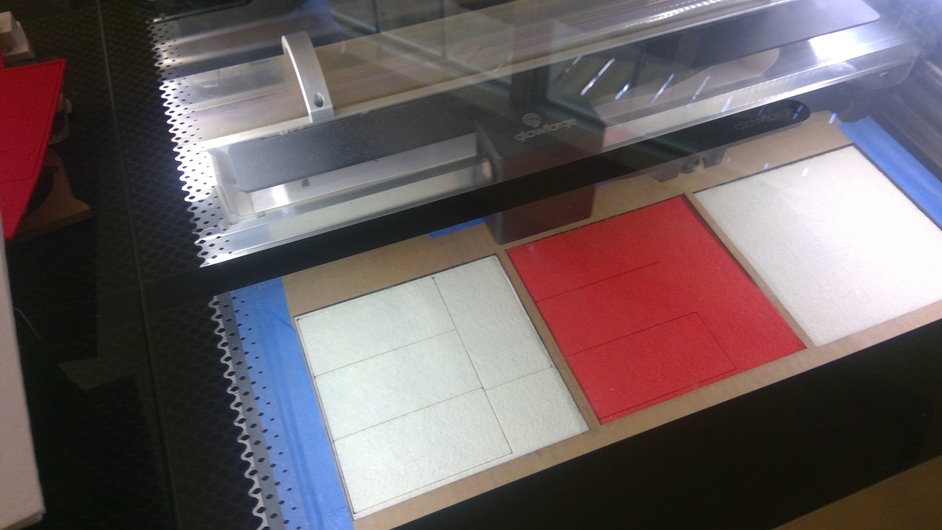
Thought about doing some type of infill, but the contrast is ok for this engrave. Just tested a bit on the back of one tile and came up with settings. Could have done three passes, but the depth was enough with just two and this marble engraved well with enough contrast. Next time I might get some white marble grout and go over each tile’s engraving. I have a wet polisher that I have to make concrete countertops with and could polish down each tile again. Except that my brother has the polisher and I didn’t have much time to finish these.

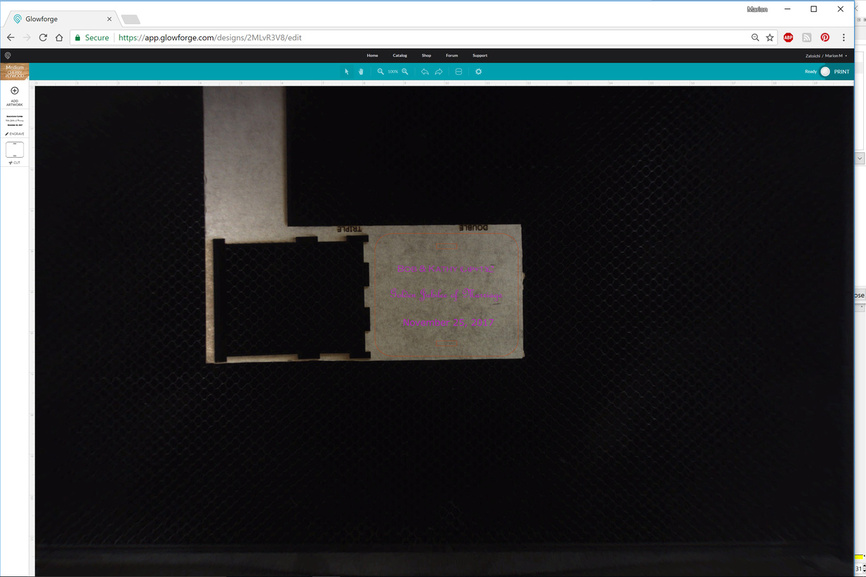
Pretty simple file here. All Inkscape. Measured the tiles and made the red rectangle to cut out a jig for the individual tiles to lie in. The black text turned into paths was there to engrave. Then used the tiled clone tool to lay out multiples.
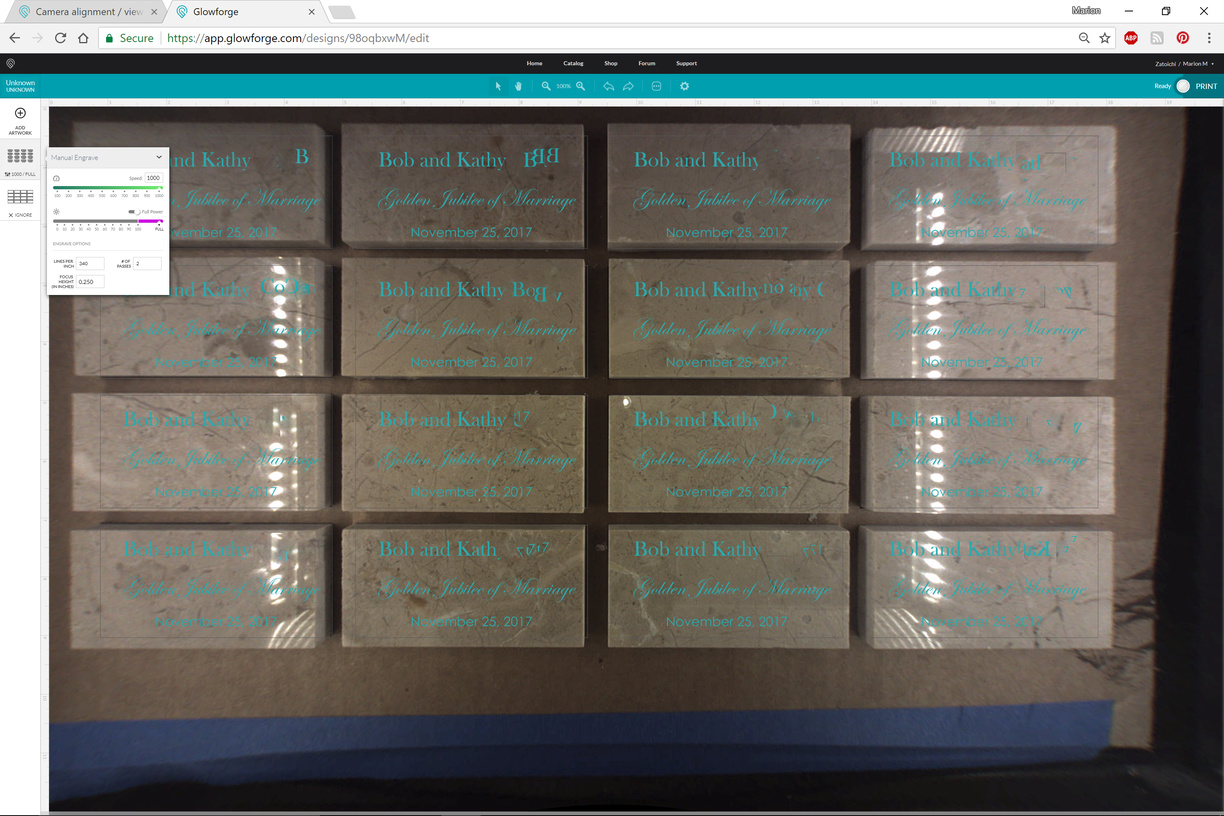
Put a large sheet of cardboard in the bed, taped to the crumb tray. Brought in the 20x12 artboard as is with no manual positioning of the design. First cut out the holes for the tiles to lay in in the cardboard, ignoring the engrave. Remember to enter in the thickness of the material for the cardboard for this step. Once the cardboard is cut, I placed the marble tiles in for the engrave operation, not changing the placement of the design, but simply changed the material thickness for the engrave to 1/4". One thing to note is that because of the parallax of the lid camera picture with such a short focal length, remember ignore the seeming out of whack placement of the design.
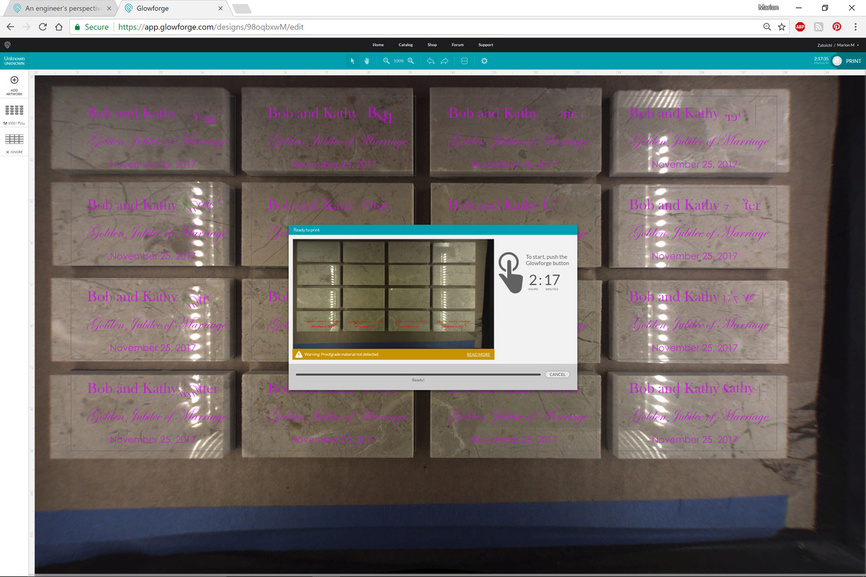
The first set of tiles was done with the text engrave of the individual tiles as separate objects. There was some curious engraving dancing as it did one tile bottom right, and so assumed it would do all tiles individually, but then started doing all the tiles with a raster movement the width of the engraving as the whole bed. Fascinating. So the second set of tiles, I uploaded the design again with the text of all the tiles combined into one compound object. Didn’t really affect the length of the print. As long as you don’t move the cardboard in the bed or move the design in the operations space, you are good to go with exact placement.
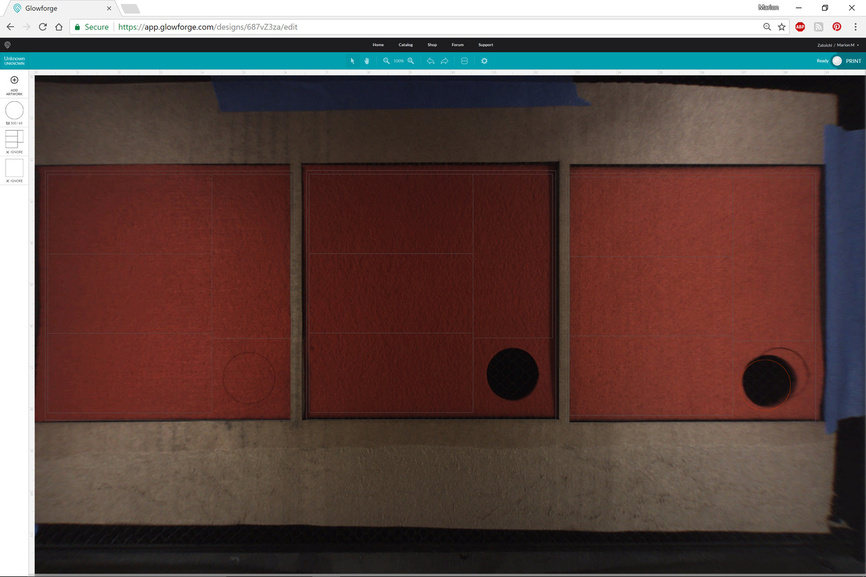
Had some polyester craft felt that I used for a soft base for each tile. Made another jig to fit the felt squares into for repeating easily the cuts needed for the base. The three little circles were tests in figuring out how much pew it needed. A little all-purpose spray adhesive stuck the felt to the base and we have a nice paperweight.
![IMG_3967[1]](/uploads/db6859/original/3X/6/2/62eed51e373fc086003f5da994625fc052959be2.JPG)
Made a custom box to fit the tiles in. I do like how practical these box-making programs are for doing one off boxes of cardboard, although I might want to get a different color masking tape. The blue is a bit obnoxious at times. I did finish it with wrapping tissue though.
![IMG_3968[1]](/uploads/db6859/original/3X/5/7/57d48d530b90e8f156e0895a2e415a19dda30ca0.JPG)
And the final touch was a ribbon holder for package.
The jig method of position is very helpful, but if you have a one off design that you want to print on some scrap, the camera works just fine, well within the 1/4" margin for me. Playing to the Glowforge’s strengths here.