I’m going to be making a bunch of smaller projects that are probably not individually worth sharing, but which may be of interest to some. I’ll use this post as a sort of log and I’ll try to include notes about anything that I learned.
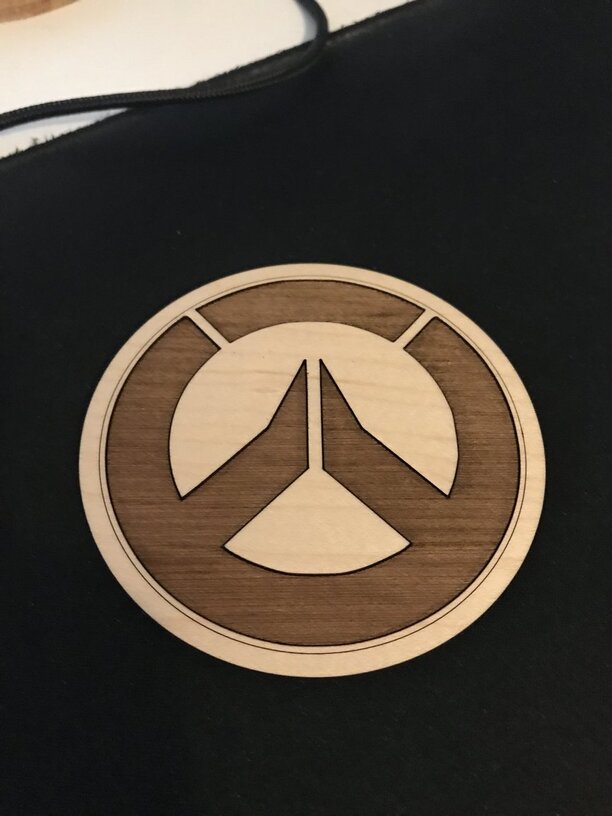
I’ll start with a very simple round coaster with the Overwatch (video game) logo, made out of 1/8" Proofgrade Maple Plywood.
This still isn’t quite what I intended, but it’s close. The logo was intended to be engraved in two different shades, but it looks the same in my result. Here’s the original source image, which I used the colors from in my first attempt:
For that attempt, I used light engrave and the yellow section barely burned through the masking paper. I adjusted the colors, added a score line around the logo segments, and tried again with the result above. I think I overcompensated and made the colors too close together so they engraved at the same power.
I should have tested these smaller instead of wasting a 3.5" circle of proofgrade for each test – I may adjust the colors and do some additional tests later to see if I can get the result I was looking for but I’m still unspeakably happy that I could design and run both tests in about an hour.
I’ve had good results when wanting to do light engraves by removing the masking. This can mean some extra clean up but it allows me lighter engraves than I could get with the masking in place. I always do this with photo engraves.
By adjusting the colors, you mean in the design? Is this an SVG that you brought in or an exported bitmap?
If it is an SVG, it doesn’t mater what color it is. The engrave will depend on the settings in the Glowforge. So pick lighter for the top arc and darkest for the rest.
If you export it as a bitmap, you have to have different shades of grey in the bitmap, not just different colors and then the difference between the shades should be quite pronounced as percentages.
Yes. That can be a bit unclear. It means engrave according to the final color you want on the material and NOT according to the colors of the fill of the vectors.
I imagine that the ambiguity of having the same setting do different things when you have a bitmap vs. a vector in the layer has been pointed out to the Glowforge team, but I’ll pile on and report that as well.
Contrast aside, this looks very sleek! Love your tip to run a smaller version as a test before doing something big like this… Gonna have to remember that one on my bigger projects.
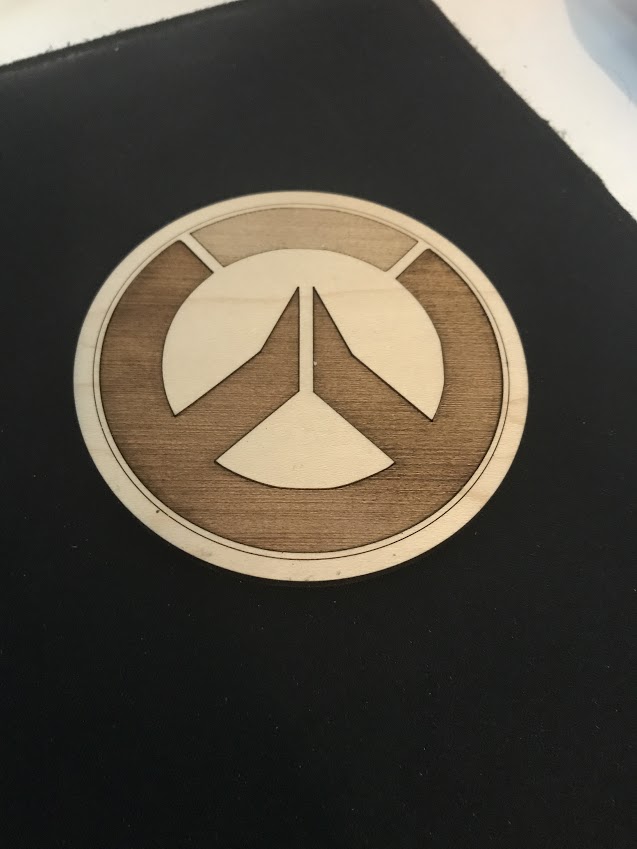
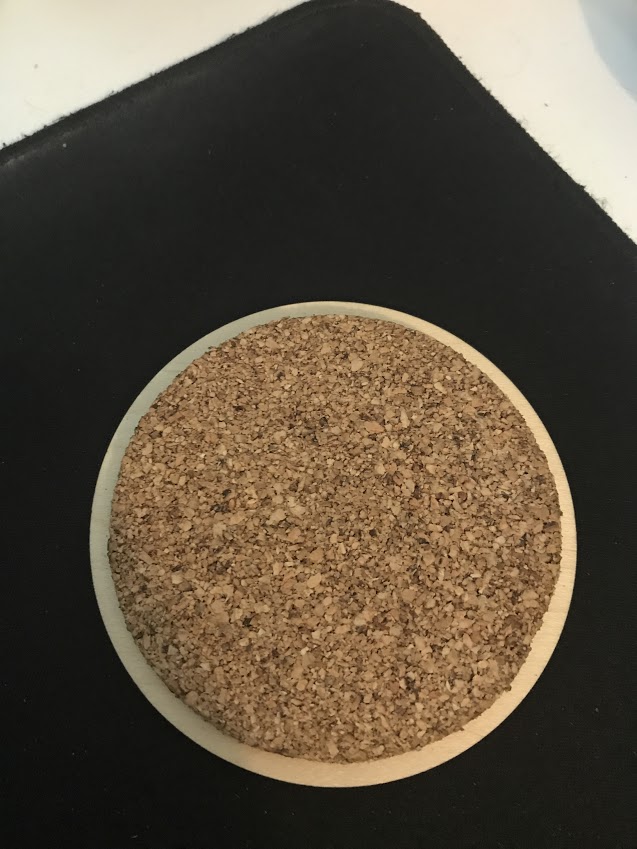
Victory declared on the coaster project. I used a light engrave setting on the top segment and ran two passes over it. Pleased enough that I cut some cork for the backing. Unfortunately my cork was either too thick (0.18") or the binder used in the cork agglomeration was problematic and I couldn’t cut all the way through it. I eventually gave up and resorted to an Exacto knife and called it done.
If you engrave cork, looks to me that there will be very little subtlety in the result. Mostly burned or unburned. This is an old test on a round coaster using a very low res drawing.
It appears there are several types of material that are either burnt or not burnt, this is where halftone and other dithering techniques are going to have to be experimented with.
I saw some results in another thread that showed some more gradations on cork, but the trick was to use a grey as the darkest color rather than black. Need to work around the lowest power setting not being low enough, IIRC.
I intend to engrave black DiBond ACP to reveal the aluminium. So I think that will be either black or sliver with nothing in between. I wonder what the horizontal dot rate will be for halftoning.
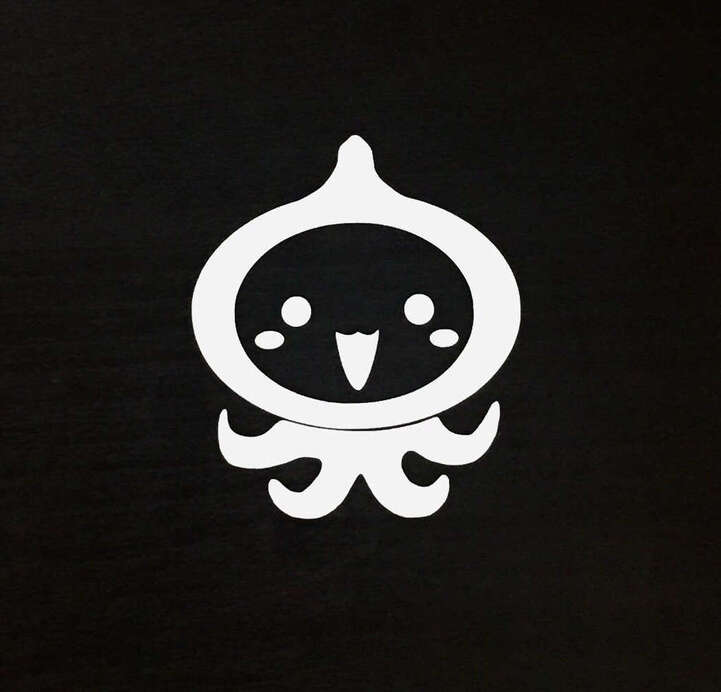
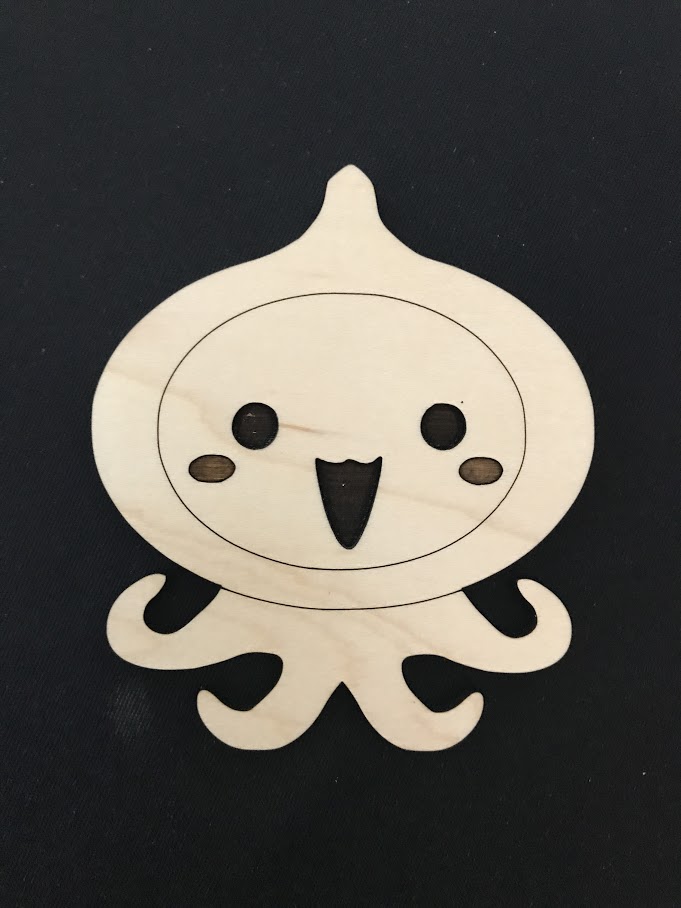
Very simple project this morning that was a mix of Inkscape practice and a prototype for a future project I’m planning. As should be obvious by my coaster, I’m a fan of the Overwatch video game. They have an adorable creation in the game called a Pachimari that was the basis of my practice today.
Imported the image into Inkscape, vectorized it, and did some cleanup and editing of the vectors to adjust the size and position of the upper tentacles and split it into score/cut/engrave layers.
Cut on some scrap 1/8" Maple Plywood (which is ridiculously nice, I’m very spoiled by it) in about 4 minutes.
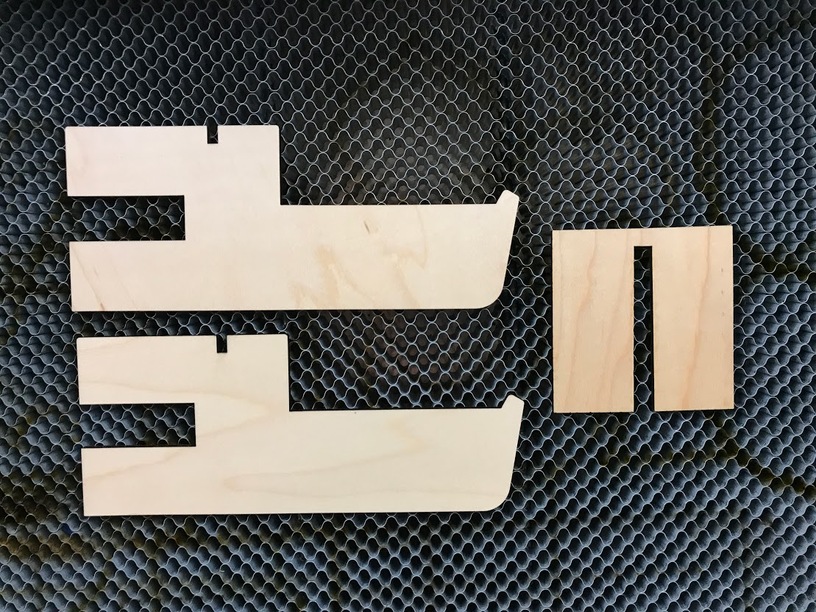
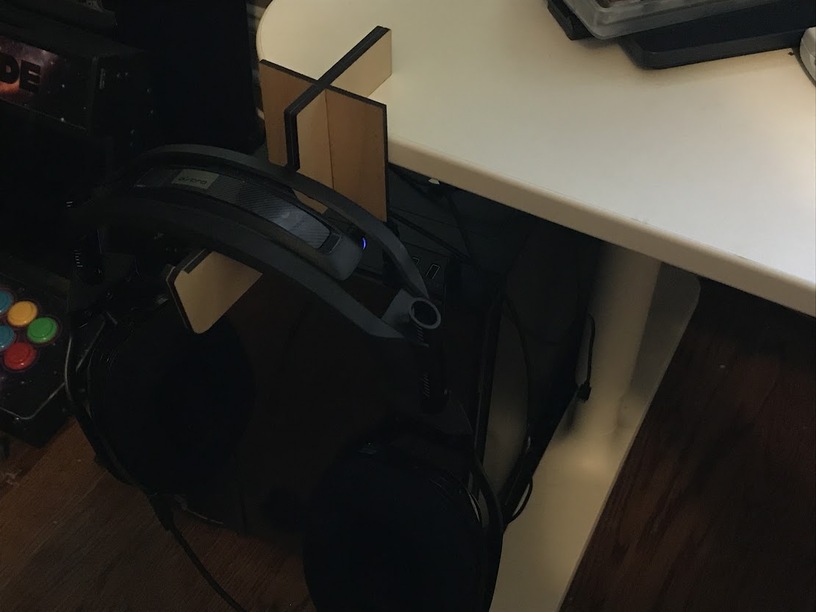
Yesterday I made a very simple headphone hook that friction clamps to my desk to hold my gaming headphones. It’s a couple of layers of 1/8" Maple Plywood with a small clip that holds them together. I intended for the clip to be flush with the slot that attaches to my desk but I got distracted and goof. It works well enough that I can’t be bothered to fix it.
First thing I’ve designed using Fusion 360 and the slicer. It was pretty straightforward.
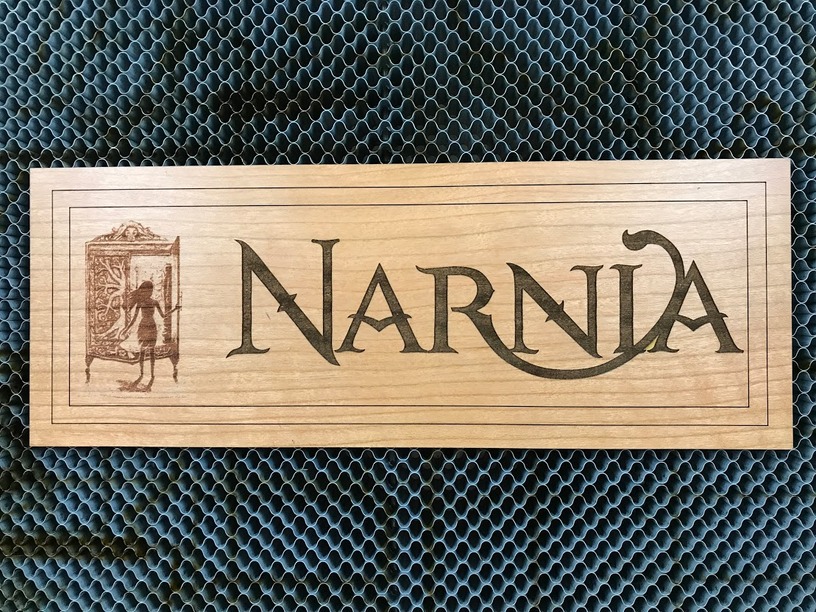
Another sign this morning, this time for my wife. My kids are all very active in dance and my wife helps out a great deal with costuming. She spends many hours a week at the dance studio in the costume closet with a couple of other mothers who also help out. They spend so much time there that the closet got nicknamed “Narnia”.
Naturally, I thought we should make it more official with a sign. Medium 1/8" Cherry Plywood . Took about 15 minutes to cut once I had it designed. There was a fair amount of fiddling with the text to clean up the vectors and then some fairly simple adjustments to the wardrobe image to adjust levels and contrast. I’m pretty happy with how it turned out.


 a functional piece and a decorative one. Both are really cool, I really like (need) the headphone rest!