MDF LED sign base 2.0 wall mounted

Made an LED sign for my older son to hang on his wall. Total cost in materials…about $6.

Could easily sell for $30 or more.


Cut from 3mm MDF

Installed LED wire through hole in side.


Used hot glue to secure LED strip in place


Glued piece of red acrylic on top of LEDs to make the sign red. (or use red LEDs)

Put the sides on…no glue needed as it fits nice and tight.

Shot of inside guts.

Check to make sure it lights up red😜

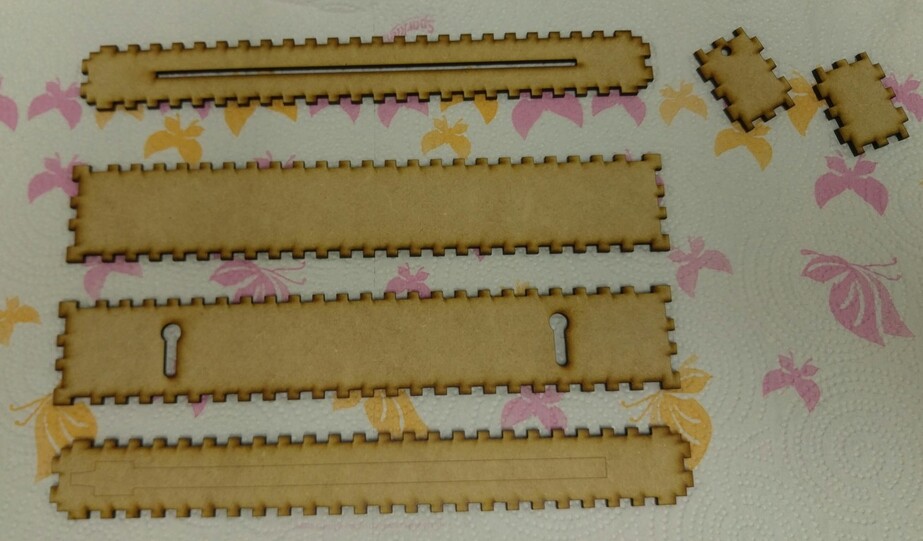
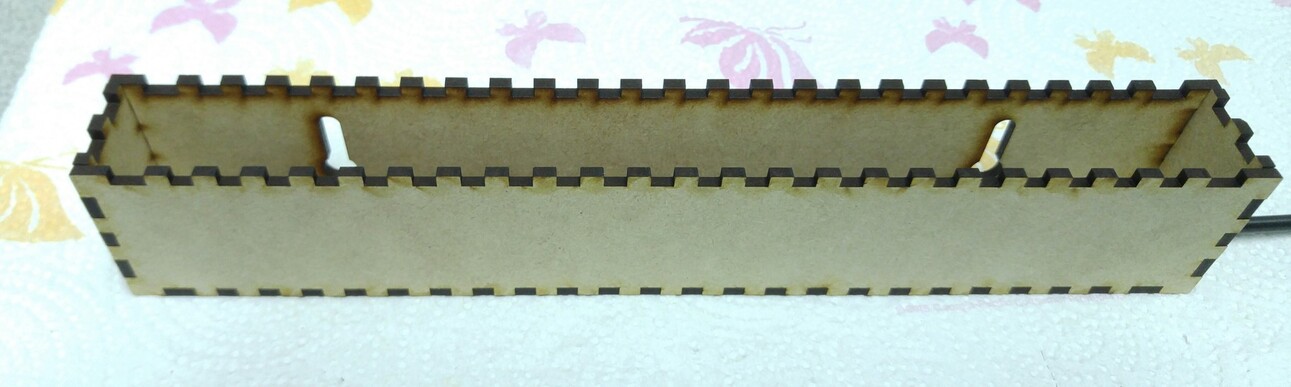
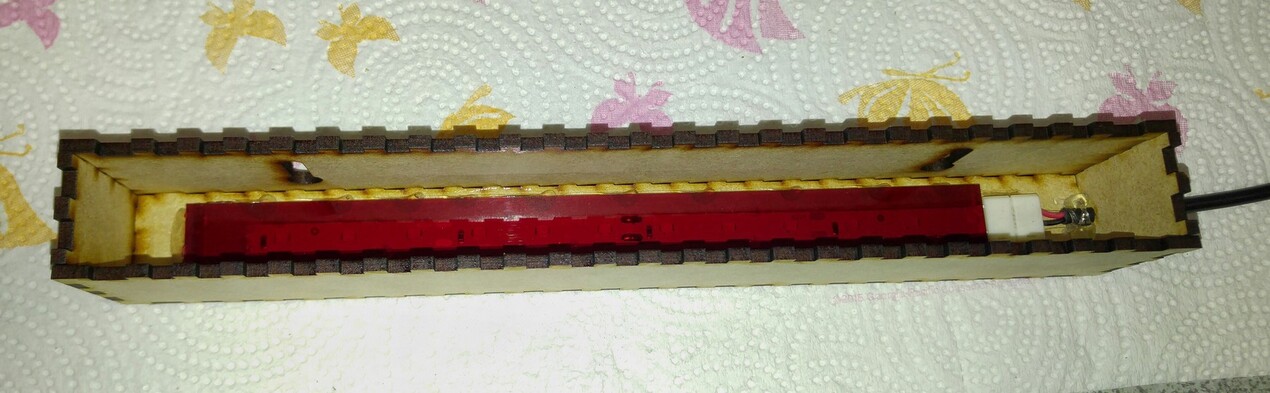
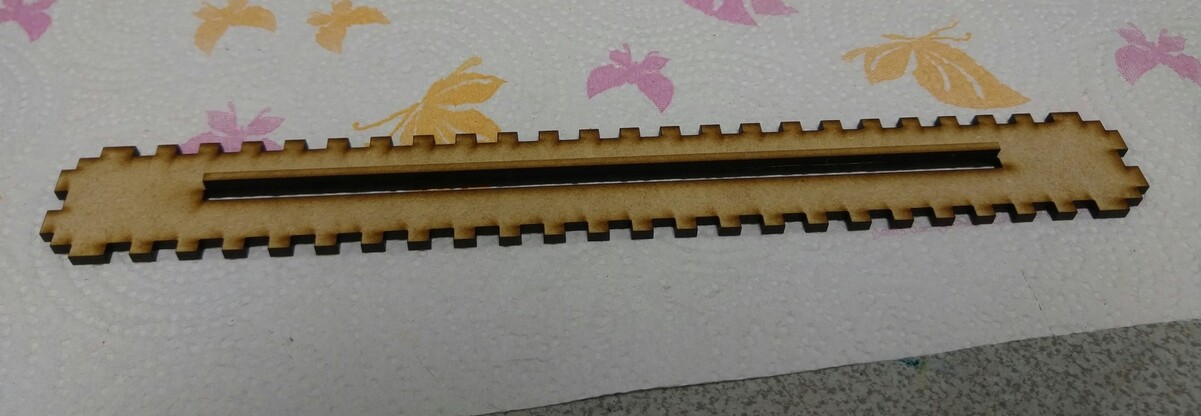
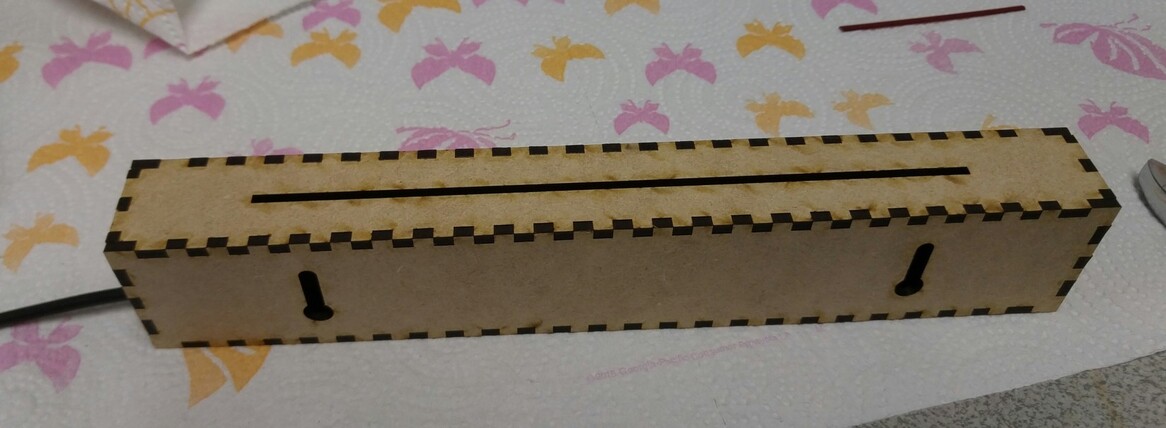
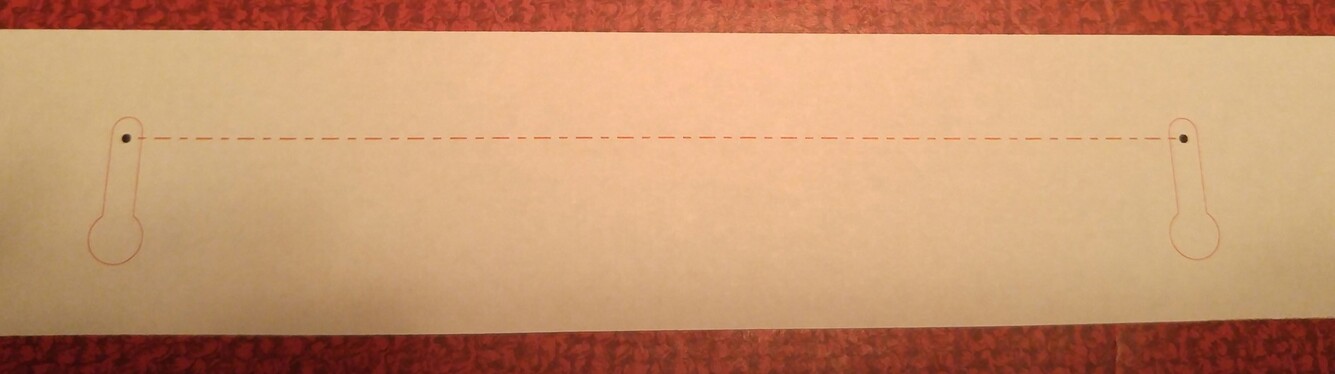
Glued the piece that came out of the top slot to keep the insert straight (next time I will add an additional middle layer that fits in the middle of the box horizontally with a slot for a better guide for the sign insert to stay straight)

Shot of the back with the wall mount holes.

Painted the base and inserted sign.

All lit up.:grin::heart: His last name is Morgan and in JROTC, he was a Capt. so technically its his rank and name…:grin:

Even made a guide for his wall screws. :grin:

62 Likes

very cool project. thanks for the ideas.

3 Likes

The edges of the ends of the box, where the smoke darkened it slightly makes it look puffy, kind of like a cookie. Makes me hungry. Very cool project that I would like to duplicate when I get my Glowforge. Thank you for sharing it.:yum:

2 Likes

Love the behind the scenes look! Thanks for sharing.

3 Likes

Very cool Lady!
If my Mom had been a laser artist…

1 Like

Very cool & nice design features! I’m sure he’ll appreciate it.

1 Like

He is going to love it, I even want one! :laughing:

1 Like

Great creation! Has my wheels turning :0)

1 Like

Well he’s got a job so I charged him for it…lol

9 Likes

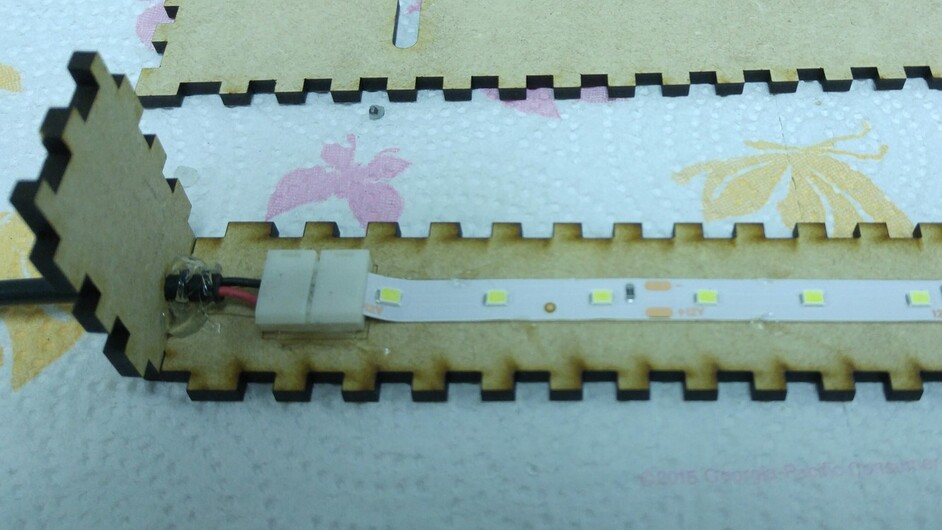
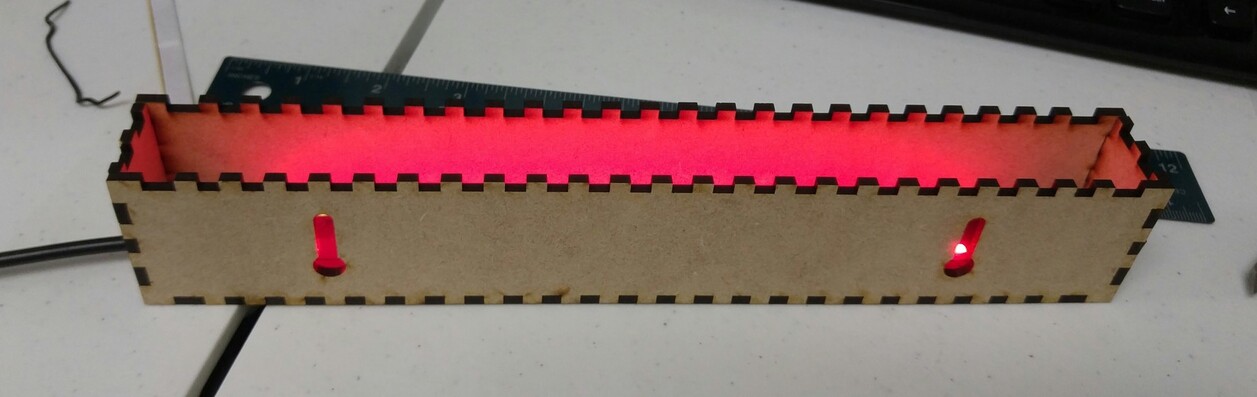
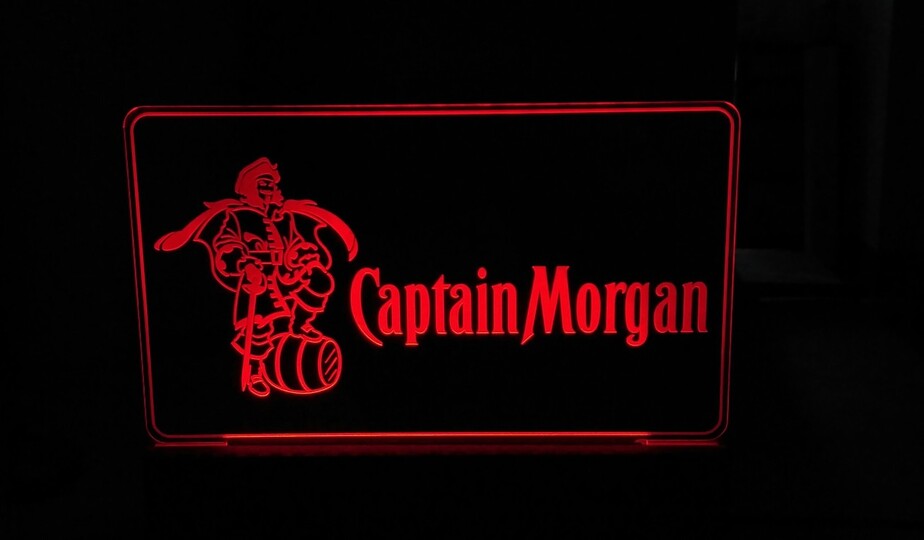
Very nice job! You showed that you used the red acrylic to make the leds red. So is the sign itself in clear acrylic? (Do you have a pic with the light off?) Again - great job!! (I think I need to “tighten” up my ventilation on my K40 before I try acrylic- from what I heard):mask:

2 Likes

Another project at the high level of wonderful we’ve come to expect from you!

2 Likes

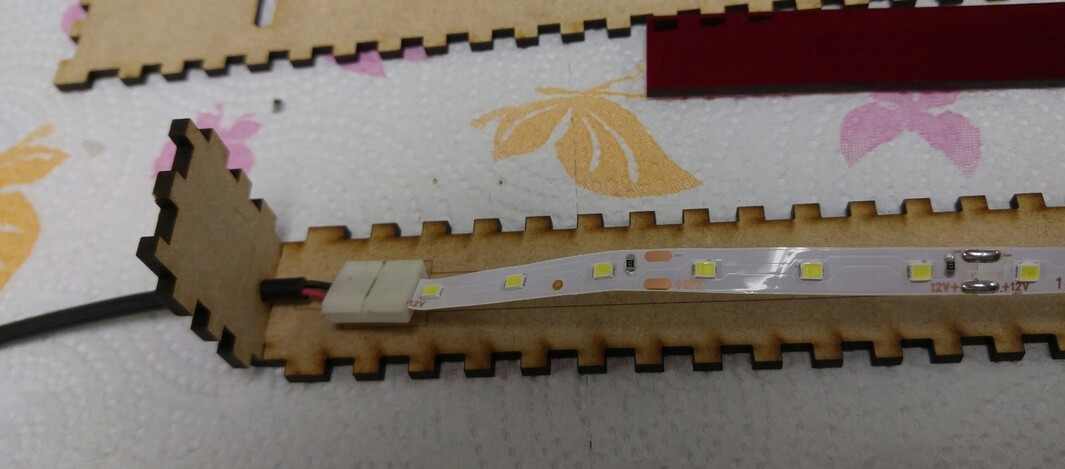
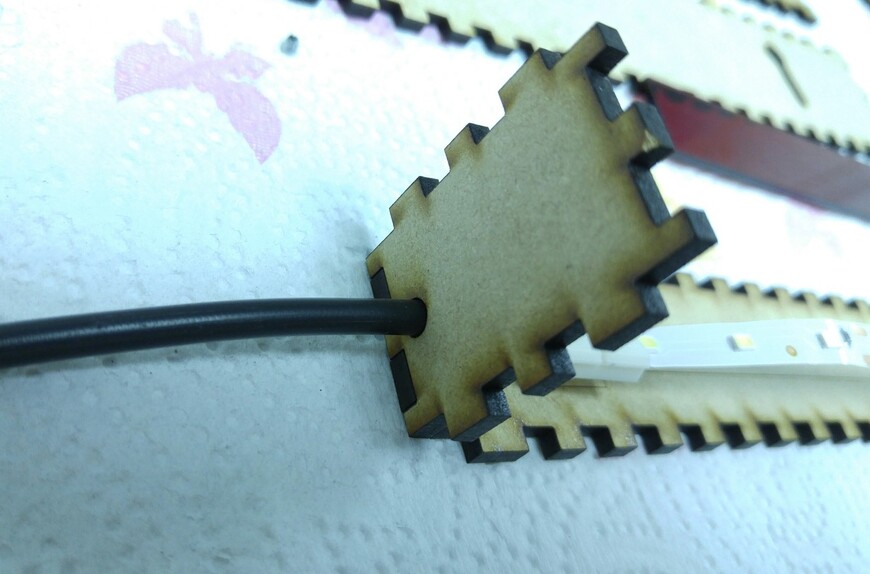
Nice!! I like the end product. I like the beginning steps - laser cut light enclosure with LEDs (white and red acrilic or red) then I’m lost until the Cap Morgan (white on black - and lit by red light streaming through the slot from below the Cap Morgan print?) Do you need dark ambient room lighting to have this effect? Laser cutting is for the light enclosure only? Excuse so many questions, it’s only that I like what you did so much that I do so.

2 Likes

Awesome job! Lucky kids! :grin:

3 Likes

You know you already impress me…and to add this …what a grayt job…loving the many cuts. :thumbsup:

2 Likes

Sorry…I did a light box before and showed the sign on that…hence the 2.0 in the name…lol
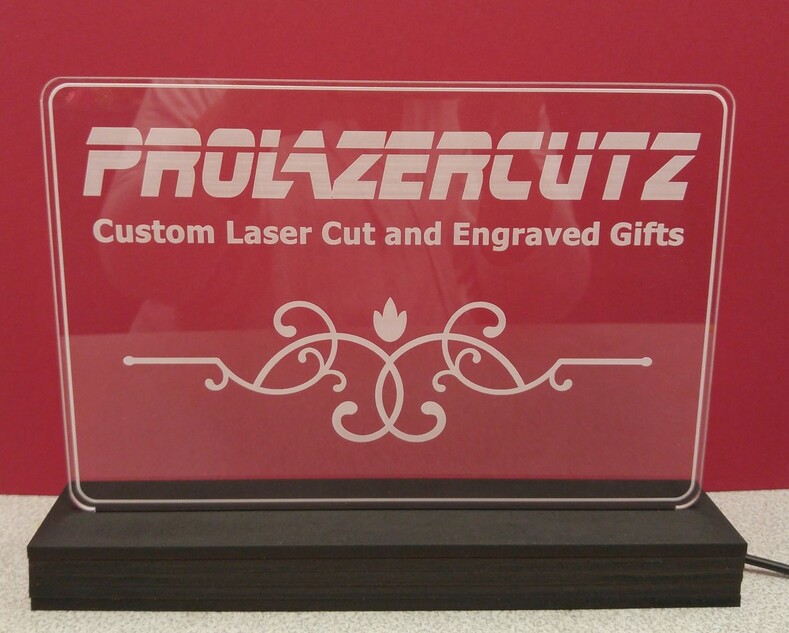
I’ll add the additional pictures when I get back to the office. This was from the first one with a different sign.
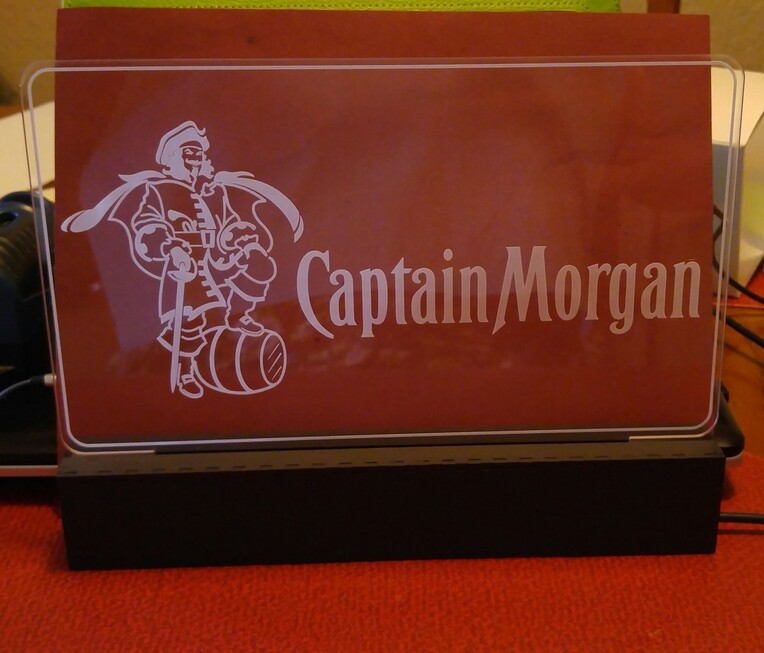
Here ya go @PlGHEADED, sign is clear cast

6 Likes

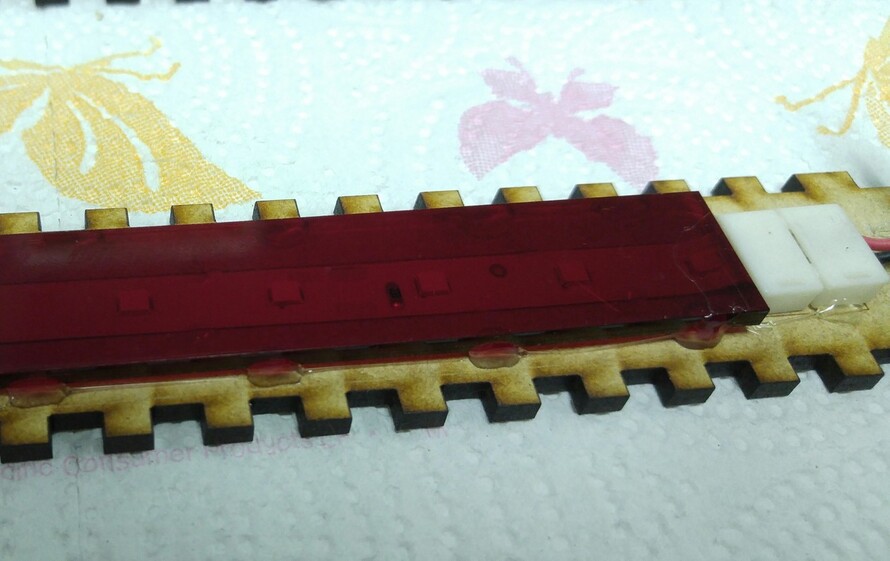
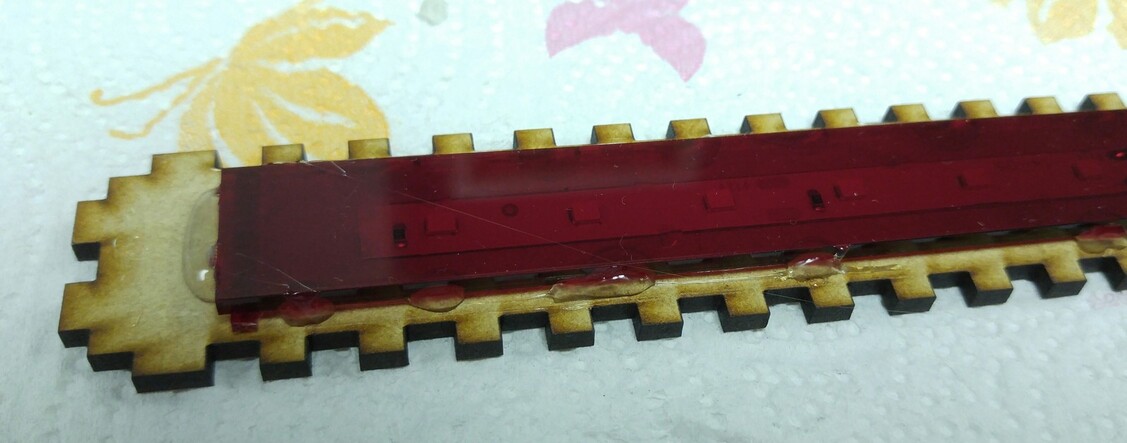
Instead of having alot different colored LEDs, I use the white and add a piece of acrylic to make what ever colors…I have lots of acrylic scraps to use so it works for me.:grin: Yes, the sign is clear cast acrylic.

4 Likes

Awesome, I plan to make a bunch of these.

On a separate note, I have a friend whose rank was Major… Major Johnson.
LOL that is a heck of a title to live up to.

5 Likes

Great little project!
I’m planning on doing edge lit stuff and its always cool seeing how people do their bases

2 Likes

HOLY CRAP!!! That is sooooo friggen awesome!!

2 Likes

Brilliant! Gonna need to use that myself. :slight_smile:

2 Likes