miBook?

Hopefully WD doesn’t sue me for that one.

I took one for the team.

I wanted to engrave something - but I didn’t know what. I looked through thousands of images I’ve done over the years. None seemed right with that goofy Apple right in the middle. Obviously, Apple was thinking about reaping the rewards of movie, TV and Starbucks exposure and not those of us with laser beams.

@jules said, “Rio, duh” - or, it sounded like that. That’s how I read it. Heard it in my head. Kinda like, “yessssss, mother”. But kinda like a mom, she was right (how do they do that?).

I figured I’d put an image of Rio on there. Why not? His head can’t really get any bigger - just not physically possible.

My first thought was Rio running with a stick in his mouth when I first got him. Mainly because I didn’t want to sit in Photoshop purgatory trying to isolate a picture. So I sat in Photoshop purgatory…

I started with an image that would be about the biggest PITA to isolate, but it tied the Glowforge back into the project, because it was an image to show off his Glowforge-made collar. Fair warning, my job of isolating him in the image probably won’t get me out of purgatory. But it did the trick.

Here’s Rio in Photoshop, floating in kind of a transparent space. He’s not a fan of that. The good thing about that is he won’t be using my credit card to sign up for any of Elon Musk’s trips.

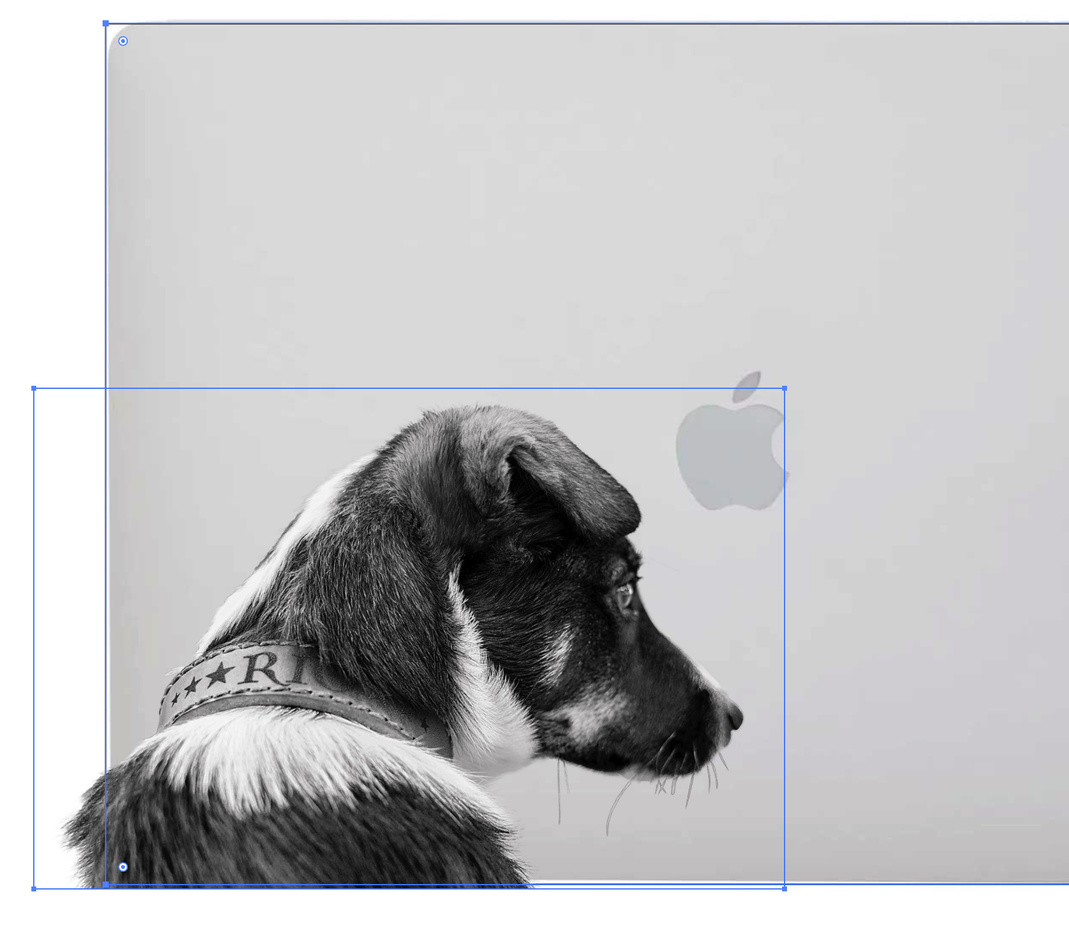
I grabbed the dimensions of the mid-2015 MacBook Pro off of the Apple website and headed to Illustrator. I set up my typical 20x12" artboard and then drew out a rectangle to the size Apple told me my Macbook was. I wanted to use a jig for this. I didn’t want any mishaps. I didn’t want any misalignments. I didn’t want any guessing.

I also went to the web and downloaded an over the top product shot. Bare with me…

I dropped Rio into the document and then dropped the product shot in as well. I scaled the product shot to match my rectangle. It wasn’t perfect, but it was realllllly close, so I could live with it. I scaled Rio down and put him where I wanted him. He’s so good at listening. I made sure that he didn’t fall on the Apple bug in the dang dead center of my laptop. This is why I got the product shot to reference off of.

I also scootched him over the bottom and left edges. I figured the only thing worse than a bad engrave would be a bad engrave that left really bad looking lines that were not flush with the edges of the laptop. Basically, I set him up as a full bleed.

20%20PM

Since I used my full-res image, it came out to 677ppi. I had noticed the HD MacBook settings were for 340LPI, so that was almost perfect (I try to have my image PPI double that of the LPI).

Things were going pretty good… because it was still just digital. I hadn’t committed to anything yet. Hey, I’m not afraid of commitment… but you only do this once! I grabbed some baltic birch out of the pile - stacked up 4 sheets… I didn’t want my bleed to waste an entire sheet of baltic birch, so I threw a piece of .08" chipboard on top of that to sacrifice to the Glowforge Gods.

So, here’s where things get real. I figured the height of all of that and uploaded Rio to the Glowforge. He didn’t like that either until I explained why he had to go into the machine. Then he was cool… big head.

18 megs of SVG-goodness loaded up in the UI and I hit print. A beautiful little rectangle appeared on the chipboard. #whatmadethis

I popped the top, shut down the laptop and stuck it in the machine.

And pulled it back out.

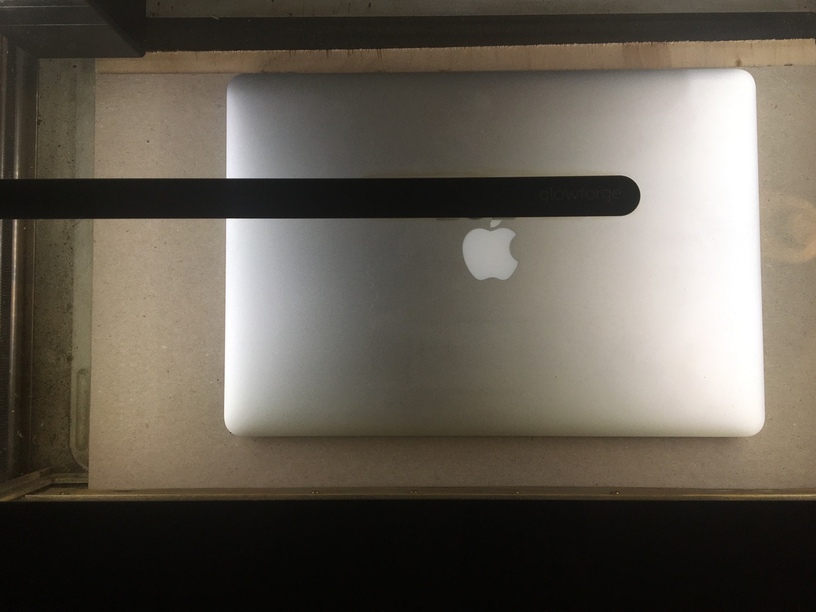
My laptop goes through h e double hockey sticks y’all. It goes on roadtrips, camping, it’s paddled into Canada and waded the Rio Grande into Mexico. It needed a cleaning… I got a few lens wipes out and started to rub her down. I wanted any dirt, any traces of oil, any trace of anything gone just leaving me good ol’ anodized aluminum.

I stuck the laptop inside the marks and got ready to rip… nothing could stop me now. Nothing could go wrong. Nothing’ll stop me now!

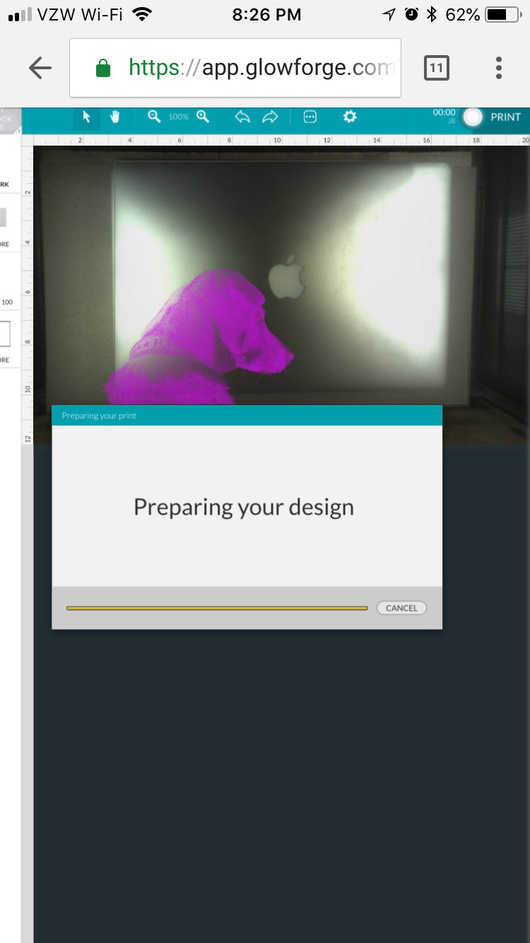
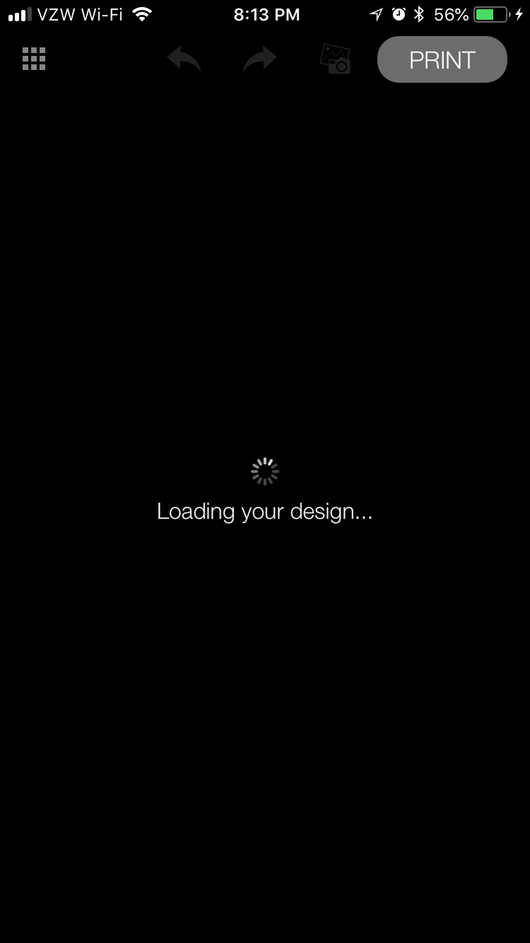
I loaded up the new Glowforge app and went to open my design… I waited. And I waited. And I waited… it just didn’t want to render the design. And the MBP is my only computer in the house…

I said, “crap, Rio.”

He said, “don’t worry, there’s more than one way to skin a cat. Trust me.” (and he licked his lips… a little scary after our possum incident last week)

Loaded up app.glowforge.com on my phone and the design rendered quickly. Rio was right as rain.

I hit print and waited some more… and then got my thumbs up from the cloud: 45 minutes until either great sadness or great happiness. Or something in between.

Here’s a little time lapse partway through. As you can see, I burned the chipboard pretty good with the full power engrave. And it did exactly what I wanted it to do. Let me print all the way to both the bottom and left edges without worrying about any alignment.

We waited some more. But this wait wasn’t too bad. We both watched the image of Rio unfold before our eyes.

A little Photoshop, a little Illustrator, a little bouncing around between the app and the app, and Rio turned my Macbook into miBook. Or… hisBook.

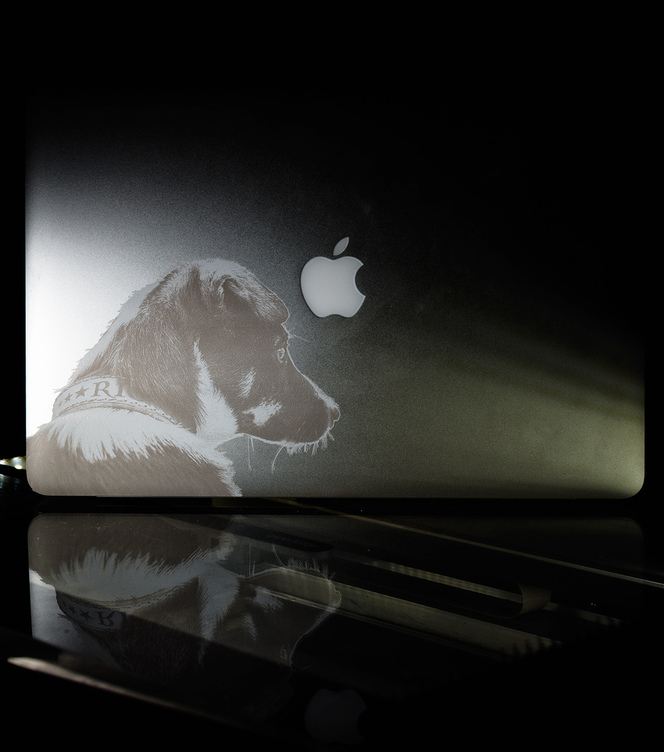
Hope there are a few tips in here that might help y’all when you make the leap!

85 Likes

Yeah, that worked.
(FABULOUSLY!) :smile:

Your fault for having such a photogenic pup!

3 Likes

I should also mention - I pasted that product shot into Photoshop and changed the engrave layer to overlay and it was a pretty good approximation of the end result.

1 Like

WOW that’s all I can say to this. I don’t have a macbook, but I do have a dell laptop that is all metal. I’ve been really wanting to do something on it since even before I got my forge. I had a vinyl cutter once, and now I wish I had used some vinyl to see how I would have liked having something on it. I’ve considered using the 3M veneer, and probably will still go that route before this, but seriously cool to see the few projects that have been posted jumping into this.

Thanks for sharing your process, and I especially liked this part as I would feel the exact same way.

3 Likes

Very nice result, and thanks for the fun read!

3 Likes

Enjoyed your write-up! Such an awesome turn out … Of course, Rio was a great subject choice. Nice job!

2 Likes

Wow! Looks awesome!
Thanks for sharing the story.

1 Like

The white areas appear lighter than the un-engraved material - does the GF just lightly laze those areas changing the surface texture?

The whiter areas are indeed lighter than the unenngraved areas and I kind of know why - but not 100% sure.

The anodizing is dyed to make the surface color whatever color they want. When the laser hits it, that dye is bleached. The actual anodized layer without dye is white, so when it bleaches the dye out you get the white.

That makes me ask the question though - since I chose the MacBook material setting, did it invert the image when it processed it for the cloud (@dan)? Because I didn’t invert prior to engraving… and, I’m only on cup 2 of coffee today, but it would make sense for the image to be inverted since it’s going to engrave lighter opposed to darker.

Here is what the on-screen preview looked like.

It had me a little nervous, to be honest.

But looking at that, and seeing what was engraved - I’m reasonably sure that the image was inverted when being processed in the cloud.

1 Like

Thought about that last night…it must be reversing the default lasering order and engraving on white and leaving the black alone. I wonder if using that setting wouldn’t also work on something like engraving on slate or stone, where you would naturally want to reverse the image.

I need to run a few tests today.

One less thing for us to have to remember to prepare in the file before processing. (Yay!)
I might have to do something on my iPad when they get to that one.
that’s the iPad 4 guys…or iPhone 6+. :wink:

And another promise delivered. It’s going to be so sad when they are all done. Whatever will we do for fun around here?

4 Likes

I’d prefer this to be an option somewhere, I think. I’m not opposed to things happening in the cloud (that’s the very nature of the product) but I feel like it could bite someone who did their homework and realized that an image should be inverted.

Also, the on-screen preview should probably reflect the inverted state. It had me worried when looking at it because it was a ton of lazering in the dark areas and almost zero in the white areas. I thought it wasn’t going to pick up any detail (it did)

2 Likes

It could also bite someone if they were trying to be exact in the height material department. If you went in and changed the material height to match your stack, you’d be switching to an unknown material - right? Which would mean your image wouldn’t be inverted.

I did modify the focal height of the job tab to match my height.

The default focal height on the job is .500”. I modified it to match my actual material height of the stack with the laptop on it.

But, autofocus would have done the job since I’m guessing the material height and focal height are both set to the same. The depth measurement would override all of it and give it the proper focus.

1 Like

Logic is sound, but then why is the chipboard burned in the dark areas of the image that spill over the edge?

1 Like

Umm…No. But thanks for the invite. Still a little chilly here and I’m not nearly bare-worthy at this time of the day. :slightly_smiling_face:

But I did bear with you and when I got to the end I wondered why you didn’t have Rio up a bit higher so he was looking at the apple. Or on the right where he might have been eating the apple & looking a bit embarrassed. :grinning:

3 Likes

Why ya gotta bring that logic into it!? :wink:

Yes, the chipboard was definitely getting hit hard.

So what could another theory be? The setting uses convert to dots. I know that longer dwell time (too slow of speeds) will turn the white anodizing to darker shades. Maybe the increased frequency in dark areas (tighter dots) turns the anodized layer darker?

I’m going to sacrifice the back of a coaster to test later. I saw one around here somewhere.

I can play with the MacBook settings without having a MacBook.

1 Like

83 here! 6 acres of privacy. Thought I’d liven things up around here lol.

More a function of the image I was working with - increasing the size to have enough bleed on the bottom would result in having to cover up part of the Apple. Or, moving him further left and killing some of the negative space between the edge and the collar, which I didn’t particularly like the look of when I was placing things around.

Yeah flipping it so he faced the bitten out part of the apple would also reverse the collar text and then it wouldn’t read right. Didn’t think of that.

Okay, ran some tests…it’s definitely not a straight inversion. Looks like some kind of a mix of techniques so no telling. (Will show a photo of results as soon as I’m done paying bills for mom.)

1 Like