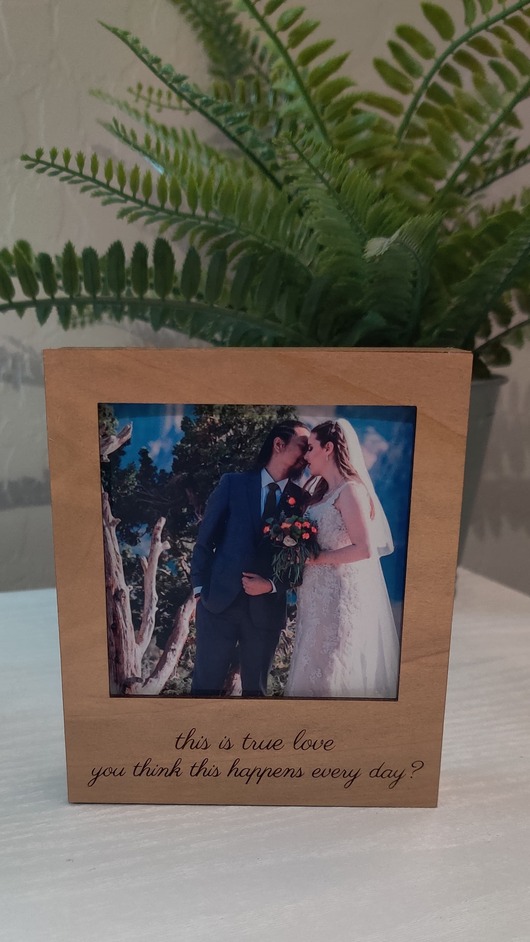
I downloaded the Mini Instant-Camera Picture Frame template and printed it on medium hardwood as I had no medium plywood on hand. The problem is I can’t seem to get it to fit together. I’m not sure if there is an error with the pattern itself or the instructions, but the pieces don’t fit together when I align them as shown on the instructions. Has anyone else had this issue? This is the design.
I wasted a bunch of material on this as I initially tried it on non-proofgrade material and had issues with the laser not cutting all the way through consistently, so I thought it might have been an issue with my material. I switched to the more expensive Glowforge material and tried again but had the same issue. I then found the troubleshooting guide and after following all the steps it cut through much better (although there were a couple of very small spots where it still did not cut completely through, and the engraving on some added text was inconsistent). Regardless, I finally got all my pieces cut out but could not get it to fit together.
Is there a known issue with this design or has anyone else had this problem? I feel the Glowforge designs are hit or miss. I was disappointed with the Mixed Media Pendant as well as I did not realize until after I got the design that the two materials were only held together by a small strip of glue with no lip or anything to stabilize it. Thank you!
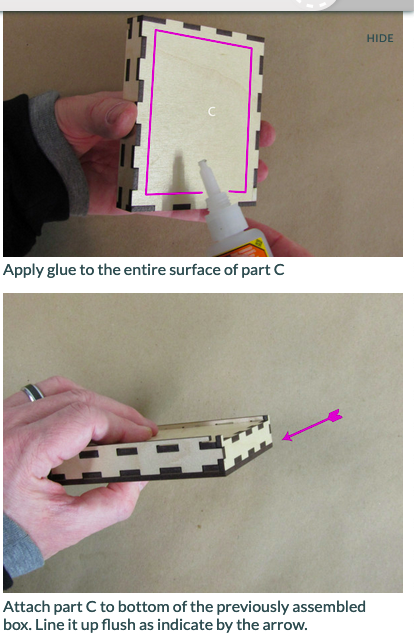
So I believe any material about 1/8" will work for this as the tolerances are not tight. I made it out of some scrap hardboard just to see if it fits ok. It does. There is one problem that I noted and reported to Glowforge and that concerns part B. There is no mention of part B in the instructions. The first step in the section “Assemble the Outside Box” should be to glue part B to the completed inner box rather than C.
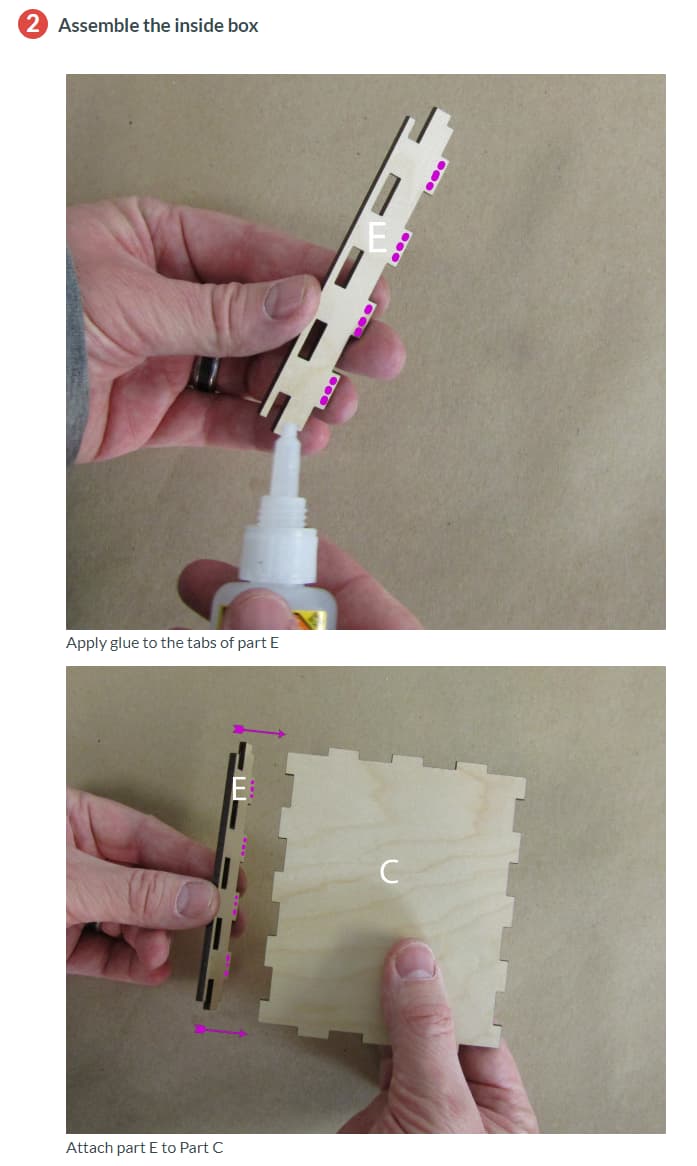
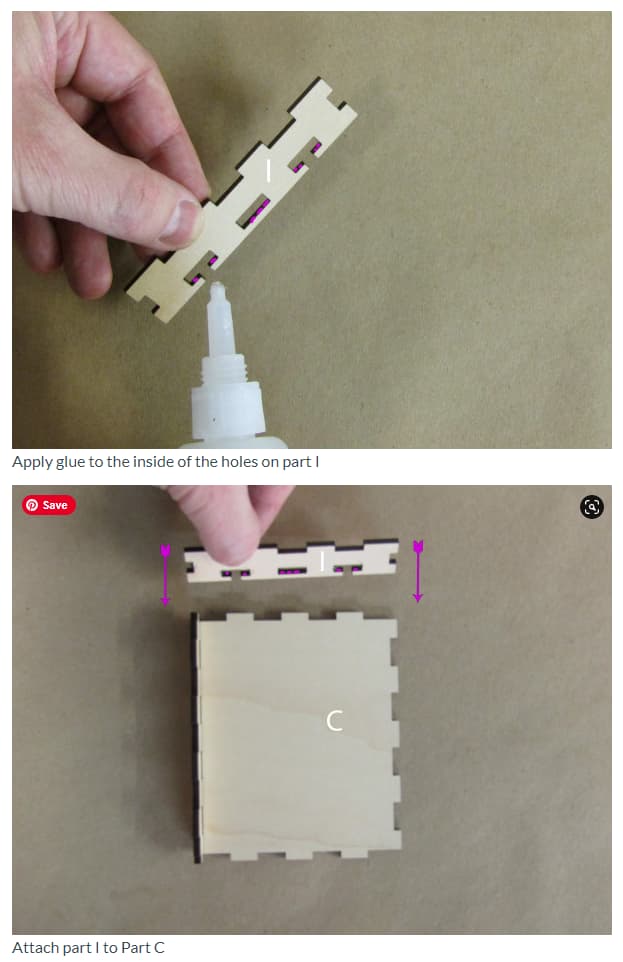
I was stuck on step 2; getting both part E and I to fit on part C together as instructed. I figured it out though, and it the pictures were misleading. I thought the C part would connect to the tabs (not the holes) in part E based on the photo and where it showed to glue, however I realized that part C actually should go into the rectangle holes, not the tabs as the photo seems to apply. I figured I’d leave this question and solution in case anyone else reads the instructions the same way I did.
Hi @vegg33k! Thanks for letting us know about this. I’ve submitted a report to our team letting them know about the confusion in the assembly photos to see if we can clear that up for everyone. I’m going to close this thread - if you run into anything similar with other designs, please go ahead and post a new topic to let us know. Also, please don’t hesitate to reach out should you encounter any more trouble with cutting through your materials!