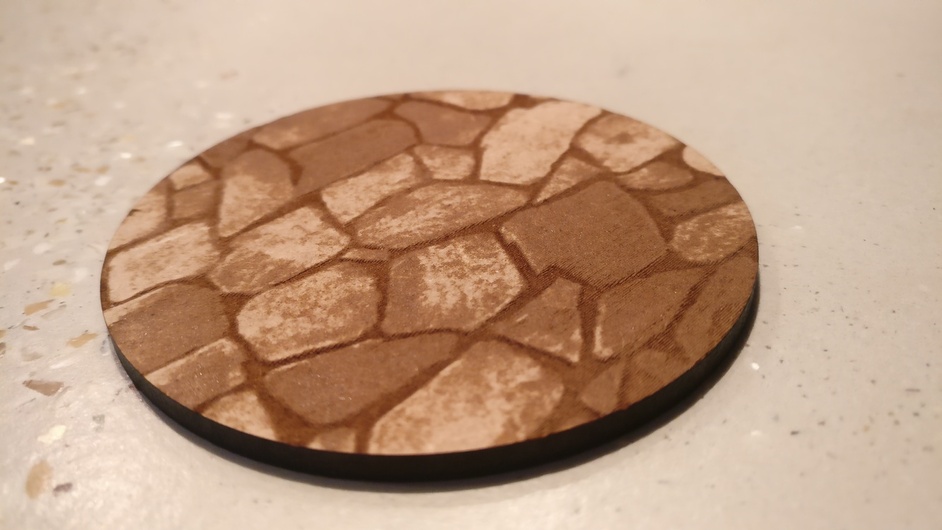
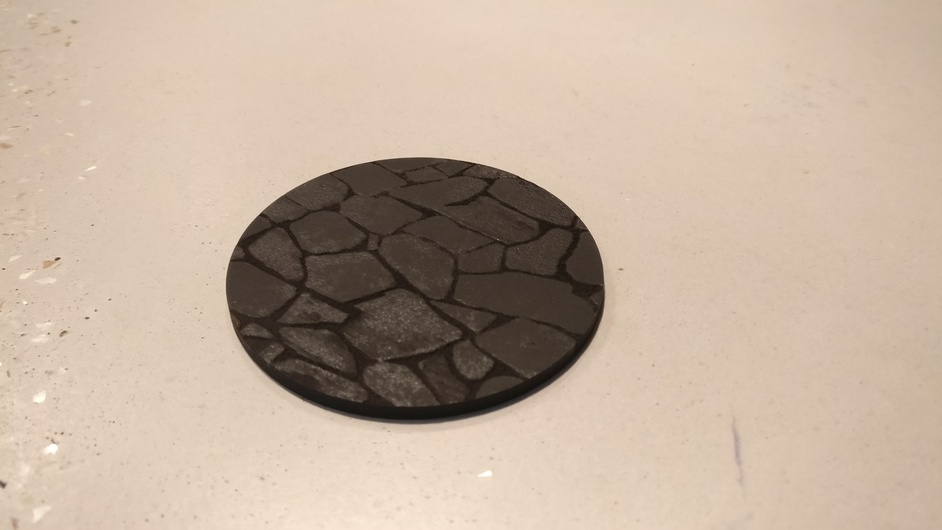
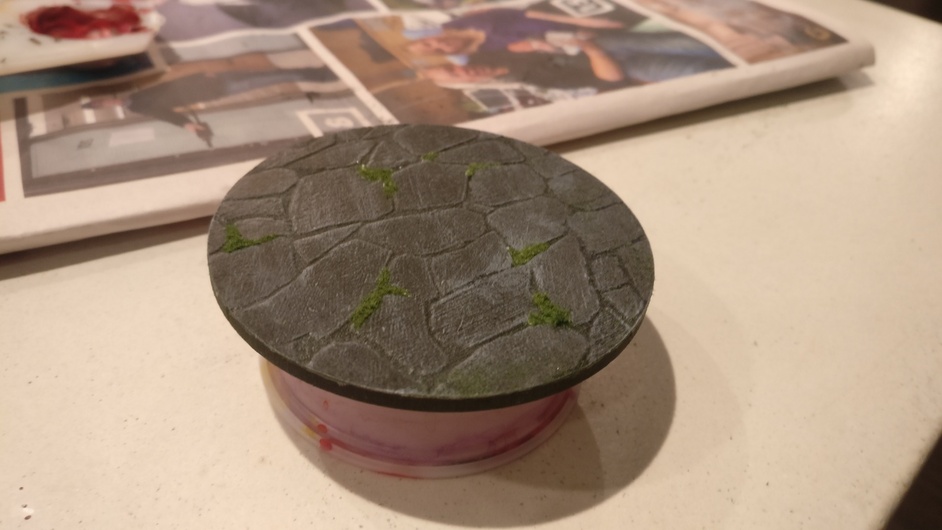
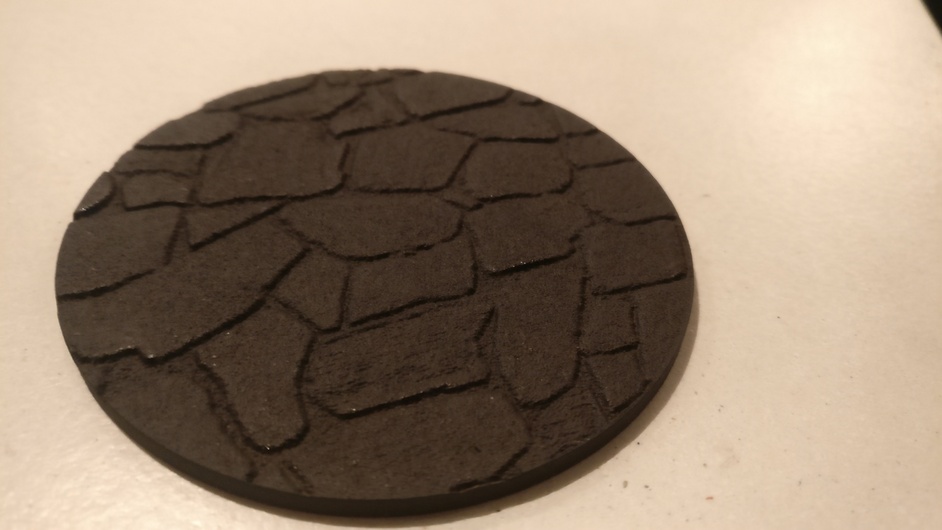
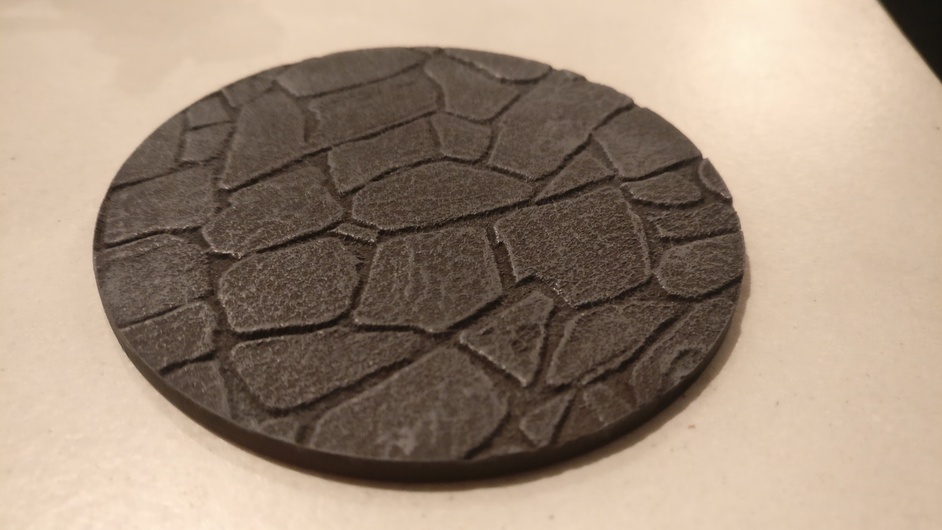
With a bit of paint and flock, it was… serviceable… However, the engrave lines were very obvious if you looked closely, and they made it difficult to paint nicely. Also, the whole thing was a bit… flat.
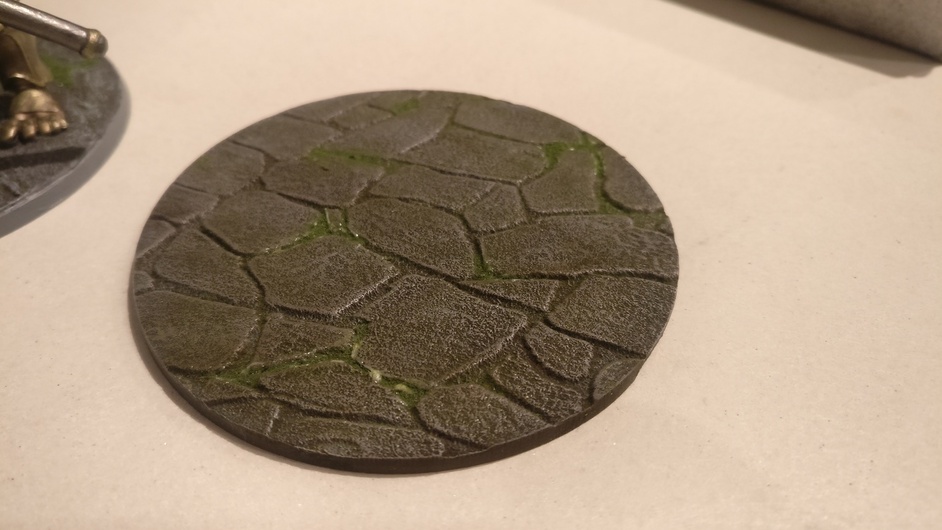
A while later, I decided to revisit this experiment. I’d found some 3mm MDF on a job site and wanted to give it a try.
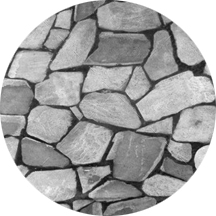
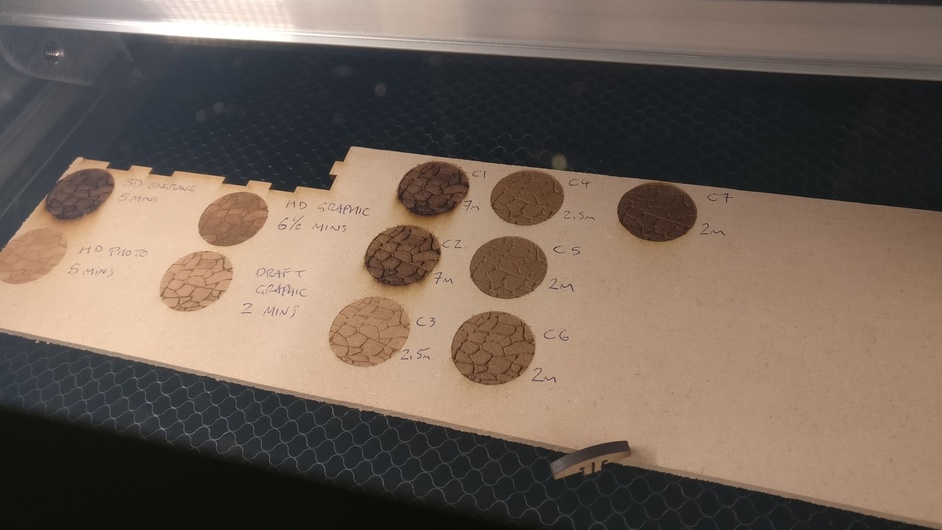
I went through all the default engrave settings before diving into custom ones to find one I liked that didn’t take absolutely forever.
I had just been talking with my buddy a week or two ago about trying to do this! Wanted to do this EXACT thing for Zombicide Black Plague / Green Horde and maybe some planks for Rum and Bones. Thanks for posting! Hopefully saves me a little time and gets my butt in gear with how awesome they look to try my own!
I’m also a miniature painter, but more importantly I’ve been struggling to find any settings that made the lines invisible on even a modestly-large flat surface. I’d be happy to hear your any thoughts you might have about it. I really want to try 3D-engraving but I’ve been turned off by initial results.
What sort of designs are you trying? I haven’t had a chance to experiment further but your options seem to be;
Less power, higher resolution, a lot of time
Or
High power, high speed(low res), defocused laser to blur the lines together.
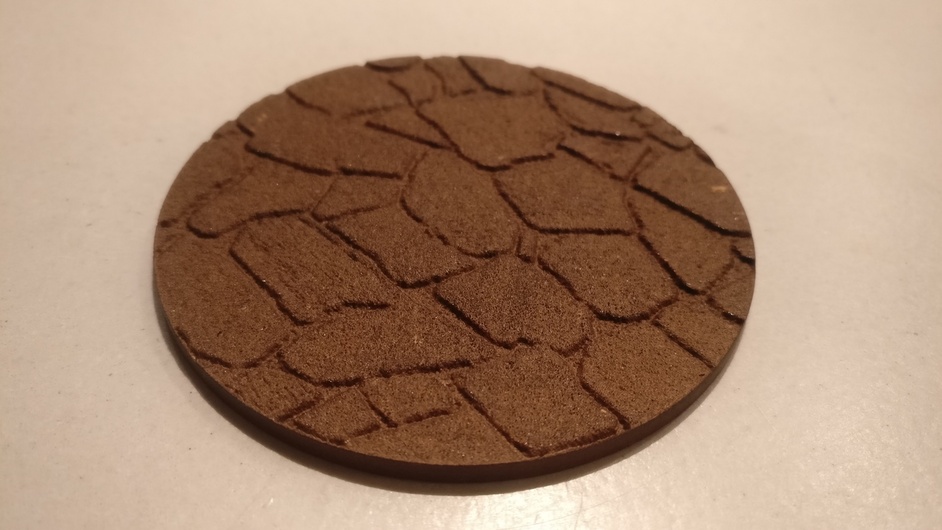
This is the result of option 2, I feel like it works well for the example I gave.
I think it might run in to problems if I try to start adding details to the design. The blurring effect may end up making them too soft edged.
Perhaps you could do an initial pass for the main texture then a slower run to add details to it (like … sword hilts or whatever)
The only things we’ve really tried yet have been some acrylic board game tokens. I read up a bit and tried the lower power, defocused laser thing. It was a bit better but still came out really grainy as some of the acrylic seems to ‘splatter’ as the laser passes over. I haven’t yet tried wood but maybe that’s next. I did try to cut some plastic card but that didn’t work at all. The edges melted no matter what I tried. I want to try wood but it’s not a great medium for model work… Bases, maybe, and terrain but I can’t think of much else I’d want to do with it. Though I’m pretty impressed with your results.
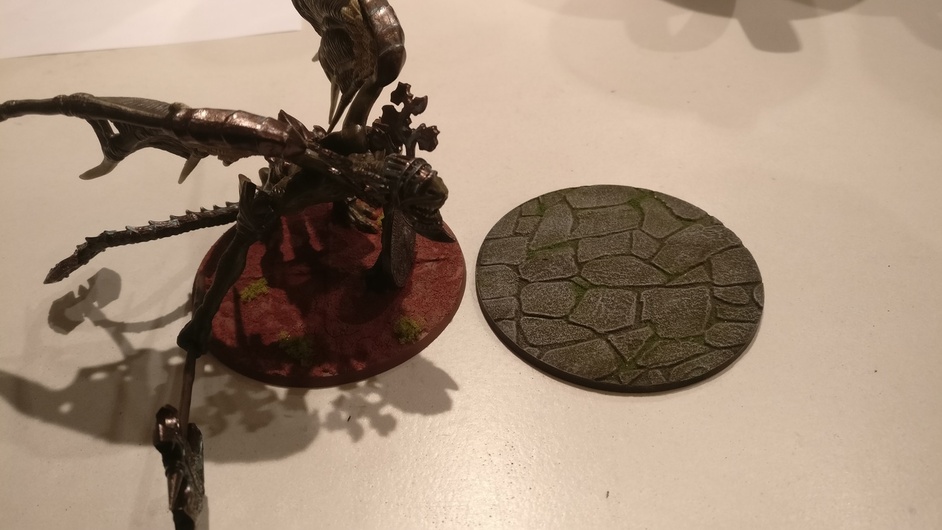
I’m curious as to how you “cropped it into a circle”. I’ve done some a few different ways, and was able to make a few bases of my own, but I had a tricky time getting it to a circle, and when I finally did, I felt like there had to be a better way. Some of the easier ways I tried gave me errors when I tried to upload it to the Glowforge App.


 These turned out so cool, now I want to try some too!