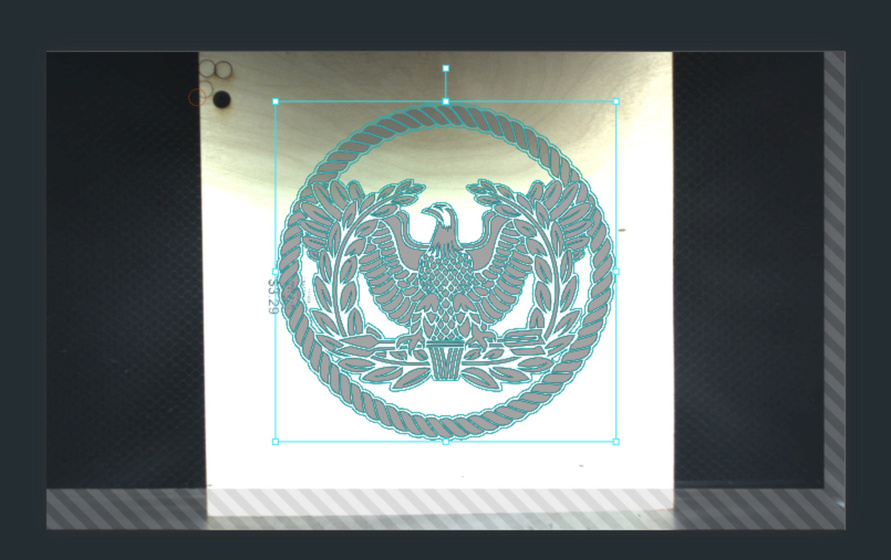
Below are some screen shots of a square piece of wood pressed flat against the front of machine bed. Everything seems to be misaligned and it’s affecting where things cut/engrave. What in the world am I seeing and what (if anything) can I do about it? Please tell me there’s an easy fix to this.
Did you remember to enter the measured thickness of the wood into the Unknown Materials slot?
(Side note: The lid camera has a large fish-eye distortion effect because it is a specialty lens designed to take a picture of the entire bed from up close. There is an algorithm in the programming that corrects for that fish-eye effect for placement purposes, but it order to work correctly, we have to enter the thickness of the material, accurately, as measured in inches with a calipers, into the Unknown Materials menu. Without doing that, the variation in placement is magnified. Proofgrade materials have this information coded into the QR code, so you don’t have to do it for Proofgrade materials.)
The fish-eye effect is minimized underneath the lid camera, so if you can place your objects to be aligned there, there will be much less variation.
If you’re talking about the little circles at the top, the current working range is within 1/4" placement. (Can’t see the rulers, so I can’t really tell if that is within the acceptable tolerance.)
If after checking to make sure that the material is not warped (even a mm or two will affect it) and is perfectly flat, try centering the print under the lid camera. If you still see more than 1/4" variation, then the machine might actually have an alignment problem.
Oh, and one last thing to check is to turn the machine off, center the head gently underneath the lid camera, and turn it back on to let it recalibrate. That will often clear up software related alignment issues, which can pop up after the updates get pushed out.
The alignment gets better over time, as they collect metrics for the individual machines and work on the software side, so expect to see it gradually improve.
@Jules I’m not sure I stated my problem fully. The circles were tests and I get the fisheye effect. That’s not what I was trying to focus on. The issue I was focusing on was that the wood is flush/level with the front door of the GF but the camera looks like it’s angled by like 30°. What would be the cause for that? Did I not understand what you were trying to tell me? Thanks for the help.
It looks like the camera is at an angle to the crumb tray. Is it still firmly attached to the glass?
It seems to be a common problem that the right hand side of the view is smaller than the left. I wonder if the actual camera sensor can come away from its mounting inside the camera housing.
It’s always been like this. I’ve just had enough of wondering if it were normal. I just normally have to line my things up with the engraving box. The digital border that shows you where you can engrave.
Some people seem to get machines with good alignment and the image of the sheet is rectangular. Others seem to get this distortion where the right hand side is shrunk and have poor camera alignment. It can never be accurate if a rectangle does not look rectangular. Either the camera is badly aligned or the factory calibration doesn’t match the current geometry of the machine.
Thanks for reaching out about the view of your material.
I’m looking into this and will update the topic when I have more information.
Would you mind doing the following test for me:
Turn off your Glowforge.
Check for small pieces of debris or dust.
Check the lower door to make sure it closes all the way. It may require some force to open, but open it, wipe any dust off the edges, and close it all the way.
Remove the tray and clean any dust or debris from the surface underneath. Pay careful attention to remove all debris from the four dimples where the tray rests.
Check the lid to make sure it closes all the way. Small particles of material, such as dust or debris, can prevent it from closing completely.
Check the surface your Glowforge is on to make sure it’s flat. Ensure it is not twisted slightly and that there is no debris propping up one side of the machine.
Turn your Glowforge back on.
We included an extra piece of Proofgrade Draftboard with your materials shipment for troubleshooting. Place the Proofgrade Draftboard in the bed and print the Gift of Good Measure at the front of the bed (close to the front door) using the default settings.
When the print finishes, leave the lid closed and wait until the fans stop and the picture updates. Without moving your artwork or your material, take a screenshot of the Workspace to show us the difference between the artwork placement and the actual print placement. Make sure to include the rulers in your screenshot and show as much of the bed as possible.
Mac: Press Shift-Command-4 and click and drag a box around your image. You’ll find the screenshot file saved on your desktop.
Windows: Click on the Start Menu and type “snipping tool”. Open the Snipping Tool > New then click and drag a box around your image. Click the Save icon and name and save your file.
Send us the screenshot along with the date and time of the print, and we’ll investigate.
We’ve taken a closer look and have found an issue we aren’t able to fix remotely. I recommend we proceed with a warranty replacement and will be in touch via email to sort out the details.