Hi I’m not sure what’s going on. Members said to calibrate my machine but I have No idea how to start that. I did Two engravings. The first one was off in the alignment. The second you’ll see if also off in alignment & also messes up the format of the words. What do I do ![]()
![]()

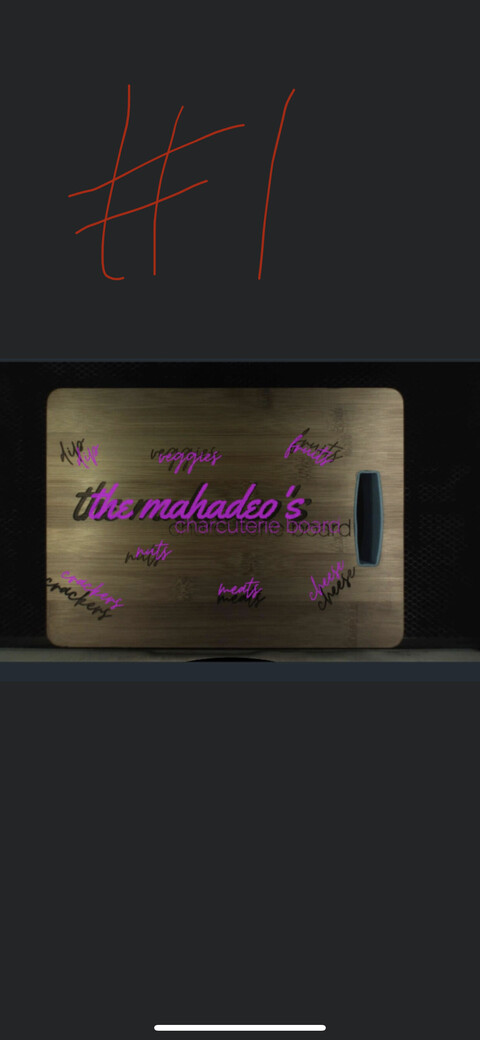
How thick is the board? (Has to be under ½ inch to place it on top of the tray while engraving.)
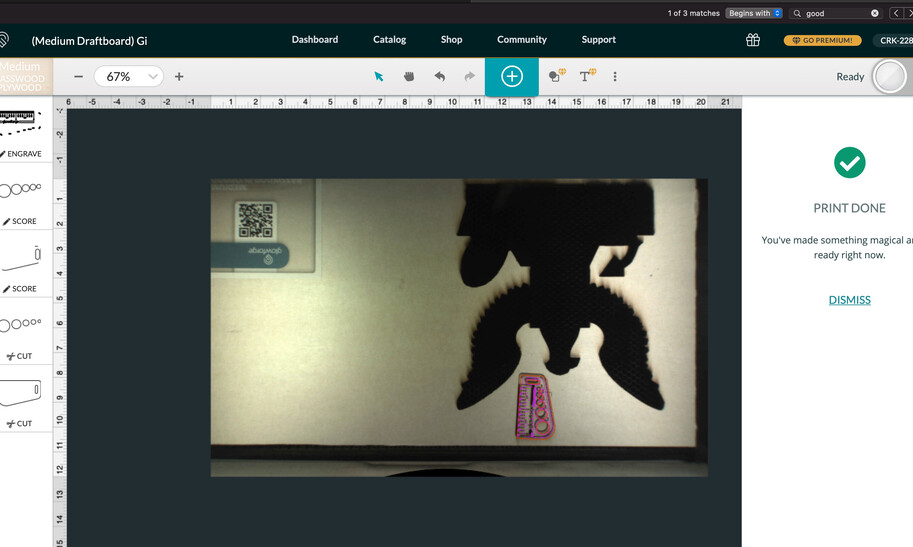
That looks like it might have hit something (front to back) and got knocked out of alignment.
If the board is thicker than about 0.45", you need to remove the tray and prop the board on something to bring it into range. (Bring the Top surface of the board from about 1.4" to 1.75" above the metal plate in the bottom of the machine.)
If you want to run the Calibration, the instructions are here. And after running it, you will want to use the Set Focus tool over each of the words, then shift each one into final position. The view will change each time you use it, but it will be most accurate right where you click.
6 Likes
It looks to me like the printhead bumped the board on #2 because the board is too tall. I suggest you run the lid camera calibration, but more importantly you should become familiar with the set focus tool and understand the physical limitations of your machine. Remove the honeycomb tray and elevate the board into the 1/2" focus range.
1 Like
Definitely an issue with the height of the material.
Oh no, I’m sorry you’ve hit a snag.
As others have stated, it’s likely the height of your material is causing the trouble.
I’d like to have you print a specific test that will provide us with a baseline for how your Glowforge is performing.
At your earliest convenience, please perform the following:
- Turn off your Glowforge.
- Check for small pieces of debris or dust.
- Check the lower door to make sure it closes all the way. It may require some force to open, but open it, wipe any dust off the edges, and close it all the way.
- Remove the tray and clean any dust or debris from the surface underneath. Pay careful attention to remove all debris from the four dimples where the tray rests.
- Check the lid to make sure it closes all the way. Small particles of material, such as dust or debris, can prevent it from closing completely.
- Check the surface your Glowforge is on to make sure it’s flat. Ensure it is not twisted slightly and that there is no debris propping up one side of the machine.
- Turn your Glowforge back on.
- Place Proofgrade material in the part of the of the bed that you are having the most trouble and print the Gift of Good Measure using the default settings.
- When the print finishes, leave the lid closed and wait until the fans stop and the picture updates. Without moving your artwork or your material, take a screenshot of the Workspace to show us the difference between the artwork placement and the actual print placement. Make sure to include the rulers in your screenshot and show as much of the bed as possible.
- Mac: Press Shift-Command-4 and click and drag a box around your image. You’ll find the screenshot file saved on your desktop.
- Windows: Click on the Start Menu and type “snipping tool”. Open the Snipping Tool > New then click and drag a box around your image. Click the Save icon and name and save your file.
- Send us the screenshot along with the date and time of the print, and we’ll investigate.
I also realigned the machine! My cuts were perfect. I believe I needed to re-align and that my board was to thick.
thank you!
2 Likes
I’m glad you resolved it! I’m going to close this thread. If you run into any other trouble, please start a new topic, or email us at support@glowforge.com. We’re here to help!