More Ceramic Tiles: Upgraded

Okay, so as some of you know, there has been this craze of lasering ceramic tiles. I got kind of sort of obsessed with doing them and kind of went overboard doing a whole bunch, some listed here and my previous process up to this point: Ceramic Tile Mania! - #38 by raymondking32

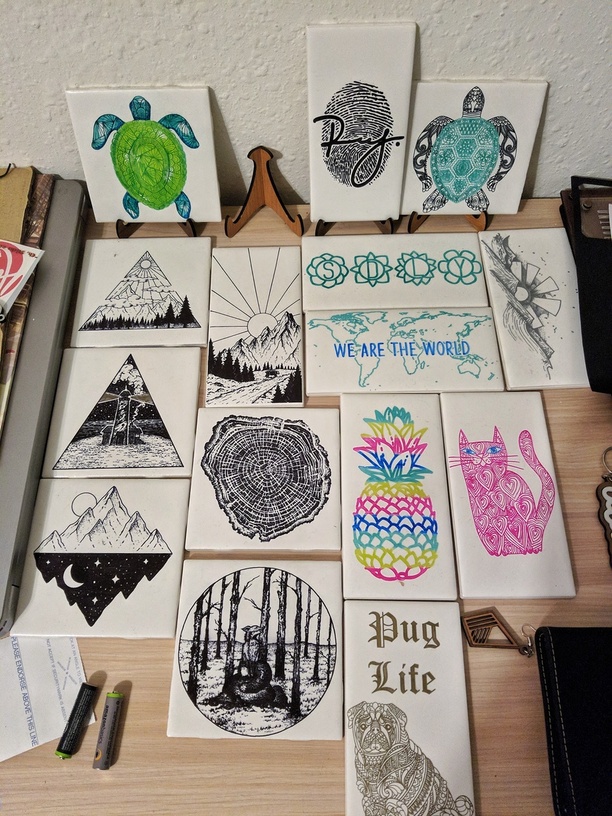
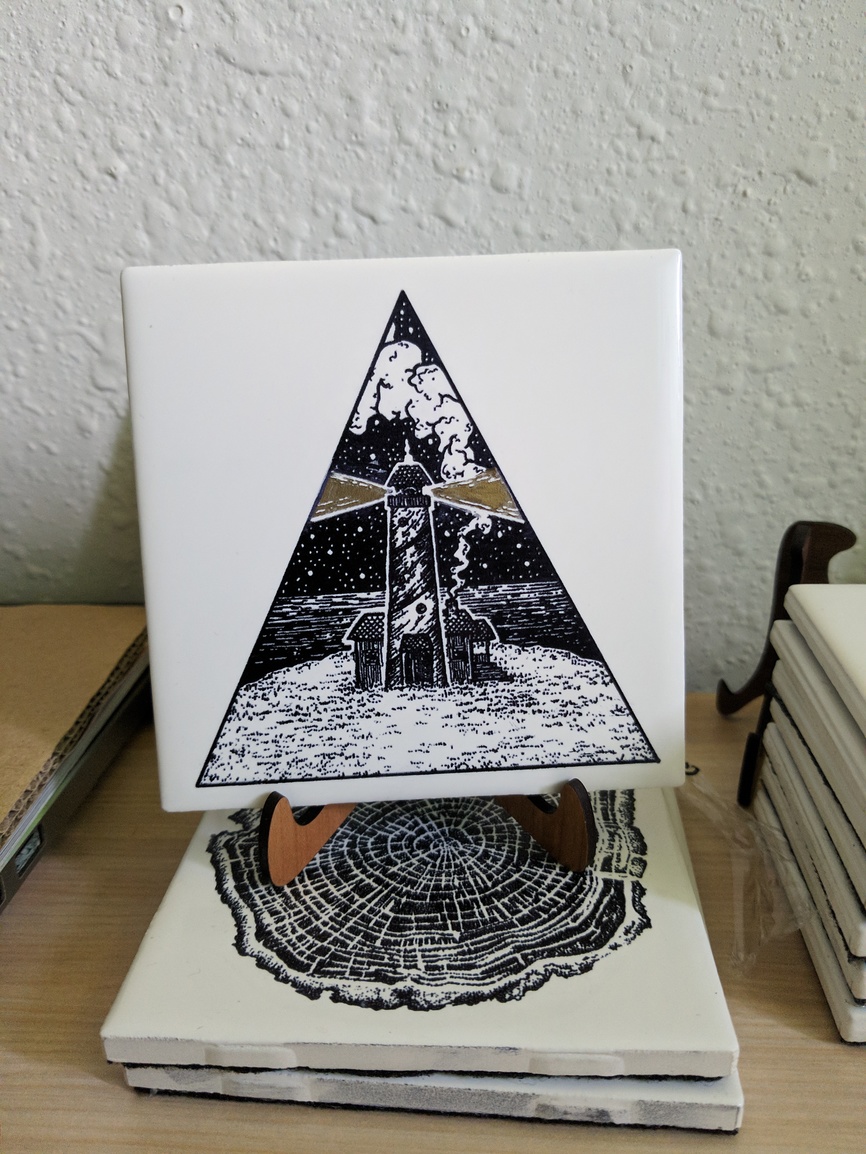
That doesn’t even show all of the tiles I’ve done that I ran out of space for on my desk :sweat_smile: Anyway, I’ve been considering what I could do to upgrade them. I used the stand designed by @Janerlea, settings: Manual height of .3", Speed 1000, FULL POWER, and 450LPI, and then would color them in with Sharpie markers. The cleanup process consisted of a regular paper towel with a dab of windex , and so long as the lines were thin enough, very little touchups were required. The broader expanses of etched tile that there is, you will lose a bit of color in those areas if you aren’t careful.

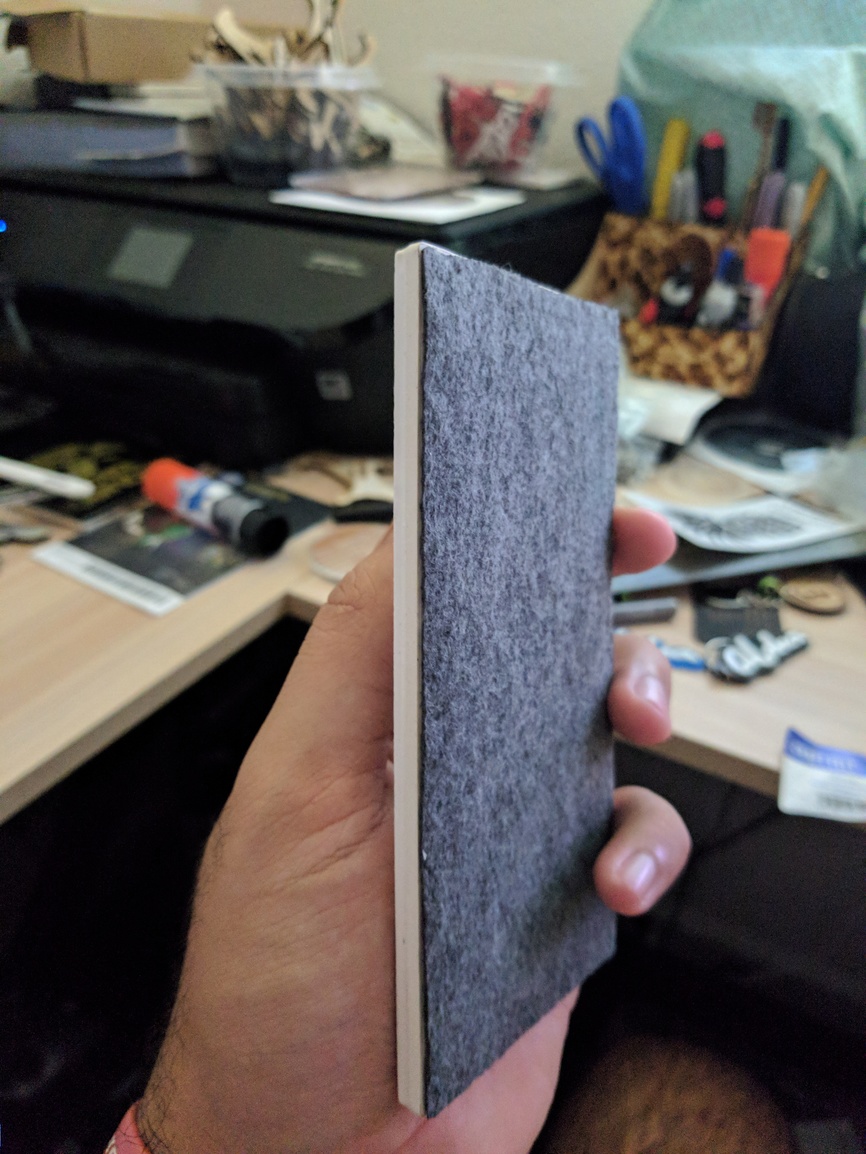
Moving on; I wanted, since the beginning, to put some soft backing to avoid scratching surfaces if I were to also sell these as coasters, but also to hide the back of the tile as I’m a stickler for details. On a personal level it bugged me to have just a gritty unglazed back rubbing against the stands I made. I went to a couple of craft stores to search for some felt or cork, but settled on cheap 9"x12" felt I found at Walmart (excellent stuff, really). Cut it up on the laser (not entirely sure it’s safe to do) and hot glued it to the back of the tiles.

IMG_20180530_170626

I originally used E6000 glue, but it absorbed into the tile and felt too easily. I opted for hot glue because it creates a middle ground between the two. What I found works best is to do one line of glue on one side of the tile, and quickly press the felt into that, then repeat for the remaining 3 sides. This is because my glue was drying quicker than I expected, so it was easier to do a side at a time.

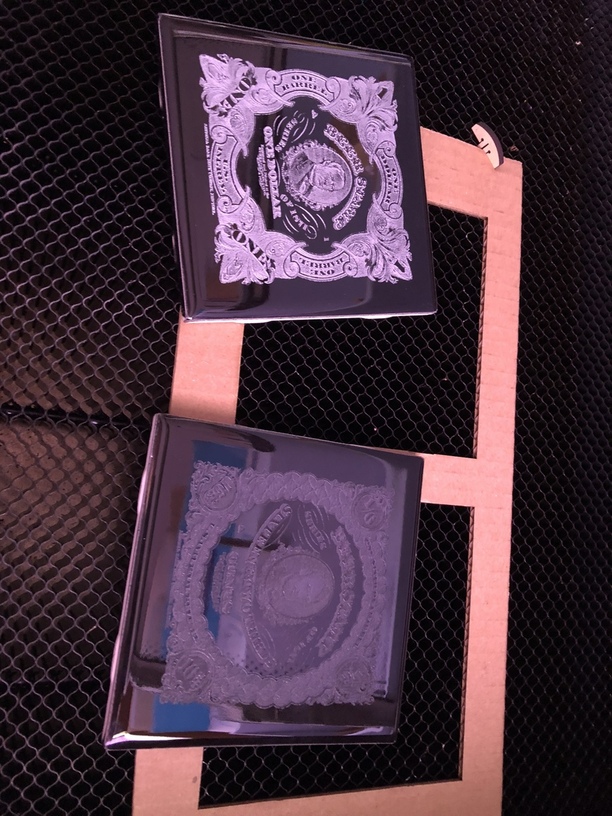
That was today’s main project. I have experimented, and need to do a couple of more tests, with sealing the color with spray can shellac

15277362992952495777710188280094

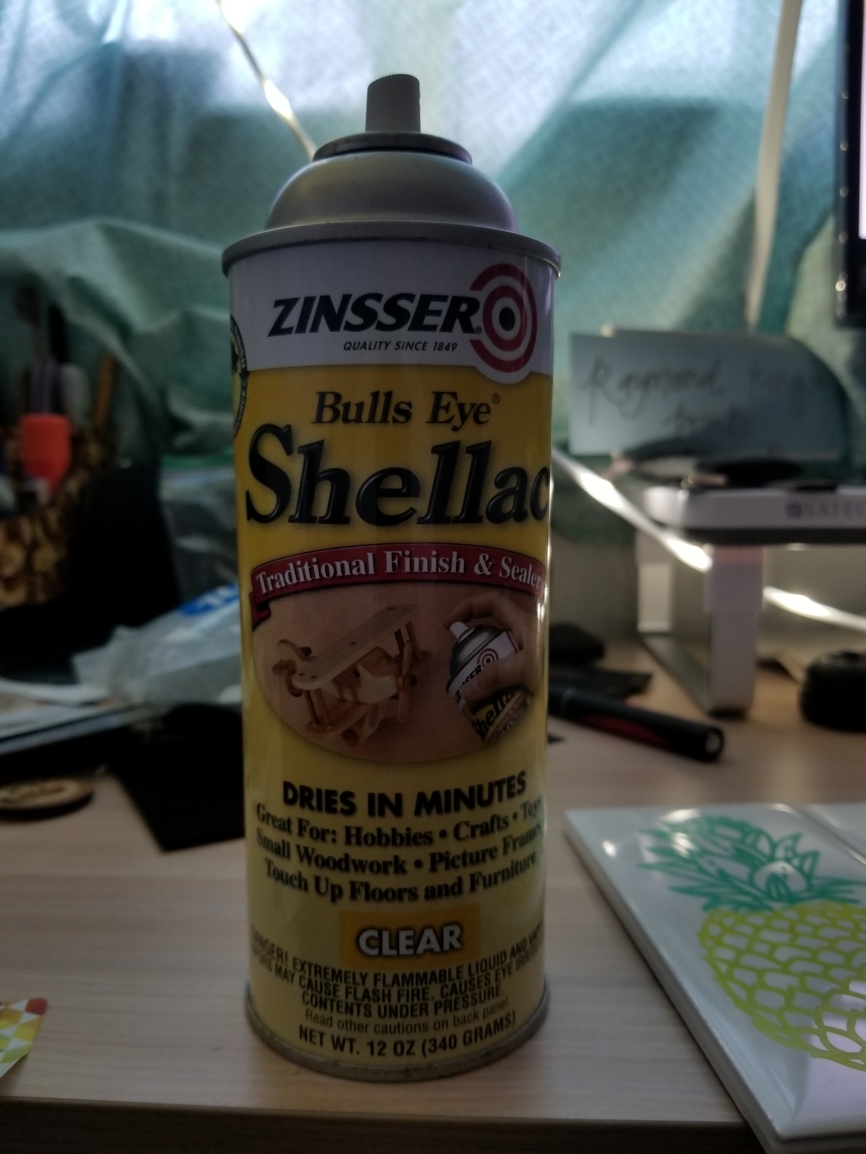
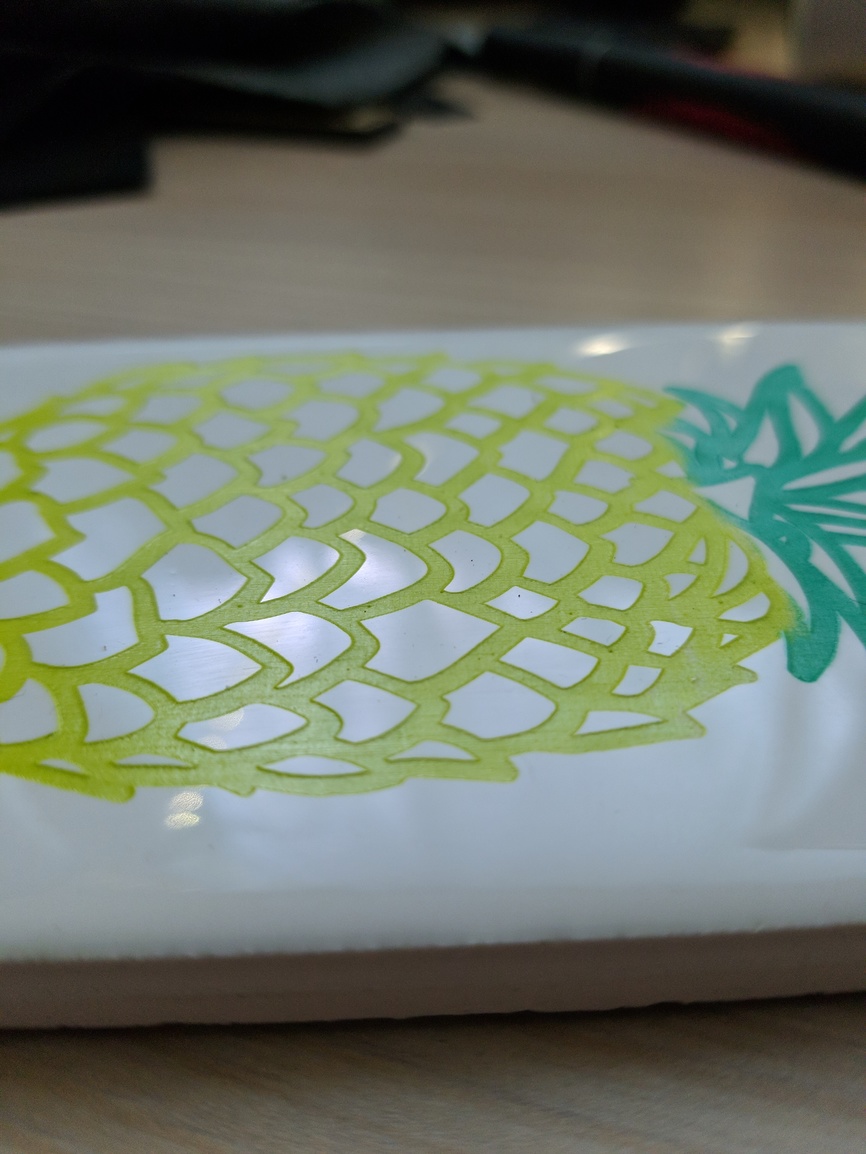
I’ve done this with masking and without and I’ve got two separate results because of it. The first time I did it without shellac, and it required me to do a lot of scraping with a razor blade (I just ordered a window scraper style to ease the finger cramping and add safety). It gave me a stellar result afterwards, but I wanted to know if masking the tile first then sealing it would be easier. It certainly is, but I’m not sure if it’s because of the masking, the specific color we used, or what, but the tile absorbed the color differently. In result of this when I sprayed it, the color lifted and created a sort of watercolor effect

IMG_20180530_171733

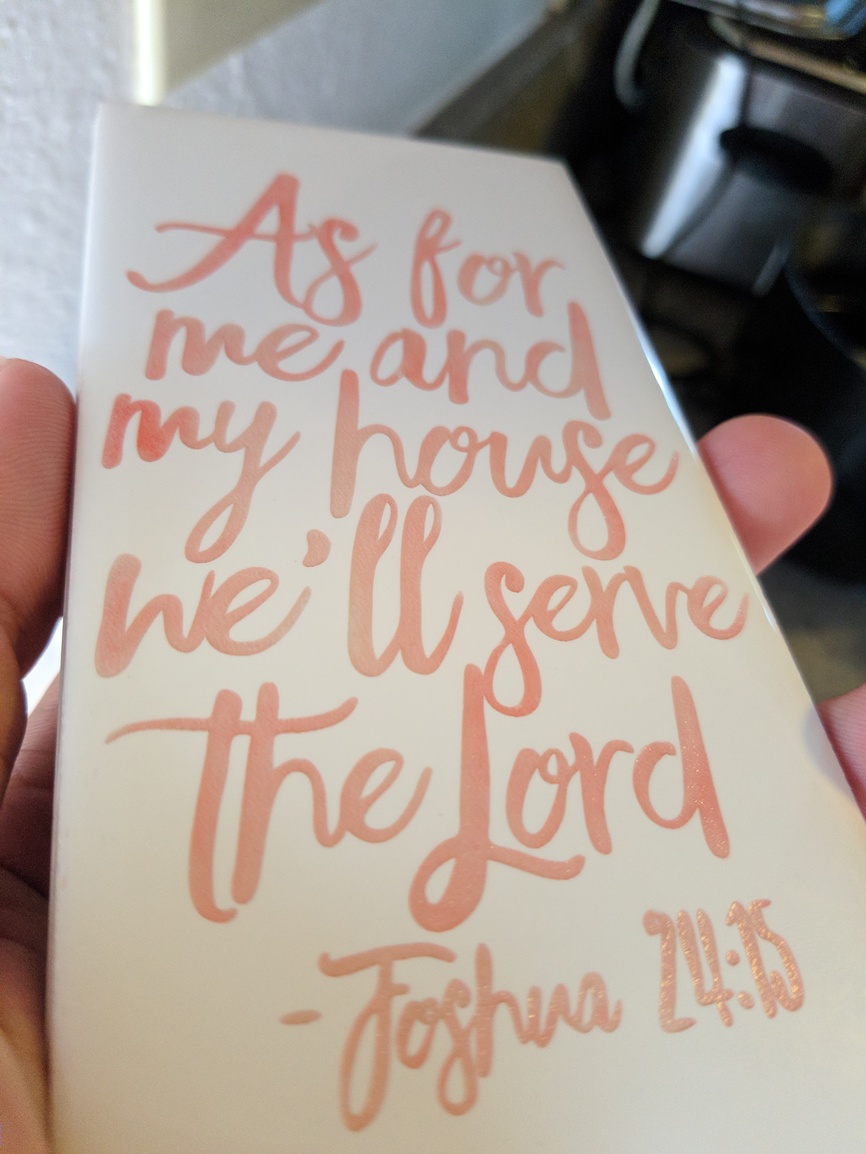
I really like it, but it was just unexpected. I’ve only done one with the masking and shellac, so I can’t say if it will continue to do this, but the other ones I’ve sealed without the masking did not have the same effect

IMG_20180530_163144

15277368149201745932616787002703

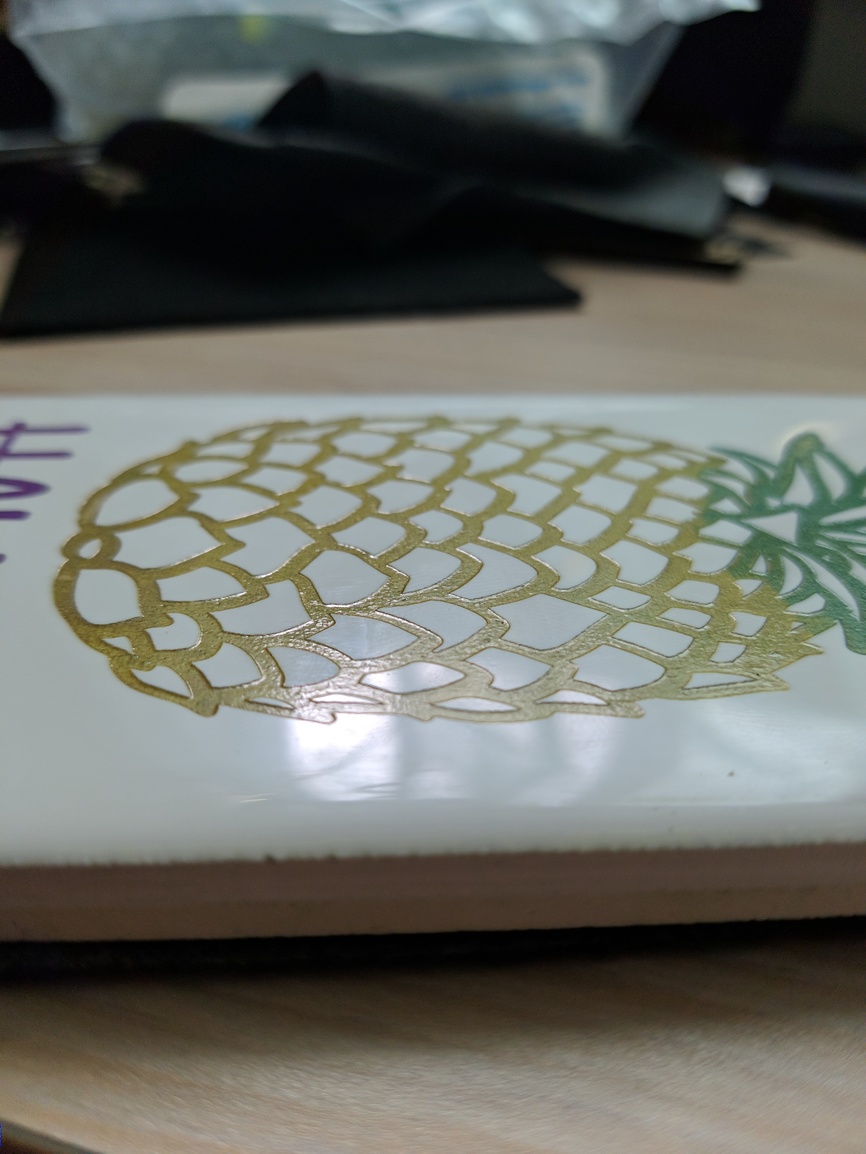
I’ll have to do a few more tests, but so far I’ve loved the results. Here’s a close up pic of one that isn’t sealed to show the difference in texture.

IMG_20180530_164411

In conclusion, I’m really excited about where I can go from here. Currently I’m selling the tiles for $20 individually, and considering making them a set of coasters for $50, but I want to dial down my process some more. I’ve made a handful of others things that I want to share, but that will have to wait for a future post. You can also check out my Instagram for some of the projects I haven’t shared yet, and if you watch my story, you can see my process: Ray’s Prints

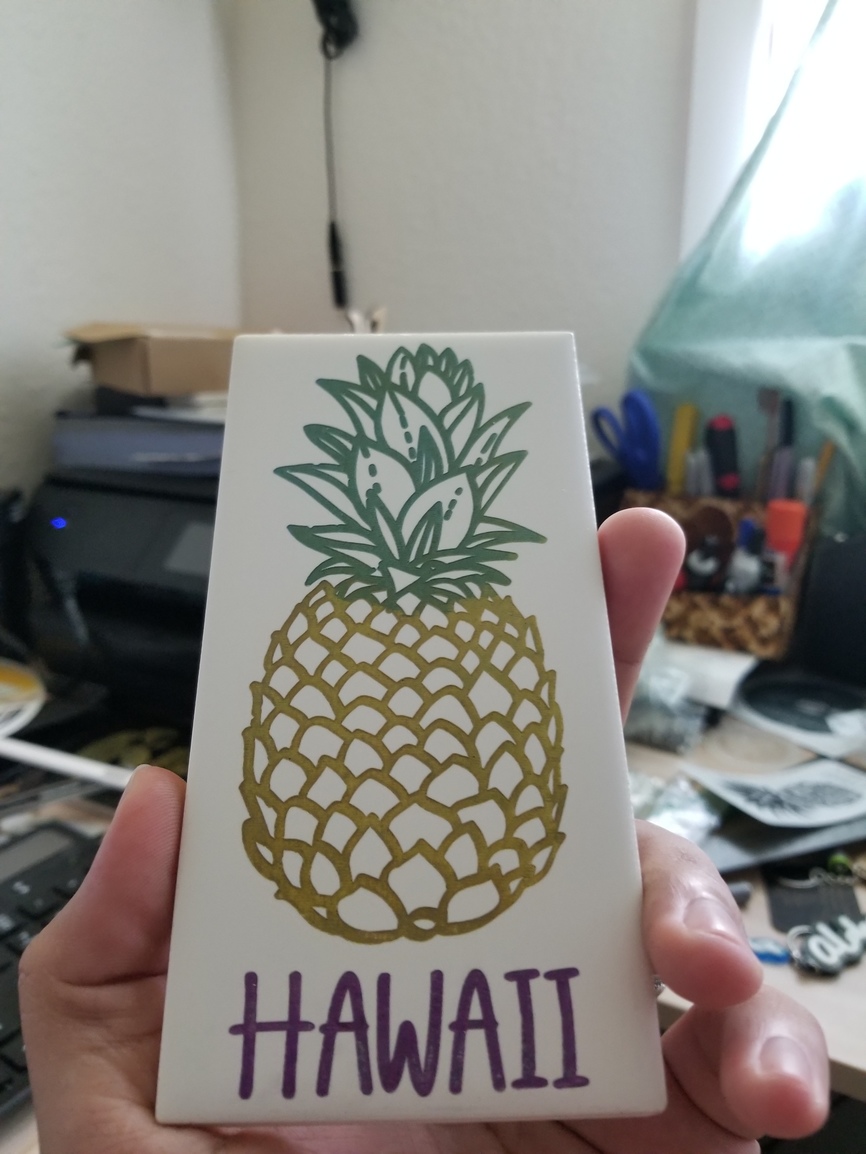
Bonus shot of my favorite tile I’ve done, based off the artwork of an artist I follow on Instagram:

IMG_20180530_173148

62 Likes

great writeup.

question. when you use the shellac without masking, are you saying you’re scraping it off the smooth part afterward? or are you leaving the shellac on the entire tile?

First of all, thanks!

To answer you question, I do scrape it off of the smooth parts of the tiles. I should have also added that when scraping it off, it’s better to go the long length of the tile/art. It will help to avoid scratching the shellac that is on the etched part. I haven’t scratched the glazed coating with the razor blade, either, so it’s pretty tough!

2 Likes

Beautiful tiles! I’ve lasered peel and stick adhesive felt from Michaels for coasters and box liners, a bit more expensive but much easier and faster than gluing.

3 Likes

ok, thanks. i was hoping you’d say otherwise. i have a textured tile that my wife engraved, painted, then removed the masking already. i’d like to put a sealant on the painted area, but she’s already taken the masking off and the texture prevents scraping.

oh well, lesson learned for next time.

1 Like

I tried some experiments just spraying the entire tile without masking. I didn’t think the result was bad at all. I used both semi-gloss and gloss, and I think the gloss looked best. It just looks kind of shiny like the tile did originally.

2 Likes

Hmm, what brand and medium did you use? Mine says that it’s clear, but against the white of the tile it has a yellow tint.

You may be able to try using clear nail polish if your artwork isn’t too complex. The tiny brush may work to fill in the lines really well. That is, if you’re not wanting to seal the entire tile. The suggestion of a matte seal may work if you wanted to keep the textured aesthetic.

1 Like

How strong is the adhesive? Also, what’s the thickness, and cost? My felt cost $.26 and measures .05" which is about the thickness of 5 cardstock pages. The hot glue method works pretty quick on the bottom of the tile, but I can see how lining boxes with it would be tedious and not very uniform

1 Like

i may experiment with a test tile i have and see what it looks like. my base tile is not glossy. also considering what may happen if i use a granite tile sealer we have leftover from doing the bathroom floor. may try both.

it’s not too complex, but it’s a fairly large design, so i’m not sure about how long it would take to do clear nail polish.

lessons learned, don’t take masking off until you’ve even considered what to do to seal it. :slight_smile:

1 Like

Shellac always has a bit of yellow…so does polyurethane. I was using clear spray lacquer…it is very clear. I think this brand was Watco.

I also tried this with a “satin” spray sealer…worked well, and did have a matte look.

Just know that a lot of these sealers have different solvents in them. Just make sure they work well with whatever ink you’re using for color. But you said you were experimenting, so I’m sure you will find out. :wink:

1 Like

I’ve had good luck sealing 'em with Mod Podge (pick your favorite blend) that I water down a bit before pouring on and using a hard plastic mudding tool (think wall board plaster/mud) to scrape off the non-engraved bits or leave behind a thin layer, as desired.

I still haven’t decided if I like the whole thing to have the seal or if the seal only in the engraved parts is superior.

This stuff:

7 Likes

Genius! I hadn’t thought about that before. Is it water soluble after it has dried, though? What do you think the longevity of having liquids on it is?

The one I tried is more expensive- about $1 for a 9x12” peel and stick sheet of felt. The adhesive was pretty strong- I could reposition it but it’s worked well for coasters and boxes. I see similar products in bulk online for less but I am still experimenting and haven’t needed bulk so I preferred to spend a little more per unit on a few sheets.

1 Like

Given that it is dishwasher safe, it really can’t be water soluble once dried…

1 Like

…I was thinking of regular mod podge. Caught not fully reading things :rofl:

2 Likes

Have you thought of applying the hot glue to the tile, then ironing the felt on ?
Then it doesn’t matter if the glue has set first !
:upside_down_face:

13 Likes

Wow, I had not thought about that! Well, this is the exact reason I love this forum. The combined knowledge of the community is a resource that is priceless!

1 Like

Really is a rather brilliant idea! :smile:

The origin of the ide for me was that you used to be able to buy an iron-on glue film for mounting wood veneer. When I discovered that this was probably pva coated on a plastic film, I thought ‘I could do that’.(cheapskate!).
Then when glue guns appeared, and I needed a reversible glue for restoration work, everything fell into place, if not apart.
:upside_down_face:

6 Likes

I was at a different Lowes and found some black tile on the shelf. Got to redo my slate coasters on shiny new tile.

Before and after silver sharpie.

16 Likes