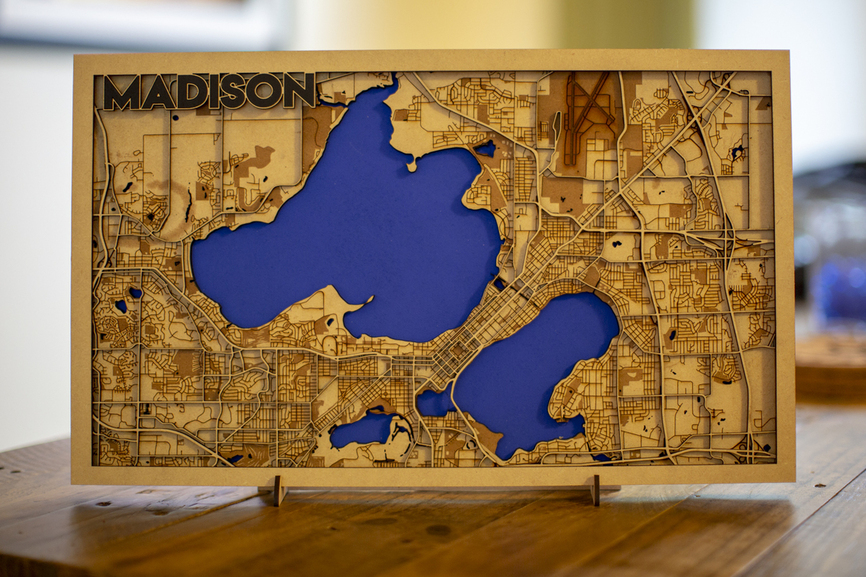
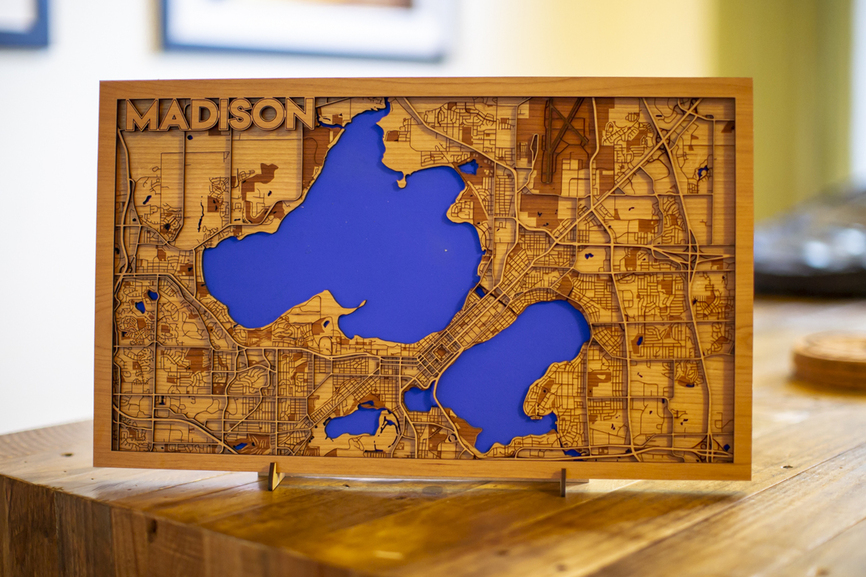
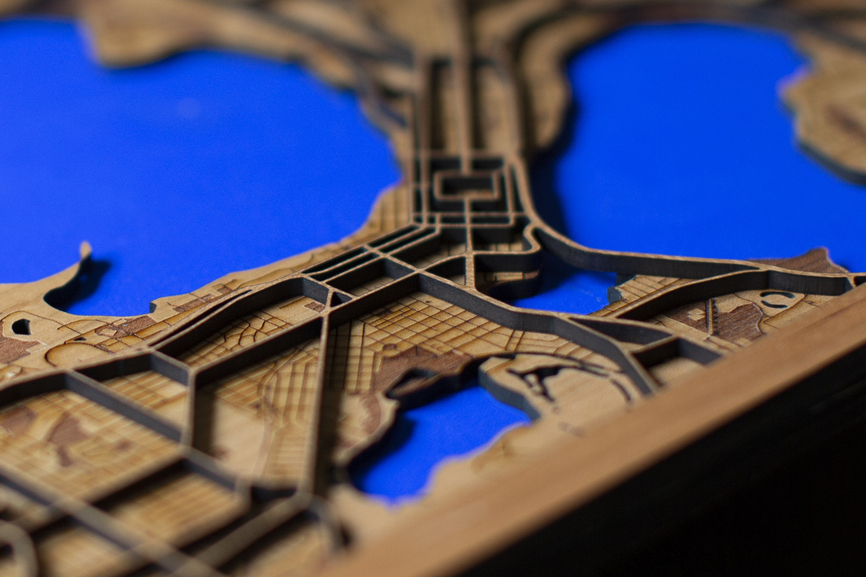
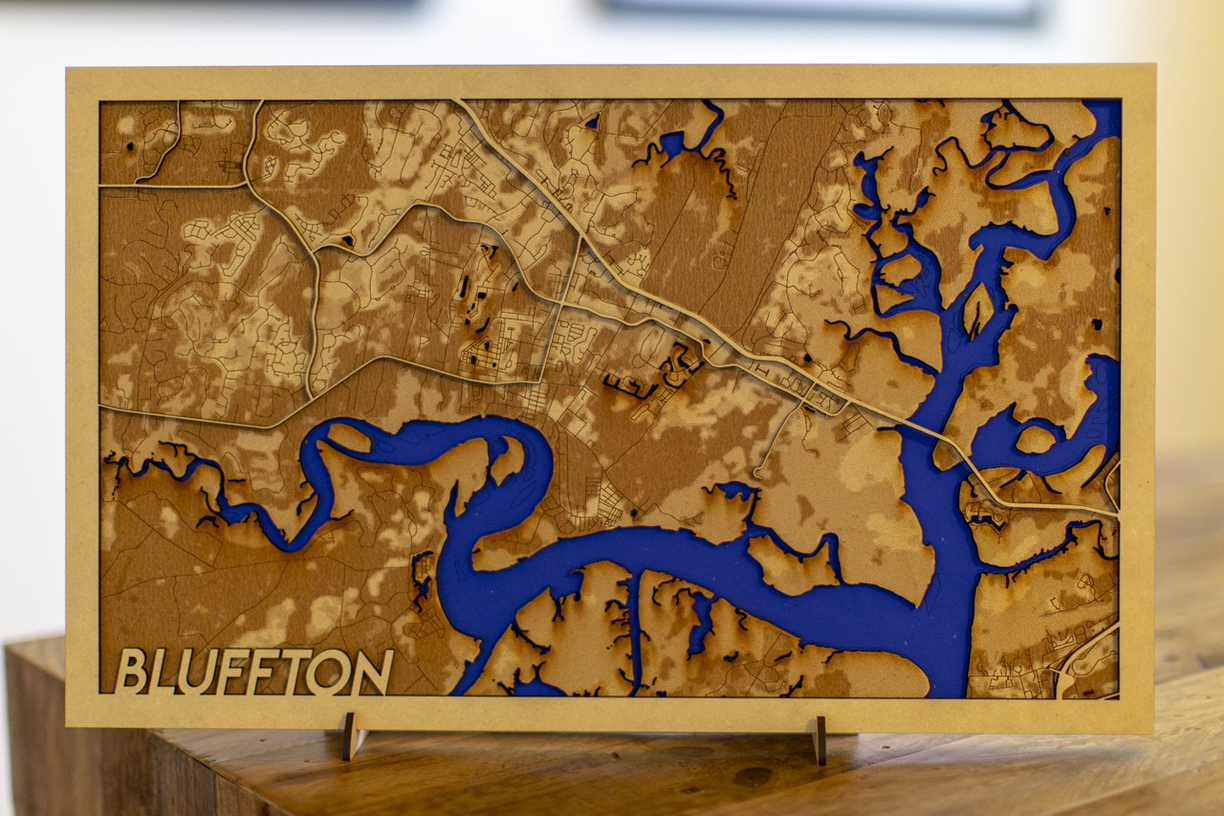
Started playing around with mapbox yesterday, and came up with these multi-layered maps that will be used as gifts. 2 are made from draftboard, and one is cherry ply.
This one is 3 layers.
The 2 Madison maps are 4 layers
Started playing around with mapbox yesterday, and came up with these multi-layered maps that will be used as gifts. 2 are made from draftboard, and one is cherry ply.
This one is 3 layers.
The 2 Madison maps are 4 layers
Those are impressive.
It came out fantastic!
Awesome results! 
Fabulous! I’ve been playing around with Mapbox. I hope to achieve your excellence!
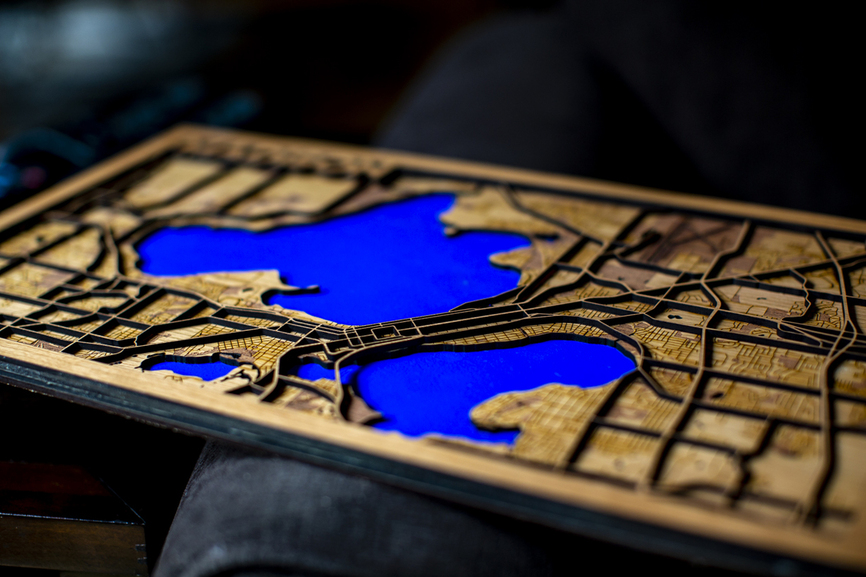
So nice! Love the dimension and the contrast of the water.
Thank you, but I think I’ll give the credit to Mapbox, as this made it very easy, and I’m sure there is a ton more to learn. I wish I would have found this a long time ago.
Very cool. Nice job!
Very cool! My GF is actually arriving today, and I’m planning on trying to make one for my town via Mapbox. Any tips/settings advice on how to get the best results? Great work!
Since I’ve only been using Mapbox for a few days, not sure I have best practices, but here are a few tidbits to my process. I start out using their light style theme and start hiding layers that I won’t use. I export the primary roads I want to use as one layer and be sure to hide the background so you get a transparent PNG. I then created a layer to have the minor roads, parks, airports and export that for it’s own layer. I did a layer for the lakes as well. I imported all of these into illustrator onto individual layers. The primary roads and lakes layers were converted to vector using image trace. The minor roads layer I left as a image as that was engraved. The outside border is it’s own layer, as you’ll use that on every print. I created the internal border and spend time merging and cleaning up the lines. Then saved as SVG and upload to ![]() . Voila!
. Voila!
I am also limited to the size that I can print, as my ![]() has issues if I put anything in the lower right hand side too close to the edge. I am getting a 4th replacement unit. So, I keep my width to a maximum of just over 17 inches.
has issues if I put anything in the lower right hand side too close to the edge. I am getting a 4th replacement unit. So, I keep my width to a maximum of just over 17 inches.
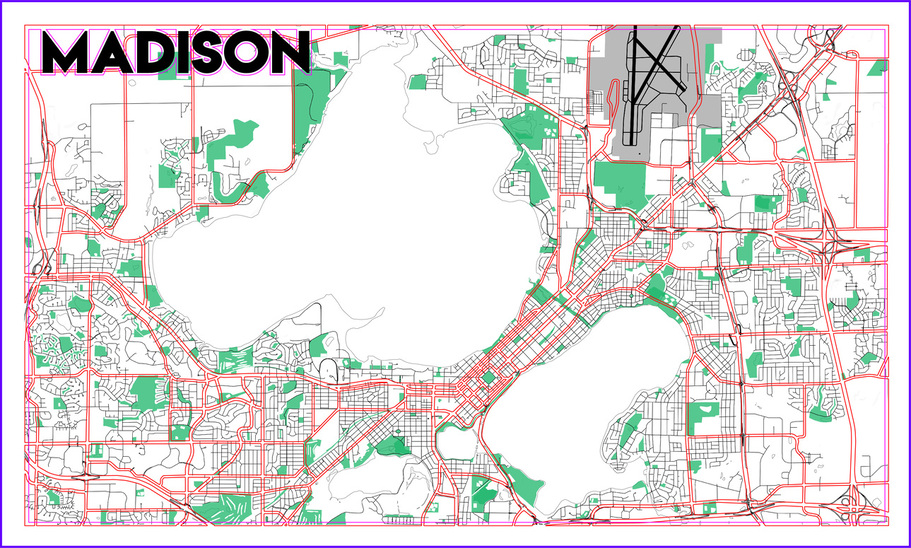
That’s very oversimplified, but I’ve gotten where I can create a 3 to 4 layer map that’s ready to print in just over an hour. The printing takes way longer, as the engrave on the Madison map took over 3 hours. Here is a image of my file with 6 different layers that are sent to the Glowforge.
Awesome! Thank you so much for the information. This will take a lot of the trial and error out of it, when I attempt to make my first one. I can only hope that I’m able to achieve the same results. fingers crossed
Good luck, and be sure to post your results!
Why did you take this approach? It would seem that the major road vectors overlap the minor road image for engraving so since the head is going to traverse the whole thing anyway, it’ll take longer with the majors as vectors as it’s adding another operation on top of the image engrave.
I did it this way as the major roads are their own layer to give the finished piece some depth. It’s not the same piece of wood. Otherwise, maybe I don’t understand the question.
Got it. Looks like you cut the major roads. I thought you were scoring the major ones and then engraving all the others on the same piece of material.
Nice work! Where are the export functions in map box? Cant seem to find them.
These are rather fantastic! The perpetual problem with being a maker and owning a Glowforge is you keep seeing ideas that take you off down another rabbit hole! Here I go again…
There is a print icon in the upper right hand corner. Click on that!
Got it! Thanks! Do you have a subscription that gives you unlimited prints?
Personally, no, I do not utilize a subscription.