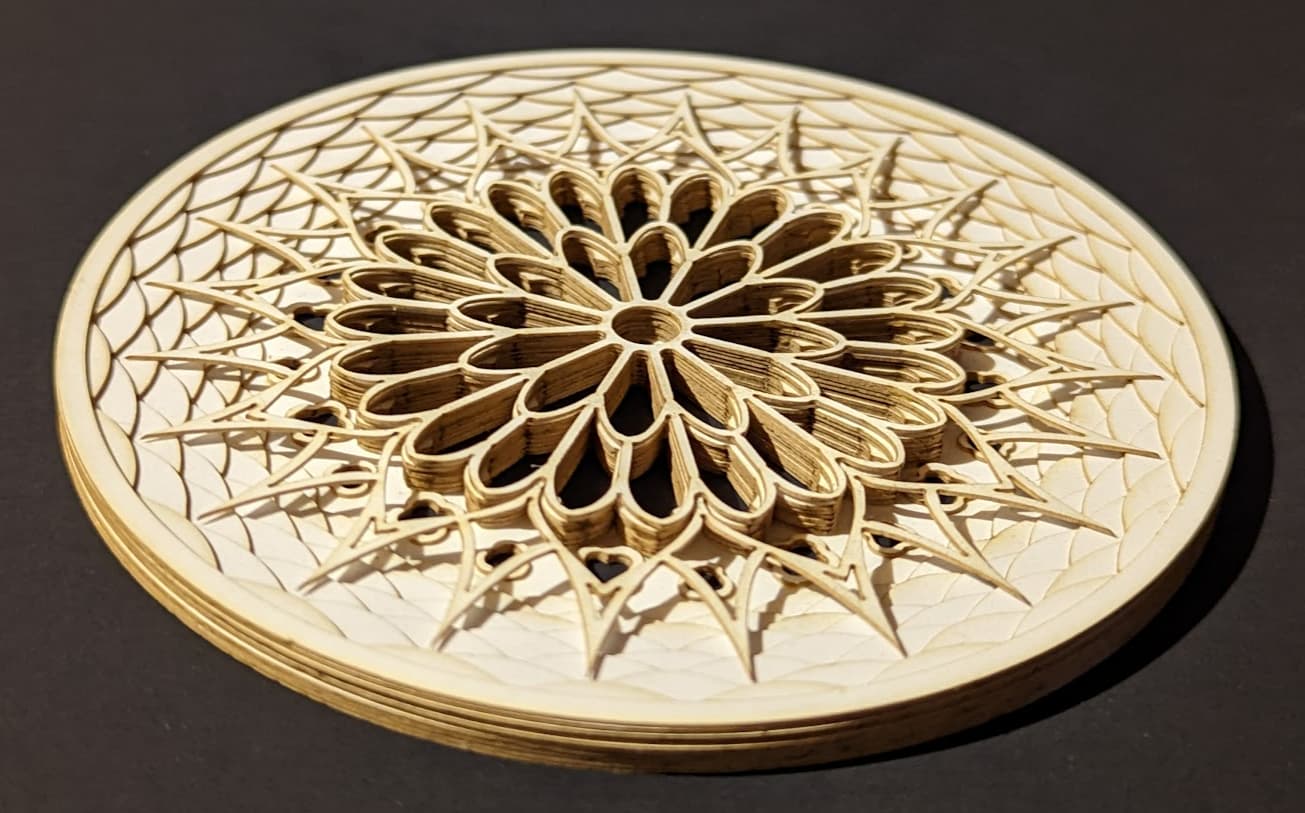
Been making it my new hobby and it’s pretty much engulfing every spare moment of my time trying to find ways to make things smaller and more detailed…
All of this is just cheap posterboard and glue to learn with.
Thanks, I’ve been able to learn a lot of tricks after making a number of different pieces. Both with easier on me assembly as well as better utilization of paper.
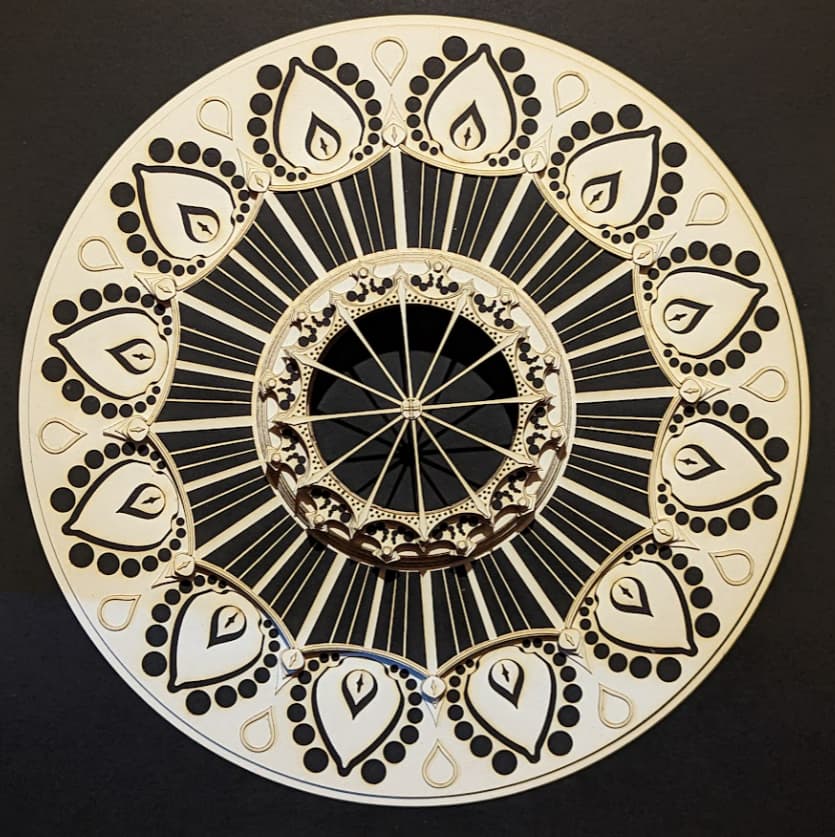
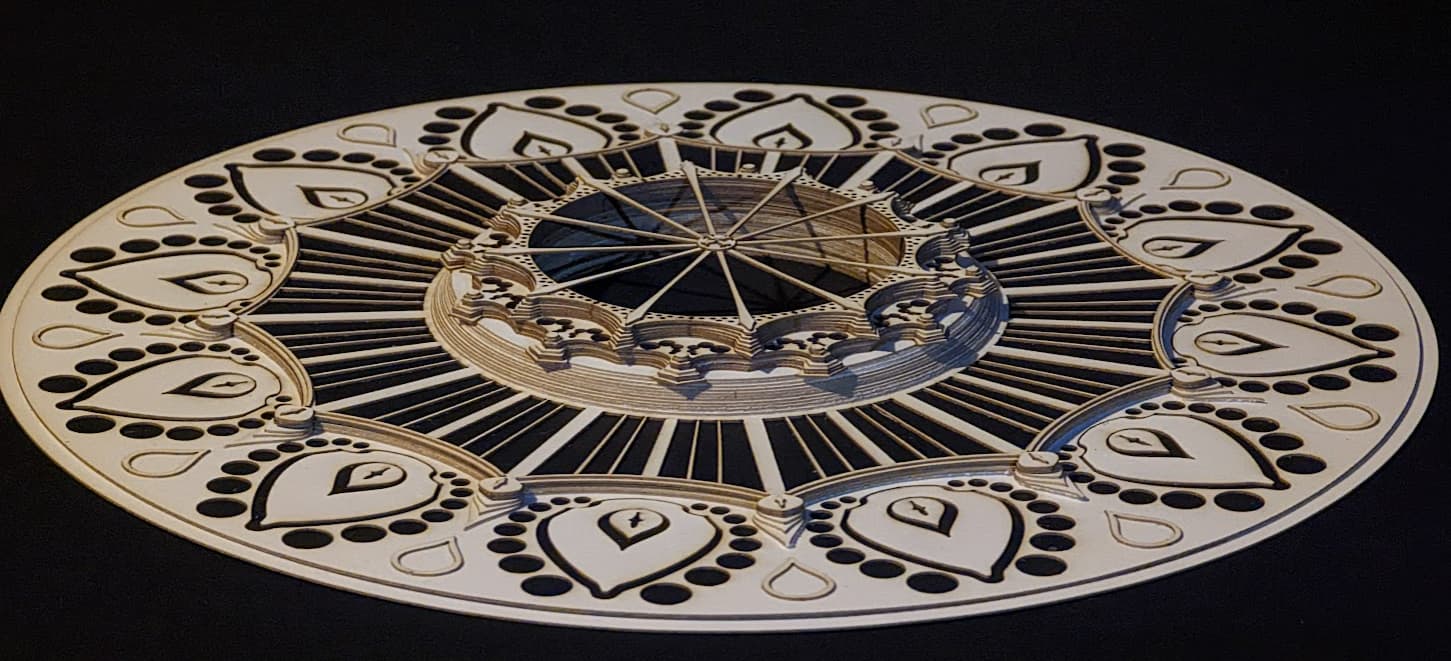
10" Piece - took about 9 separate cut files and each cut file took about 15 min each
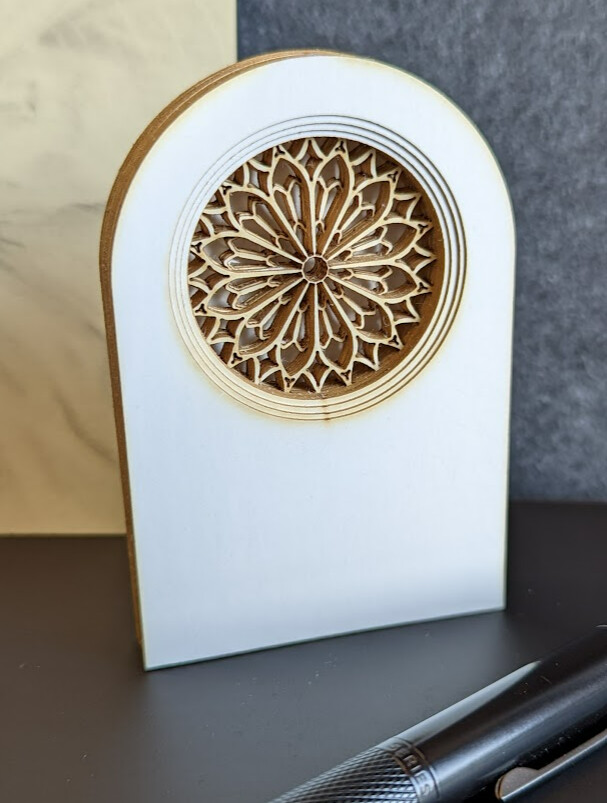
2.5"x3.5" Piece - Took about 16 min to cut (most items were just a circle and outline. The detailed section is only 1.5" in diameter and that took the most time overall)
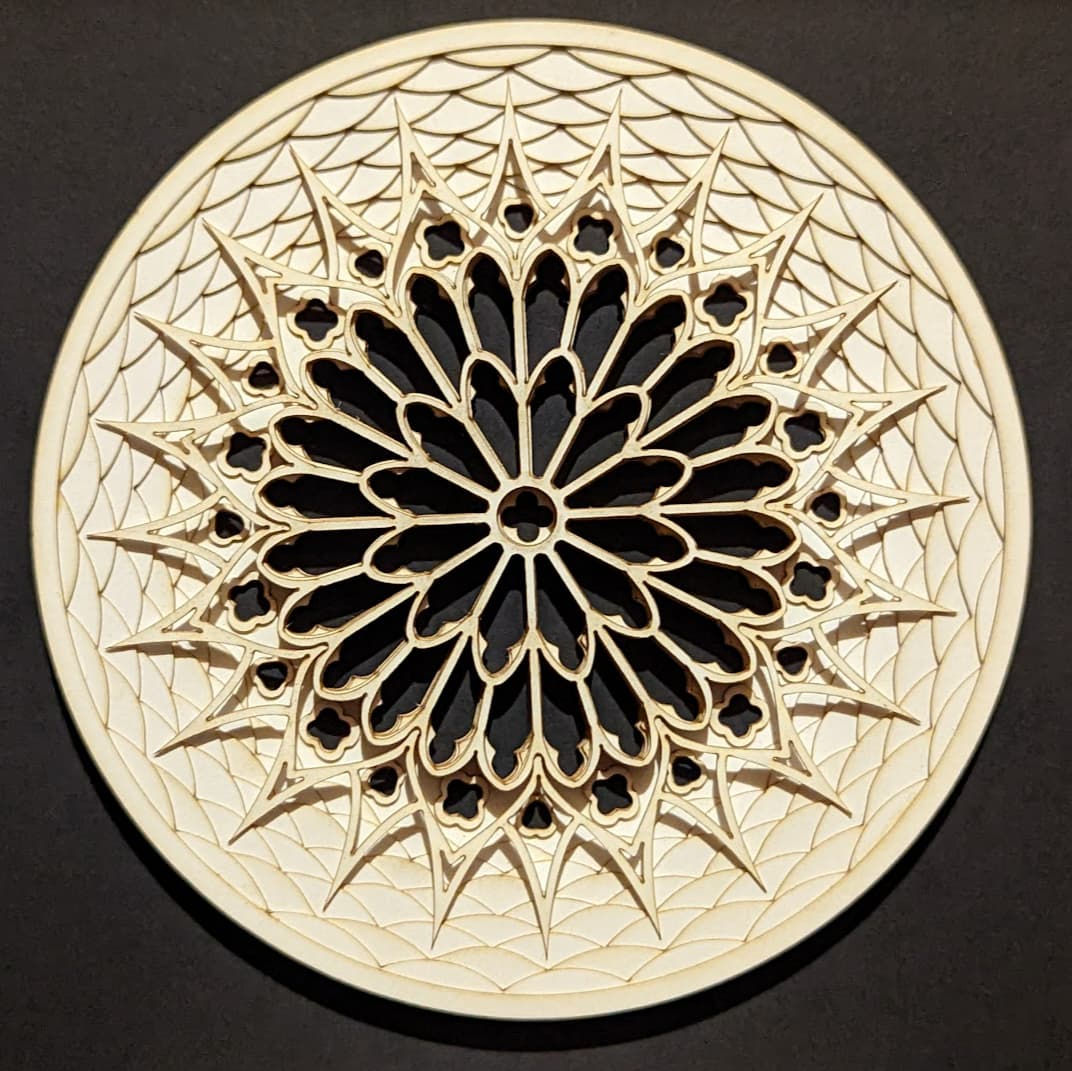
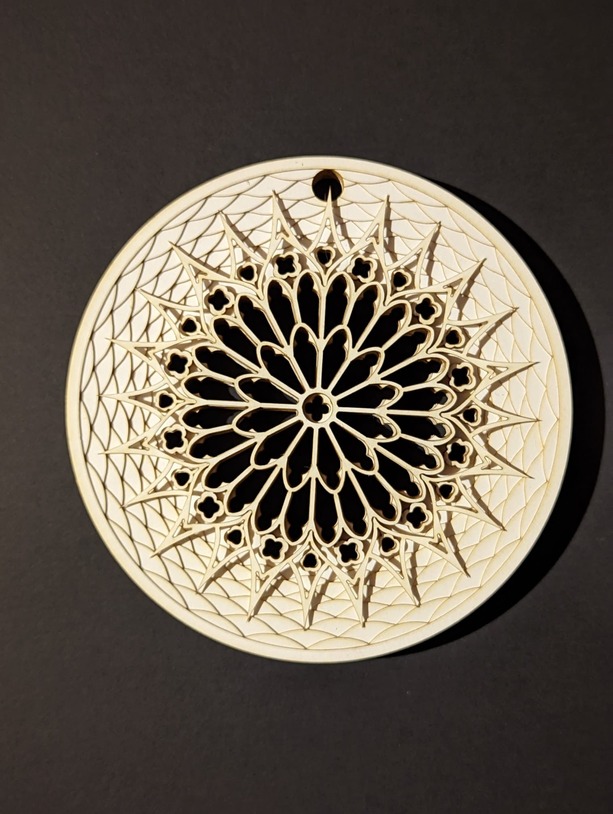
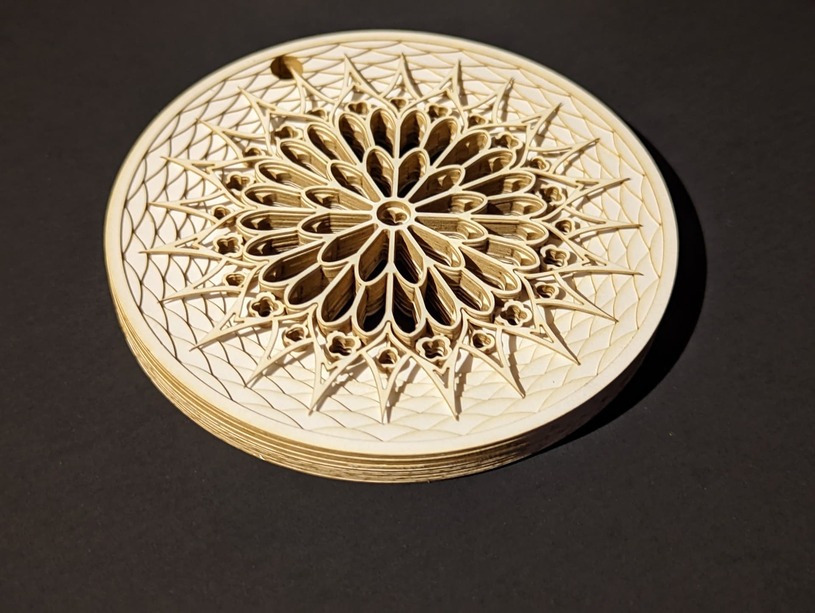
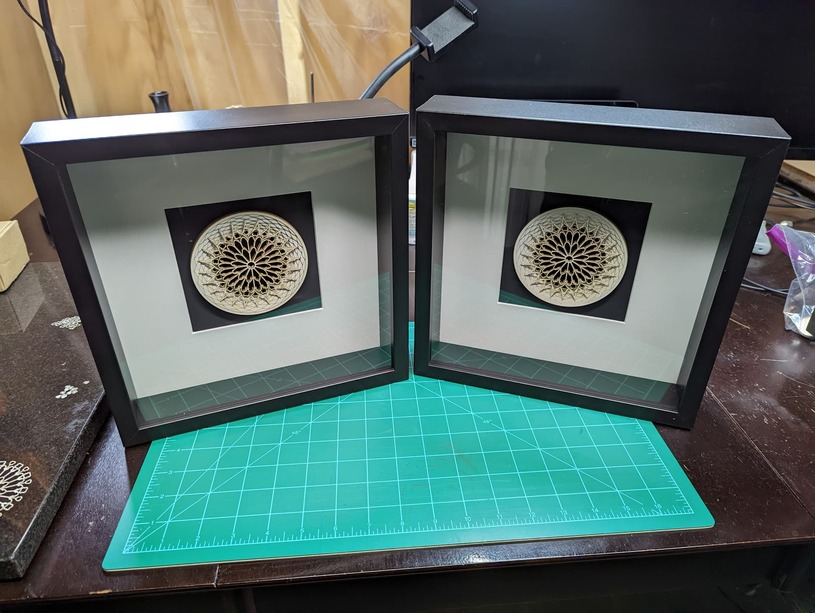
4" Piece - This one to do the 11 layers it currently has took about 22 min total on 2 different cut files
It’s a lot of time individually, but honestly, there is a LOT of weeding and popping out the interior parts in between but that’s thankfully mostly mindless and can be done while waiting on cutting.
Awesome. Not as bad as i thought. Do you use a Seklema mat? If not, that would be a great addition for you. It’s a sticky pad that holds paper down-even with intricate cuts.
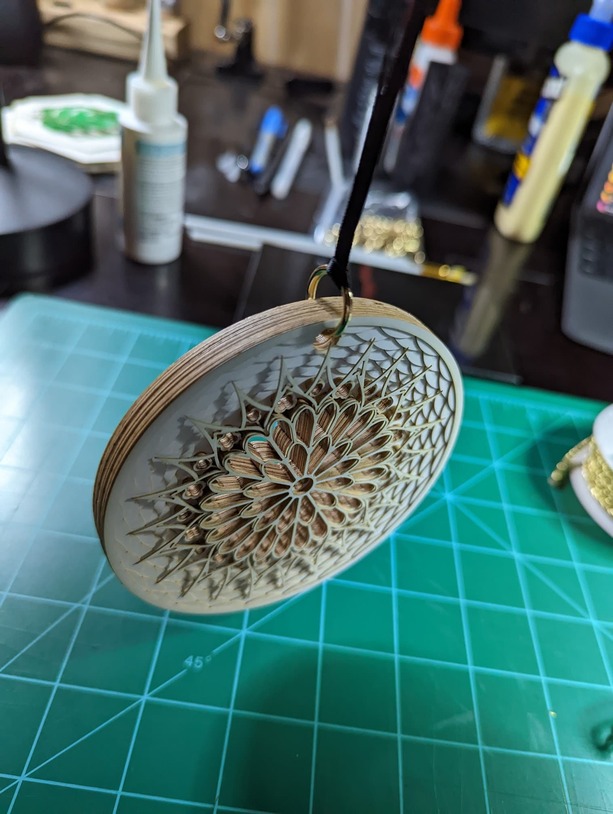
No, never heard of that before. I ended up going with the thinnest cheapest posterboard I could find (you can see how thick it is in the side profiles) but it sits surprisingly well when it’s being cut. The only times I have issues is when it’s a small piece and the fan blows under it and starts to move it, or it’s so small it falls directly into the crumb tray… lol
Beautiful! But you have way more patience than me!
Instead of buying a mat to put your cardstock on to keep it from blowing around, you can just sacrifice a piece of plywood and spray it with Krylon Easy-Tack. Let it dry for about 15 minutes before you put your cardstock on it. It’s easy, reusable, and the spray is easily reapplied as needed. I was making a lot of cardstock boxes for some of my products I was selling, and it works perfectly. The paper peels off the board easily, and it keeps all the little pieces from blowing away or up.
Just charring on the edges of the cuts, just like on wood, but no smoke or charring on the paper itself. I still just use my setting for posterboard, so although it engraves just slightly into the wood, it’s not going much deeper than the posterboard itself. You just want to make sure that you smooth the posterboard down so it’s stuck all over (but it does come up easily when you’re ready to peel it off). I’ve also found that one “coating of spray” will last me for a couple days, so I’m not having to spray the wood board each time I’m using it. I just shove it in a drawer when I’m done. When it stops being sticky, just spray it again and wait the 15 minutes before applying your paper to it. It also works great with regular copy paper too, and probably even lightweight material (which I have NOT cut - yet!).