One of the things I love about laser cutting leather is that it makes it really easy to turn out a bunch of ‘blanks.’ I can practice on any old piece of scrap but I feel better when I come out with a finished project. So… more tooling practice. The need for something simple to tool on and the fact that I ran out of rivets long enough to use on the heavier weight of leather I prefer for tooling got me thinking about bracelets and button studs. So, after a few minutes in illustrator I had a dirt simple 2 inch by 8.5 inch rectangle with a little extra room for rounded ends and two holes for a button stud. You really can’t get much more simple than that… Which means, of course, that I then had to go and make it complicated.
Note to self, straight lines take practice. It really showed up once I added dye and antique…
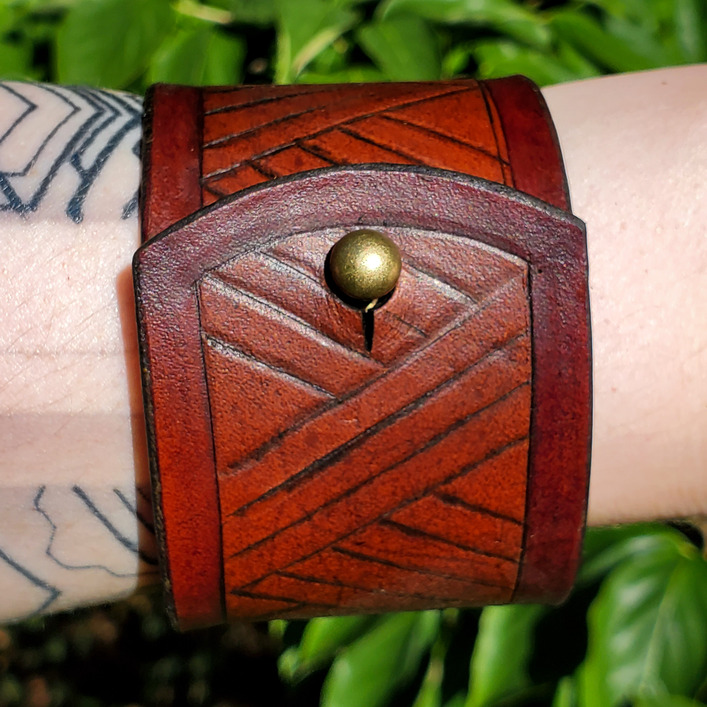
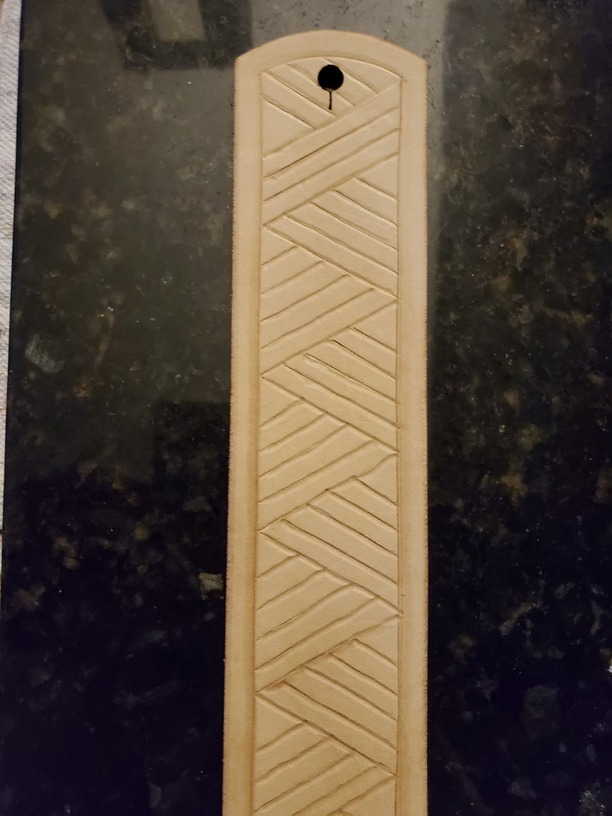
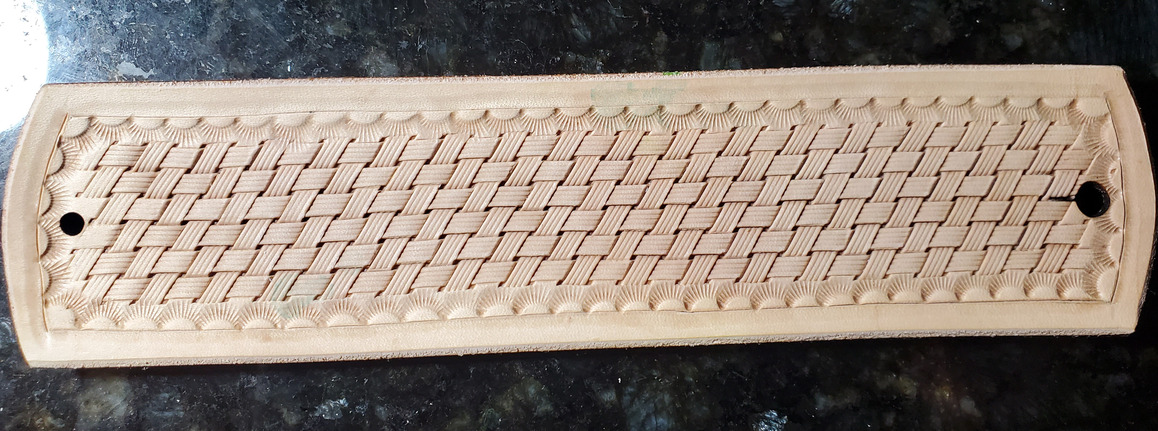
Not great… but the point is practice. So… I cut 3 more of these with a slight adjustment for fit and then tried for something more and less ambitious…
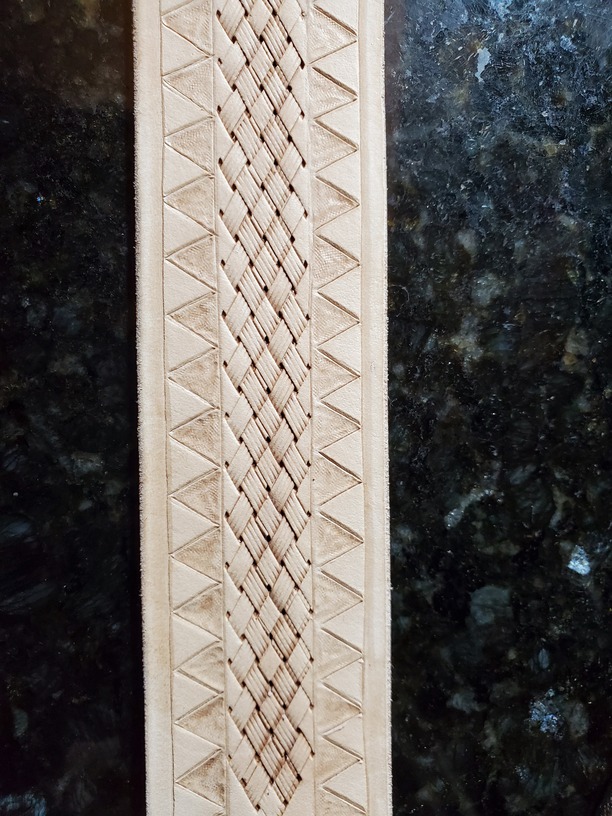
I swear, for some reason that angle basket stamp is the bane of my existence. I kept finding myself losing track, getting off by one, over stamping the wrong way when I tried to go back over impressions that were just too light… just… grr. Still, this is practice, and I was at least going to finish what I started.
Yeah. A right mess, but I learned things. This one I didn’t antique because the antique had darkened the last one so much, but I definitely felt the loss of detail. So… now what?
Now, stop. They’re small projects but each one takes 2 days, just because of the time involved in letting the leather dry between steps like tooling and oiling. While I waited for the last one to dry, I went digging for tutorials to figure out what I was doing wrong.
Things I learned:
-
Reference lines are useful. I thought orienting each successive stamp off the last one was good enough. It isnt. Getting a solid row stamped on a clean reference line is really useful for staying on track and not having a chain of “off by a little bit” errors.
-
The reason my antique made things so dark and muddy wasn’t because I left it on too long. It was because I didn’t give my resist enough time to set before applying the antique. Giving it at least an hour or two vs the fifteen to thirty minutes I’d been giving it would do a lot for me.
-
Camouflage tools really do a lot to clean up a border. Splitting a tool at the edge of a boarder can be really tricky but getting a solid line from a camouflage tool does wonders.
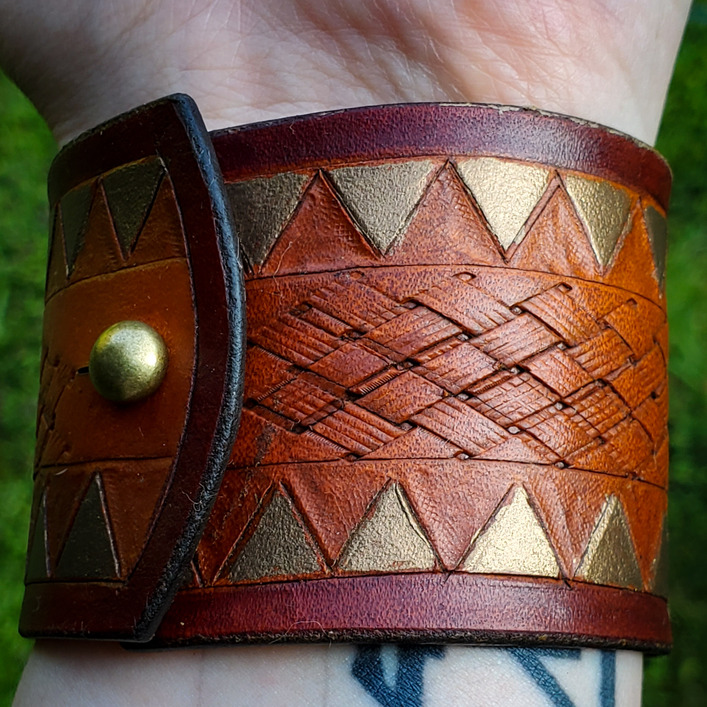
So, armed with a bunch of wisdom I’d heard before and ignored, I tried again. This time, with a reference line down the center of the bracelet, my stamps stayed almost perfectly on track.

And the end result with the antique was everything I could have wanted. Bonus, the camouflage tool set me up for a nifty accent.
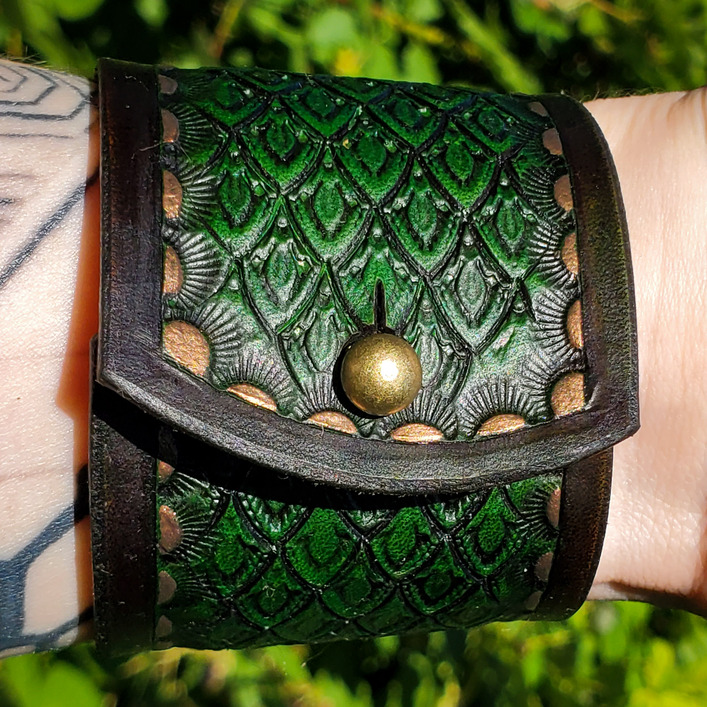
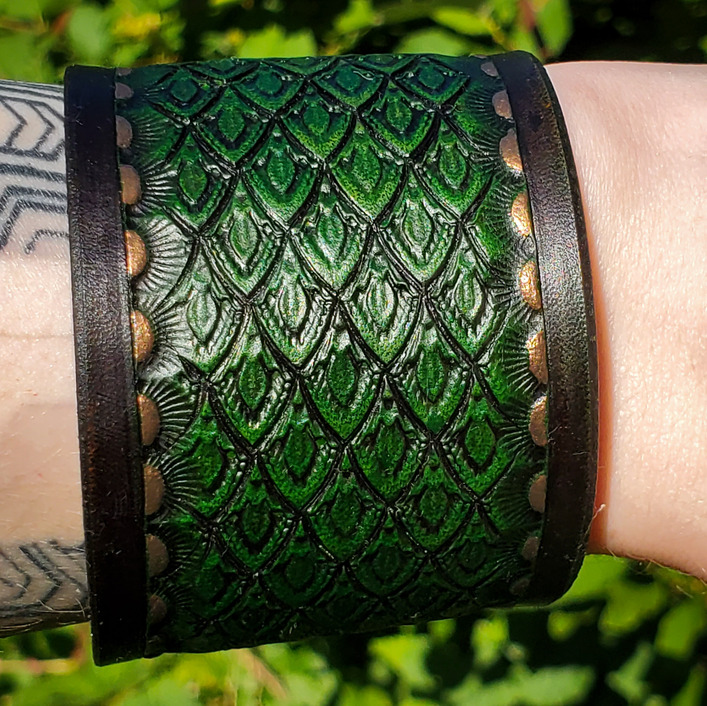
So, at this point, I’m feeling good. This is why we practice. Time to move on to something like knot work for the last one… except I couldn’t.
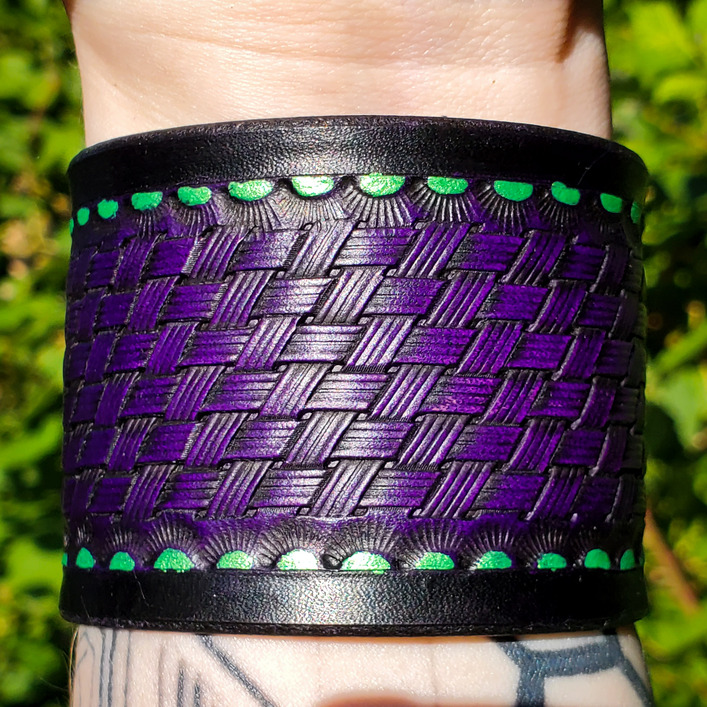
That angle basket stamp was bugging me. I had to be doing something wrong. I needed to work this out before moving on. So… try again.
Yup. I was doing soothing wrong. Once I got the tool oriented the right way on that center reference line… everything worked like magic. And it finished up beautifully.
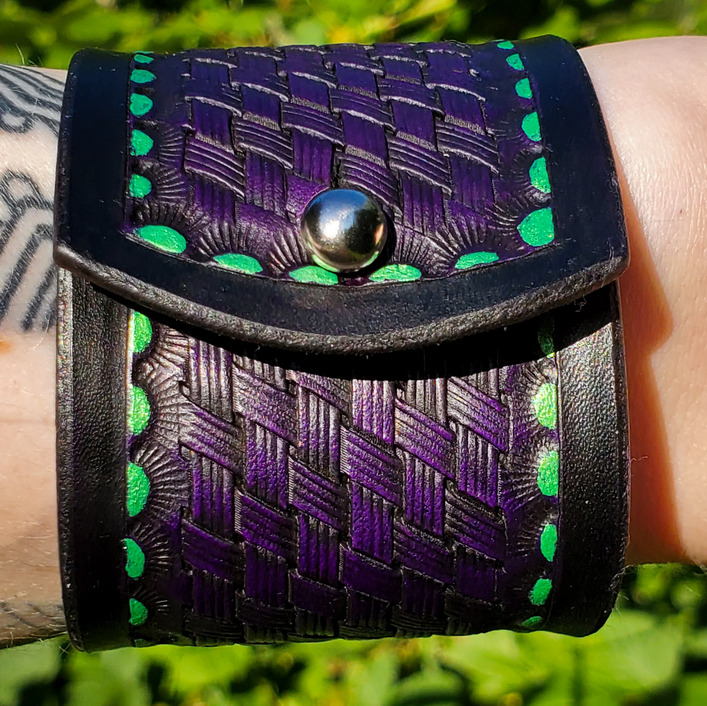
So… lessons learned. And this is why we practice.
What’s next? Time to take those learnings to a bigger project. But that’ll have to wait until the shoulders I just ordered show up… until then, I have time to sketch and design a few things ![]()