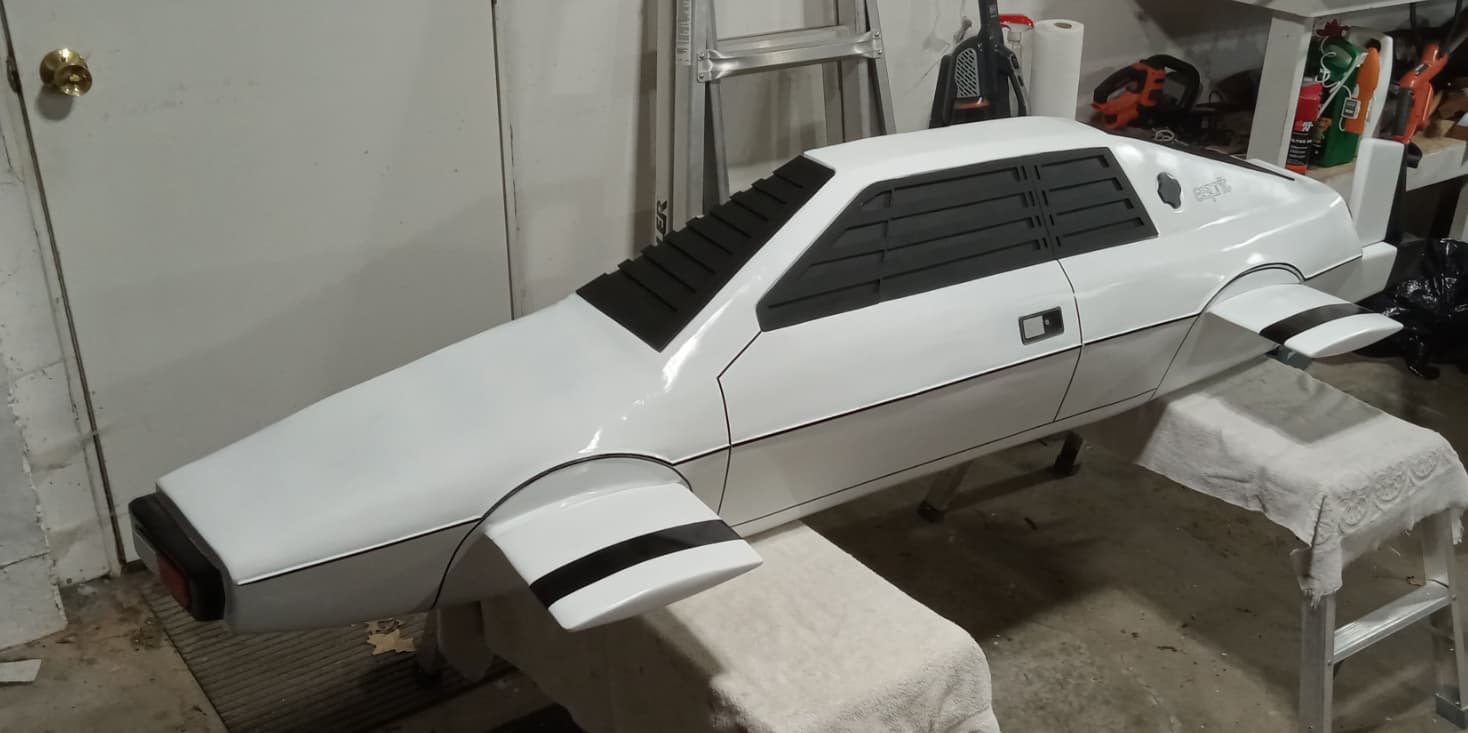
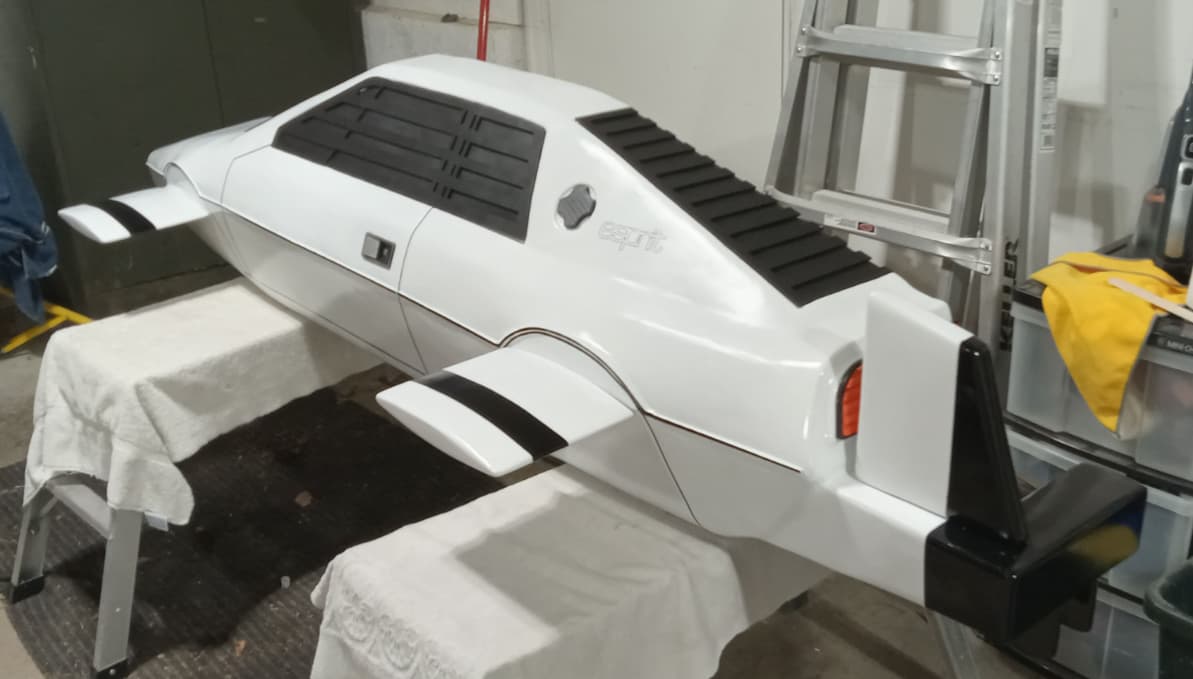
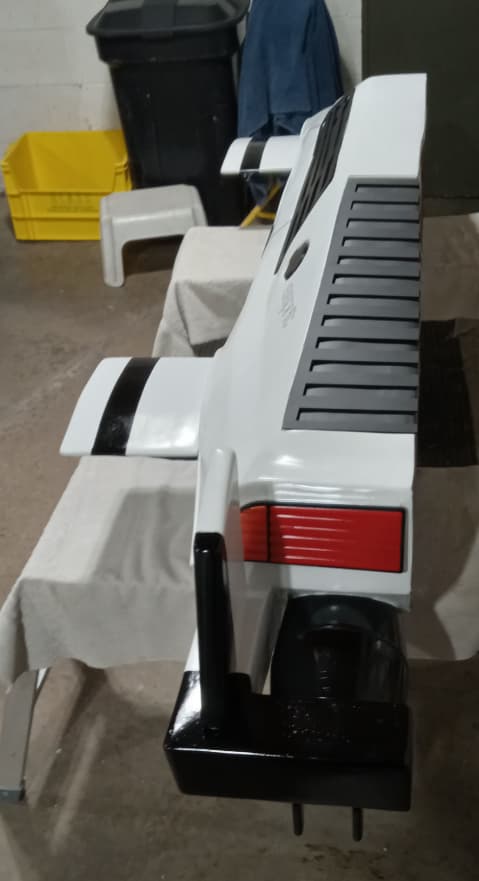
After spending over 150 hours designing this project and another three months cutting parts on my Glowforge, assembling, fiberglassing, 3D printing, sanding, priming at least a half dozen times my Bond submarine was finally ready to paint. Now add another couple of weeks getting the paint just right I put the finishing touches to the project this afternoon. This is how it all came about.
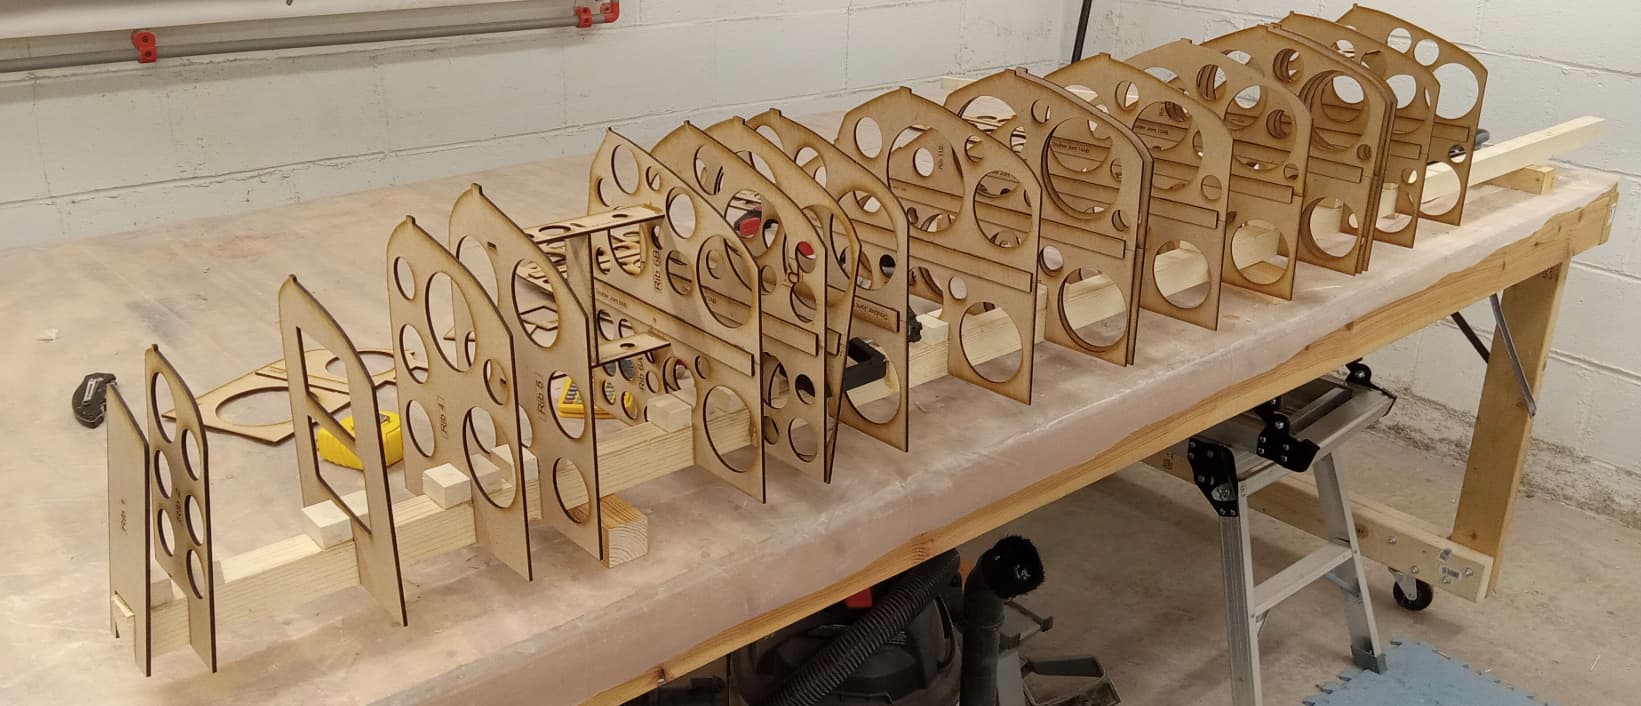
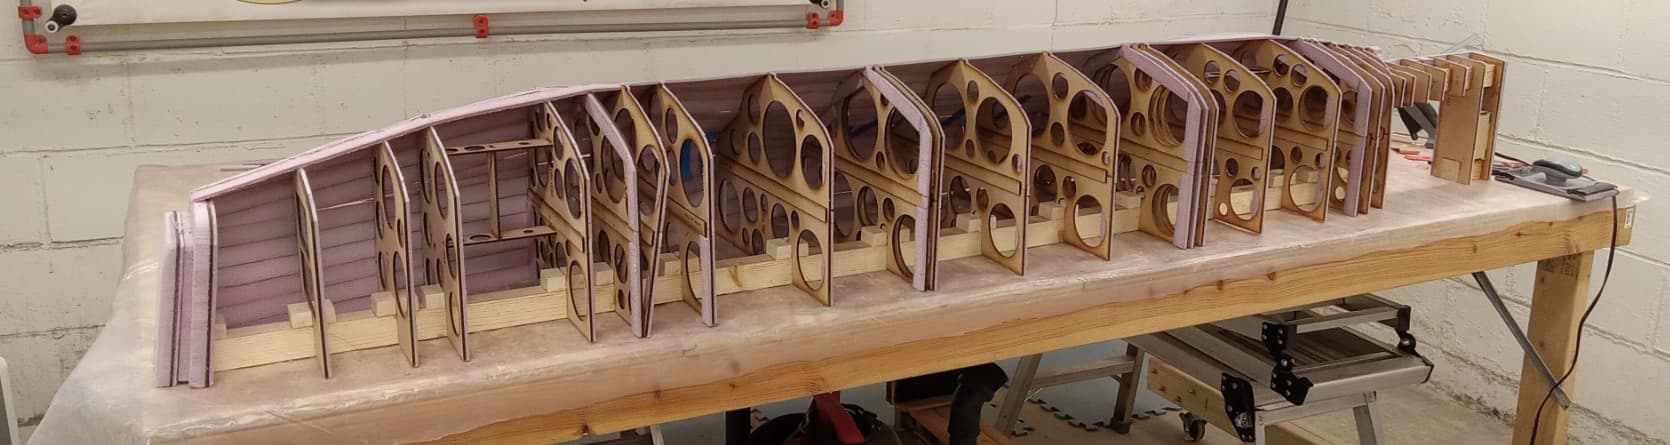
I was lucky enough to find a 3D model of the Bond submarine online and bring it into Fusion 360 CAD software. There I sliced the model into pieces to create the ribs to get the body shape correct. After the ribs were cut on the Glowforge I assembled them starting at the front and ending at the rear of the display.
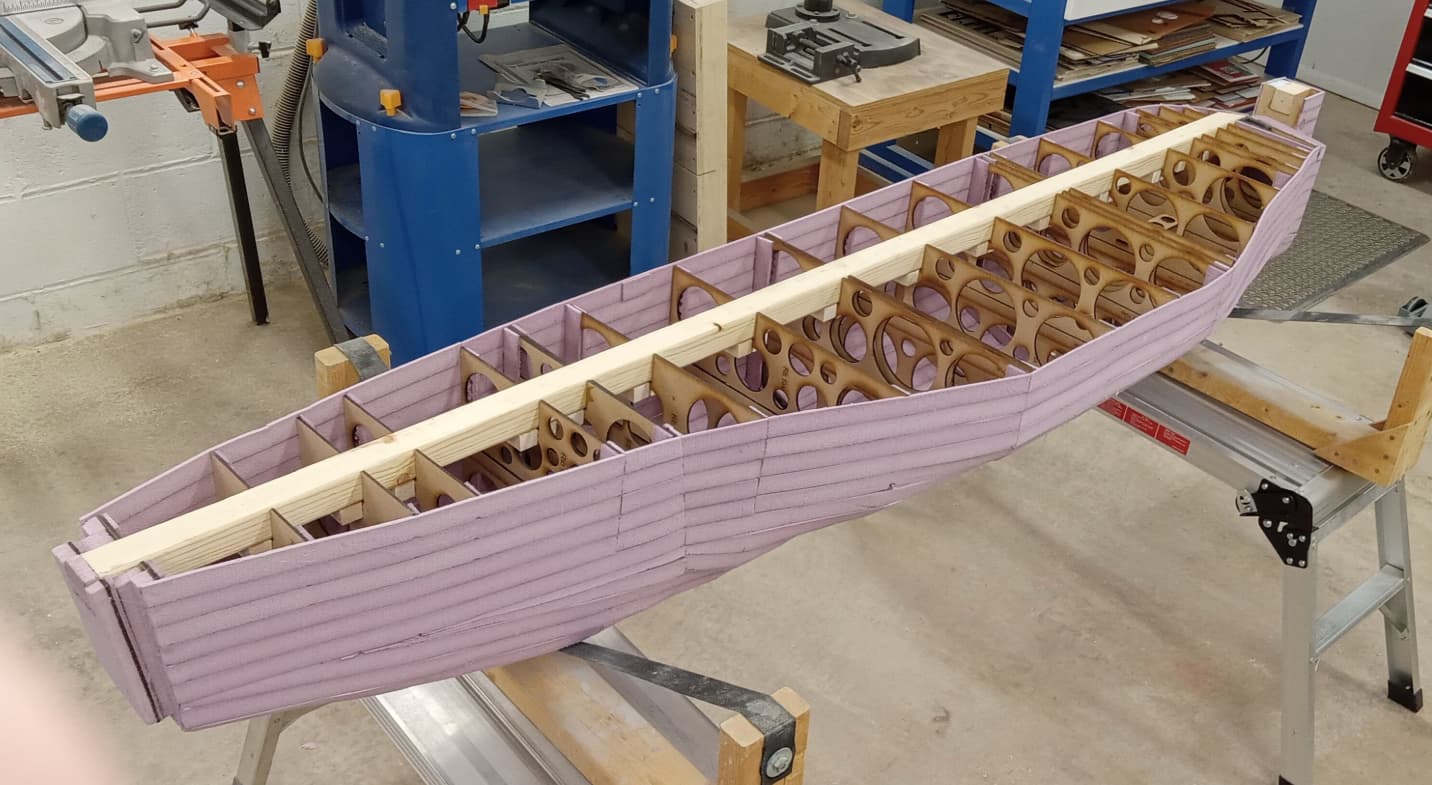
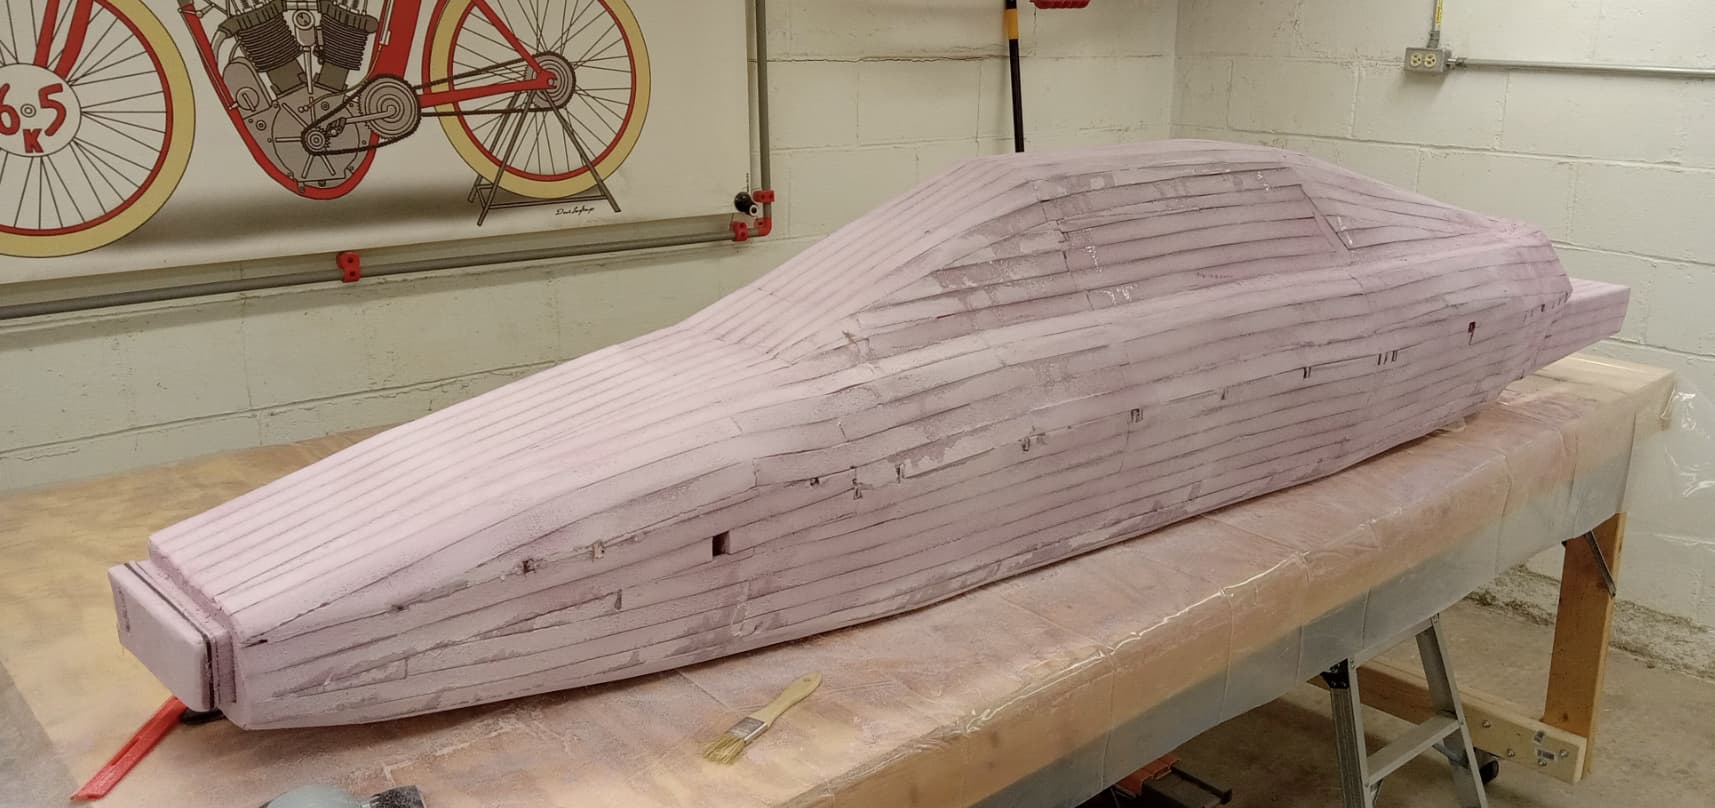
Then I glued strips of styrofoam on to the frame to make the body shape. The inside of the body was fiberglassed so the outside of the body could be sanded into a more refined shape. The outside of the body was then fiberglassed. Lots of sanding and priming came next to get the shape smoothed out for paint.
Total weight of the sub display is right around 25 pounds. Much lighter than what I had expected so it is a happy result. The sub is half scale and measures a little over seven feet long. Now I just have to hang the display on a wall using nylon webbing straps attached to the back of the sub in my garage to admire every time I pull my car in or out of the garage. Let me know what you think. Would love to read your comments.
I’ll have to build my own museum with all the projects that I have built and displayed at my house already. The sub is another project that I am very happy to have put together. A challenge to build and a lot of fun along the way. I’m a retired industrial designer so now I get to play building projects like this one.
Wow! I’d find lots of reasons to have to go out somewhere just so I could drive in and out and see it all the time. Or at least have a reason to go into the garage. Keep the refrigerator out there or something.
No I did not use Monokote. As suggested by another reader I fiberglassed the entire project inside and out. (as I wrote up in the text describing this project). With attaching styrofoam strips it is way to easy to damage the final form without fiberglass on the inside. You could easily poke a hole through the styrofoam with your little finger. It’s that fragile. Once the fiberglass is added to the inside it makes the outer surface much more solid. Then you can easily sand on it to make it smooth enough for filling gaps and get it ready for a couple layers of fiberglass. To check out other fiberglass projects that I used this process on go to my blogsite that I used to run that is still being read worldwide today. Last count was over 950,000 visitors. There you will find a lot of other fun project that I designed and built.
Here is the blogsite that I ran a number of years ago. There you will find all kinds of projects that you will enjoy seeing and reading about. Last time I check the number of visitors to the site it was over 950,000 visitors. Here’s the link to the blog.