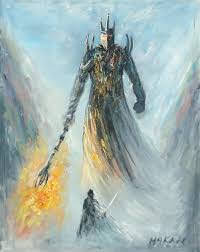
I was showing a former coworker what I’ve been up to with my new Glowforge. I showed him a picture I’d done that I purchased from Travis Sturgill. He asked if I could do try to do one for him. He’s a huge Lord of the Rings fan and had a picture that he said he’d been trying to find. He sent me a copy of the picture he wanted.
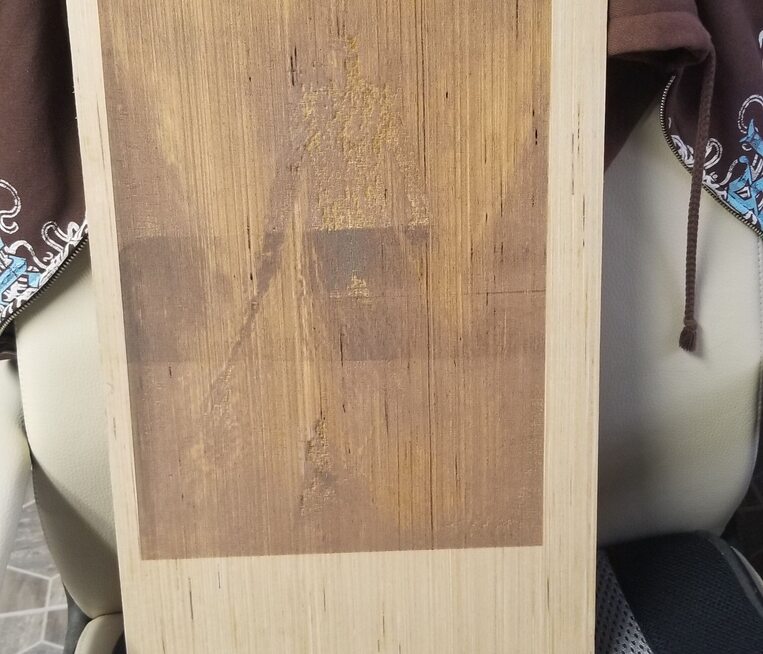
I tried it first from the photo he sent, but didn’t like the way it came out. I used a poplar plywood board, using the lighter side because I thought the engraving would show up better. It didn’t.
So I figured out how to print it out in black and white and scanned it in. I figuring that the contrast would be much better for engraving. It was.
I tried to print it, the GF would give the “no artwork” message, as the white border would be outside the edges, even though the photo was inside .
I struggled with how to get it better, importing it into both Inkscape and Silhouette, but couldn’t get rid of a white border around it. If He, though, thought it was great. I finally got it to be saved as a “cropped” picture when I scanned it, so it didn’t have an edge around it.
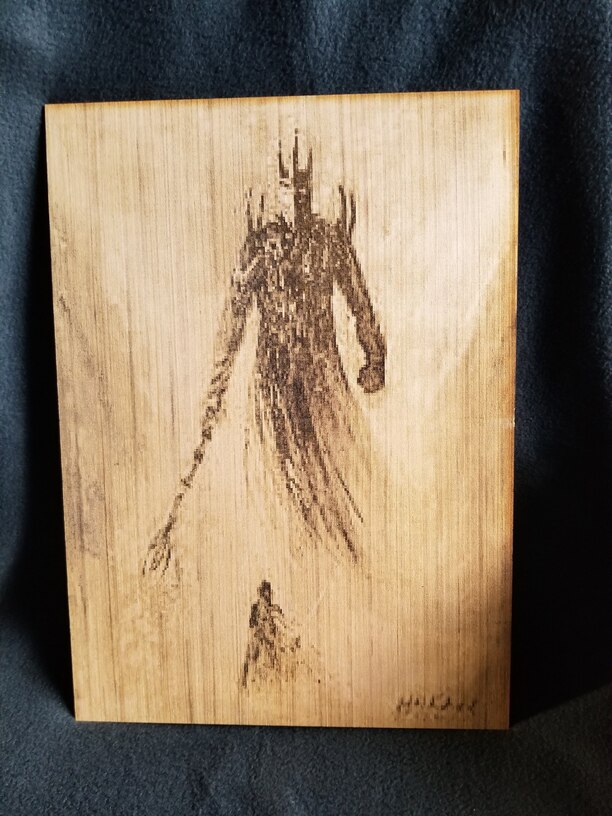
In the end, I think it turned out well. I took it to him today. I showed him the first side first, and he was happy with it. (huh?) Then I told him I was unhappy with it, so redid it on the other side. He took a step back and his mouth dropped open. Needless to say, he was very pleased. I told him I’ve got some baltic birch ordered and will redo it, hoping that it’ll be better.
It was a big learning curve for me, but one I’m anxious to try again. Here’s the end result.
Looks good. Threshold in photoshop along with some other adjustments. There’s equivalents in inkscape that would work as well. The SIZE of the picture is problematic as well which is why you got some pixelization there.
The second side turned out really well, I think the style of picture added to the haunting effect. Sometimes we can be very harsh on ourselves can’t we
You could do a lot of work with rasters in Gimp as there are a lot more tools of manipulation there than a vector program, but I really like the result you got for that image.
Thanks. I kinda figured the enlarged size would cause the pixelization. But the friend didn’t seem to mind that at all! Still shocked he was thrilled with the first side!
Yes we can be harsh on ourselves. I actually used to know (many, many years ago, before Windows even - my boss was an attorney but also a beta tester for IBM OS2.) how to do DOS programming, how to put computers together, etc. And after being a secretary for 30 years, I am somewhat of a perfectionist to want to have everything just right. And technology changes so very much, so quickly! I used to use CorelDraw way back when, and was pretty good at it. Learning these new programs is definitely an experience, one of which I am willing to tackle. Thanks for the encouragement.
Vectors are points connected by lines so easy for a tool to follow those lines, but limited in complexity. Raster is just an array of pixels each a different shade so if scaled up becomes an array of squares so something like engrave just goes down each row doing as each pixel says with no attention to shape.
Each has its advantages, Gimp is great with rasters but limited with vectors while Inkscape is great with vectors but limited at modifying rasters.
Thank you for the explanation. Do the designing programs (Inkscape, Silhouette, Illustrator, etc.) do that automatically or do I have to set them to do it?