It’s printing not even close to where the print is on the screen. Anyone else experienced this?
Can you post a screen shot of how the alignment works out before and after a cut?
Do you use Set Focus?
Have you done the camera calibration routine?
Is it within 1/4"
And welcome to the forum!
could be that you print head moved. quickest fix, turn off power, turn on power. wait for calibration to complete. try to print again.
Also what mamak3261 said.
1 Like
When I set the focus, it goes way over to the right of where it is on the screen.
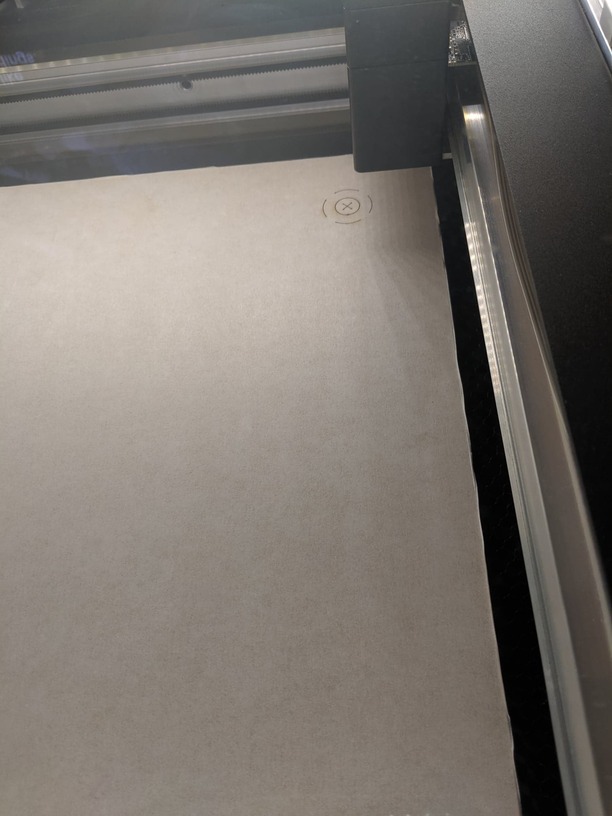
This confuses a lot of new users. Your alignment is dead on, but the view on the screen does not show the whole piece of wood. The left 3/4 inch cannot be accessed by the head (it needs room to slow down at the left and right sides) so the view on the screen starts about 3/4 inch over to the right. (They only display the area that is accessible by the laser.)
It looks to you like you are placing the mark right at the edge of the wood, but there is another 3/4 inch or so hidden from the screen view to the left of where you placed the mark.
1 Like
So, with the proofgrade draftboard that comes with the glowforge, do you keep it near the bottom of the crumb tray or push it up towards the top? (if that makes any sense) Not sure if this makes a difference. I’m just a bit confused because I’ve been doing the same things for a couple of weeks, but haven’t experienced this before.
It’s a good question…when you want to maximize the use of the material…place the material so that the lower (front) corner of the material just covers the gridded area of the tray at the front right corner. The “dead zone” on the right side is narrower than that on the left…it’s only about 1/4". You will still get a full 19.45" x 10.95" of cutting area out of a sheet. The sheets are actually a little wider than 20" to compensate for the losses.
(And you can flip the material over and cut the other edges and the top inch if you want to use up the scraps.)
But using the front right corner as your origin point makes the best sense for this machine, not the top left corner.
3 Likes
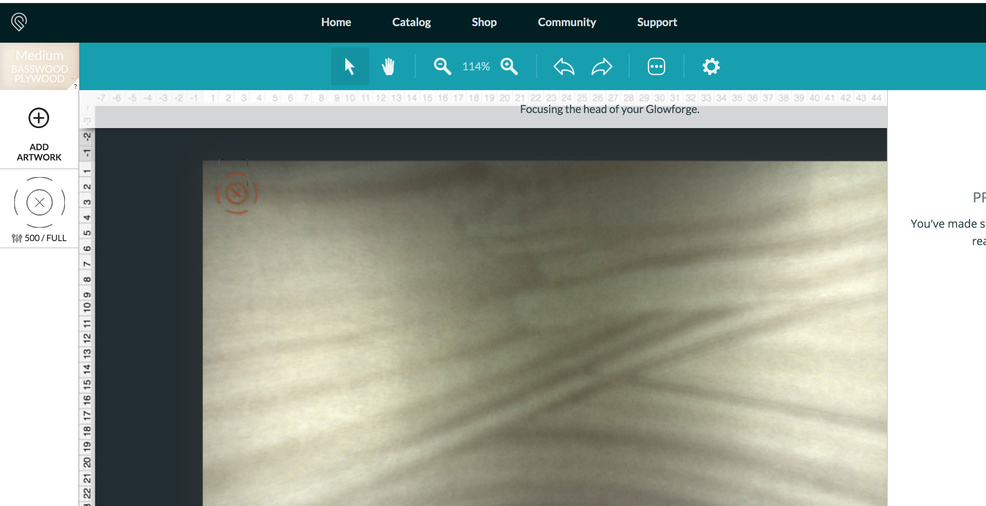
Looks like everyone’s getting the alignment squared away, but I want to point out your camera lens. It looks like there’s a lot of cleaning fluid or something on it and that can mess with the camera as well. Hope things get squared away for you.
1 Like
A lot of us end up with piles of scraps, too. I certainly have a giant pile of scraps.
I’ve also taken to keeping around the material identification bar code. I have a box of proof grade draft board scraps and, when using them, I place the scrap and the barcode in the GF. That way, I don’t have to manually select the material.
1 Like
Thank you everyone for the advice! I didn’t realize there was a dead zone. Alignment is fine now.
1 Like
Does there need to be a bit of gap for airflow when aligning to the bottom right corner? Or just cover it up?
I want to maximize materials (don’t we all!) but don’t recall seeing a “ put the material here” guidance .
No, they’ve never shown a guide or anything…that’s just something I worked out in the PreRelease testing. 
As far as leaving just a tiny gap for air flow out of the grid… I usually do, but there have been times in the past where I forgot and edged the material right up against the door. That usually results in more of a buildup of smoke under the material that you’ll see when you lift off the cut…just an extra little puff. Harmless, but stinkier.
1 Like
As always Jules - you’re the best!
1 Like
You’re hired! 
(Thank you.)
I’m so sorry for the delayed response, but that’s correct. Thanks for the help @Jules! @shalee.d.woody I’m going to close this thread. If you run into any other trouble, please start a new topic, or email us at support@glowforge.com. We’re here to help!