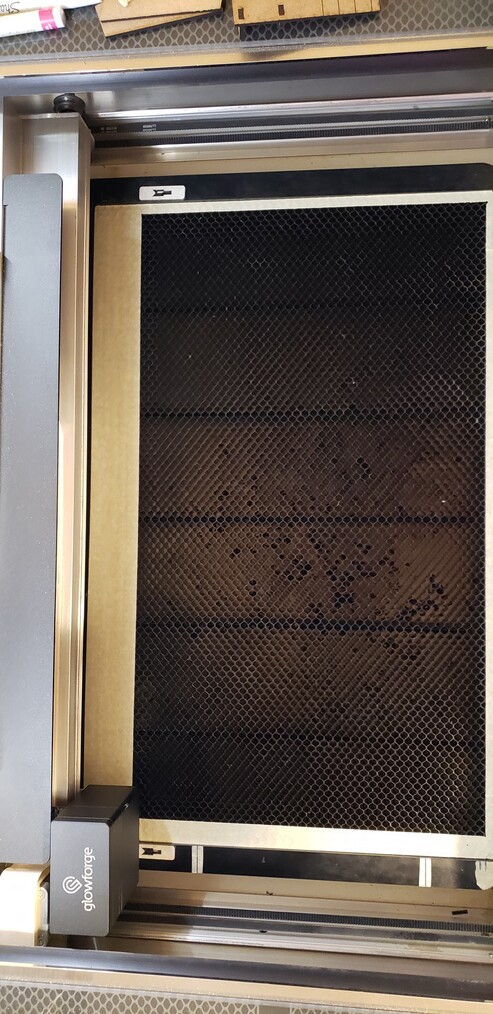
I will put some files together and will upload them. But in the meantime you have put some masking tape around the inside edges of the tray and cut the max cut glowforge file!
This is an SVG and is ready to go. Just left click on the image and save it.!
I have changed and updated the max cut file. On the last update to the Glowforge they decided to add side buffers to the top and left side. They are really small but that affected the size of the cutting area.
You may notice that on the new file there are two lines that may probably show to engrave. Do not worry about them as they are outside of the cutting area.
I have had add to them to compensate for the the top and left buffers that were added and allow the max cut drawing to always be centered

Use the Medium Draftboard setting to cut it. I personally change the power to 30% leaving the speed on the original setting, that gives me a good sharp edge without any burning.
The reason why I use the Draftboard option is because it gives me most accurate max cut even though the thickness of the tape is completely different than of the draftboard.
You can try to use a different setting if you would like to but more than likely it will not work because the side buffers are always different since the camera have to adjust to the different thicknesses of materials.
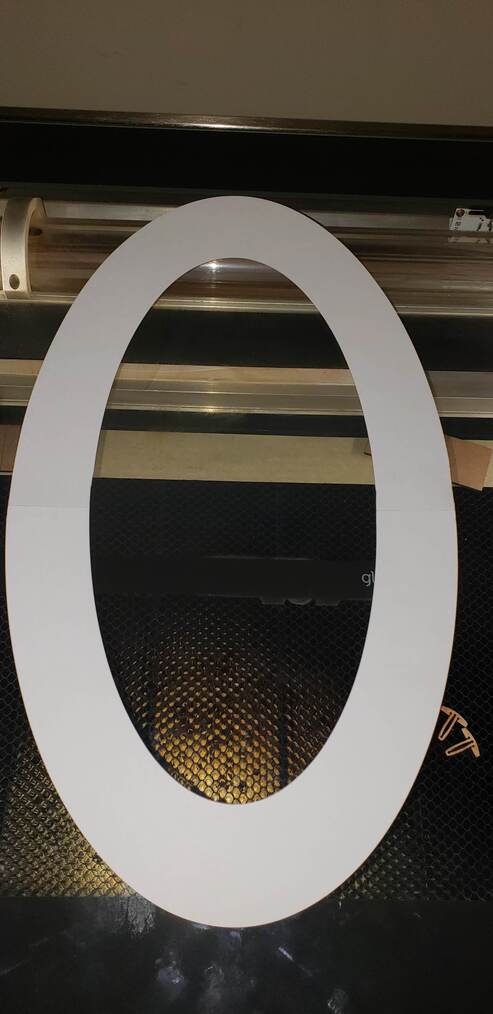
After cutting just remove the leftovers leaving behind the outline which is the max size that you can cut on the glowforge
Also here is the Illustrator file in case some changes are need it but not likely
max cut Draftboard.ai (1.1 KB)
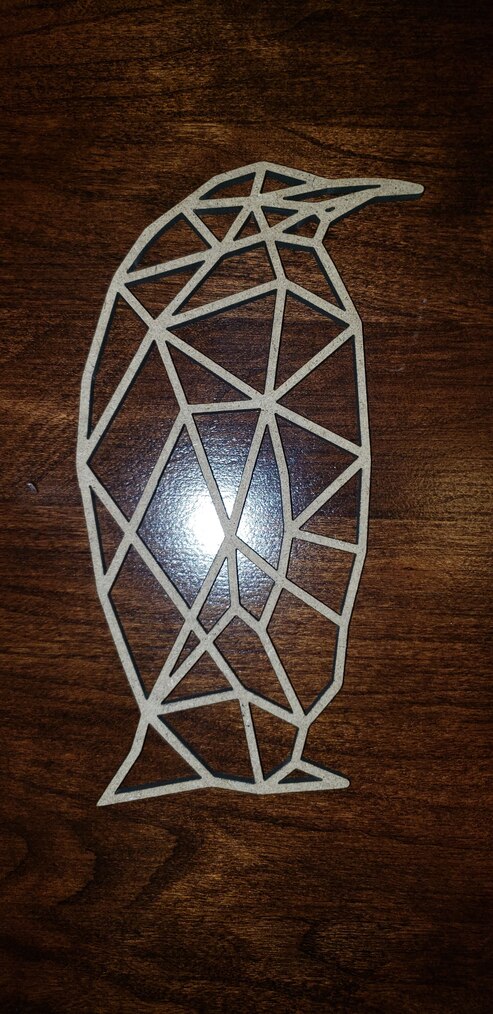
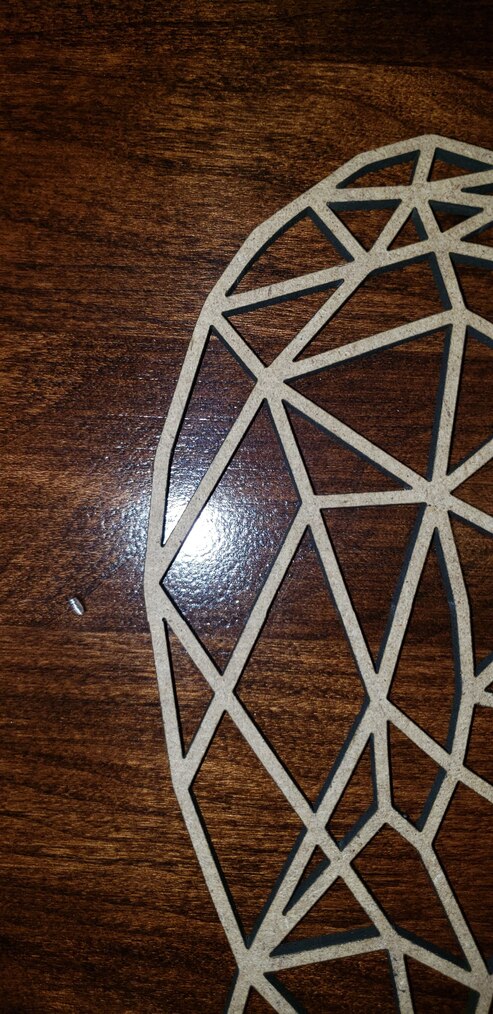
That is the first thing to do, not just to help you with the next steps but if you are like me I hate wasting material it should look something like this
Here is the rest of the files and process
After figuring out the max cut area of your glowforge with the file provided you are set and ready to use your passthrough.
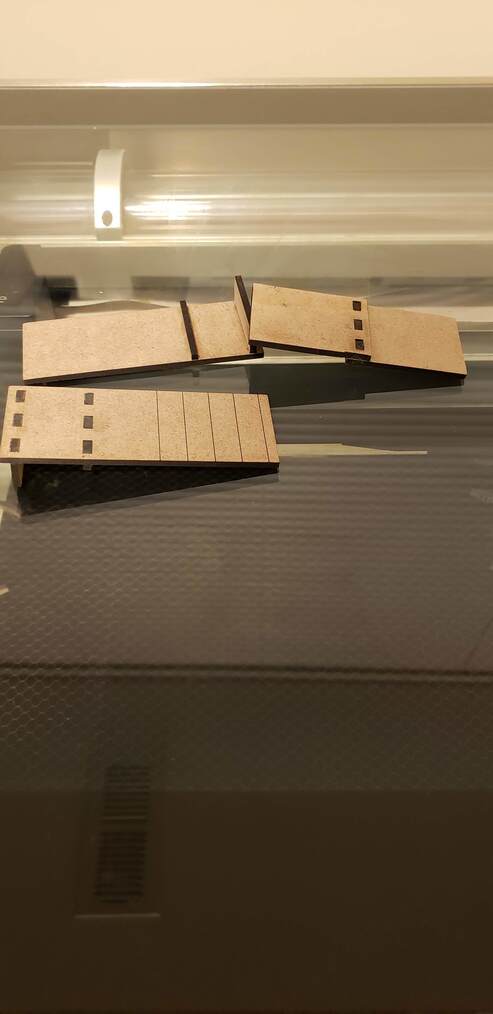
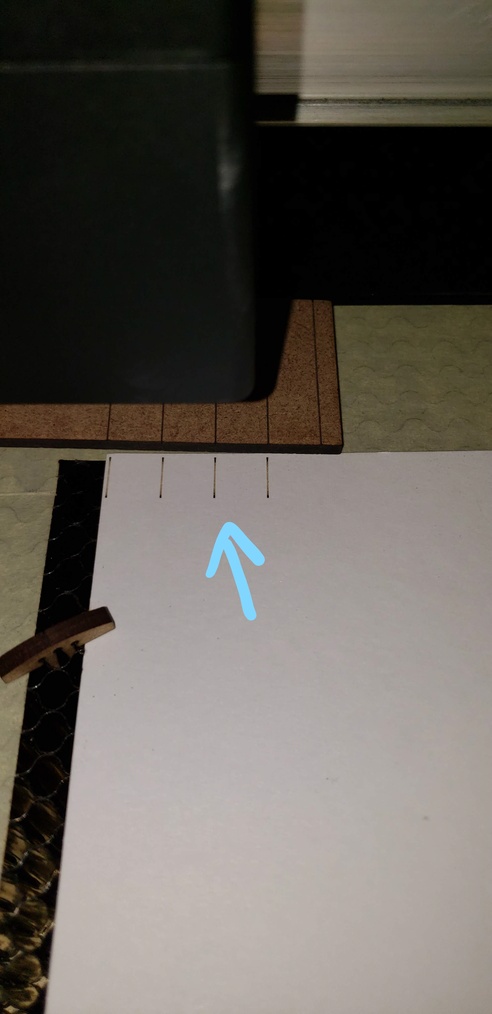
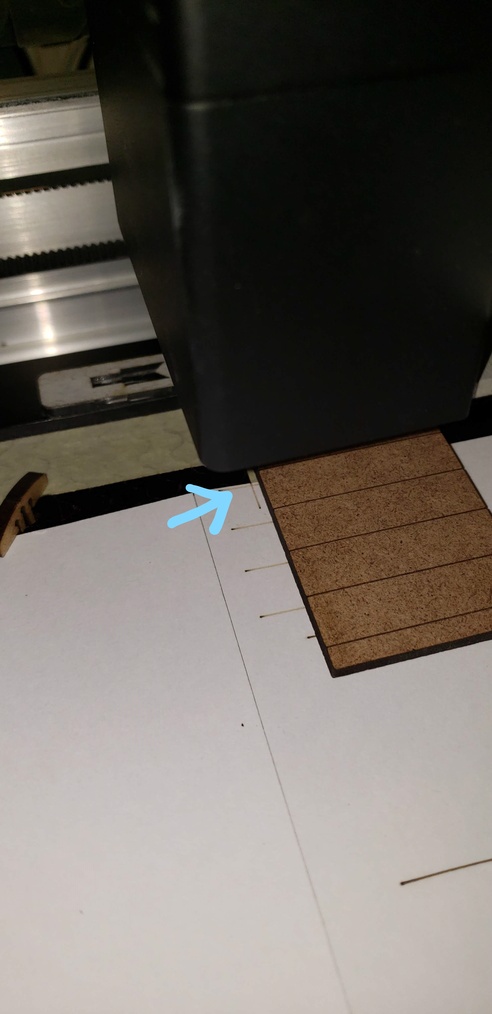
I give you here several files as well as of a cut drawing of a jig that you’ll need. It will fit tight on each the side of the tray and can be slid from top to bottom. It has several lines that need to be engraved not cut. The lines will match the alignment lines that will be used later on.
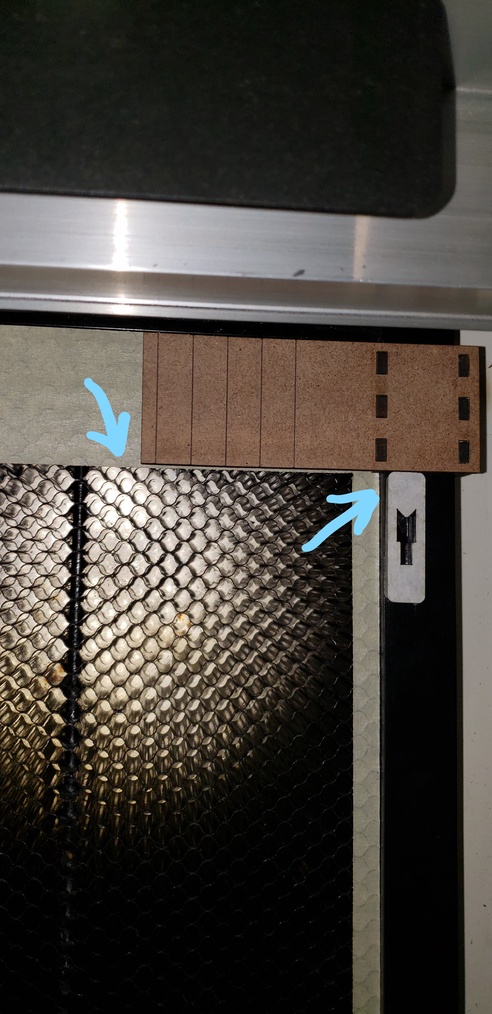
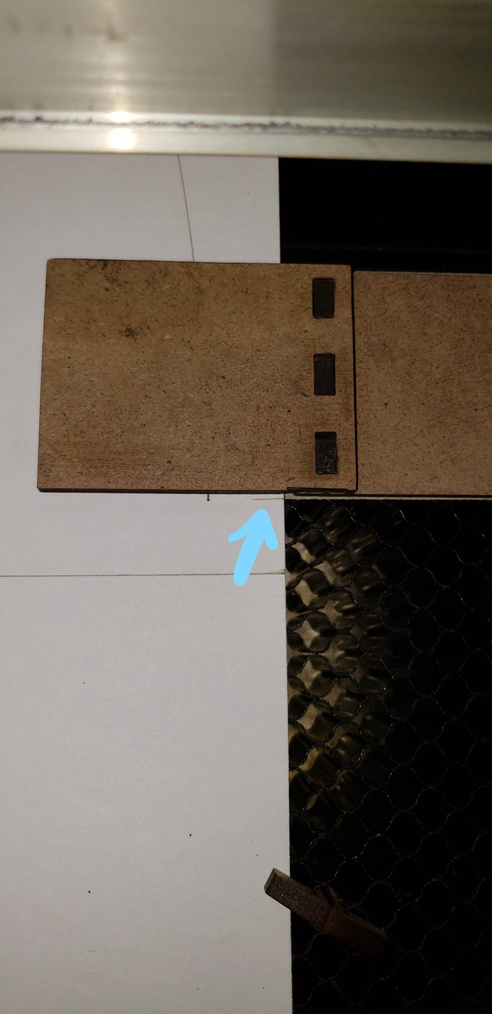
There is two pieces that have to be attached with double stick tape to each side of the crumb tray. They have to be in line with the edge of the tape as well as of the inside edge of the tray. This will give a limit to how much you slide down jig.
Make sure to slide the jig up before every cut so they won’t get cut. They can stay on the laser as you are cutting, they won’t interfere with the laser as is running
Passthrough alignment lines.zip (593 Bytes)
Passthrough alignment lines.ai (33.5 KB)
jig slide passthrough.zip (1.1 KB)
Passthrough Artwork set up.zip (716 Bytes)
Passthrough Artwork set up.ai (1.7 MB)
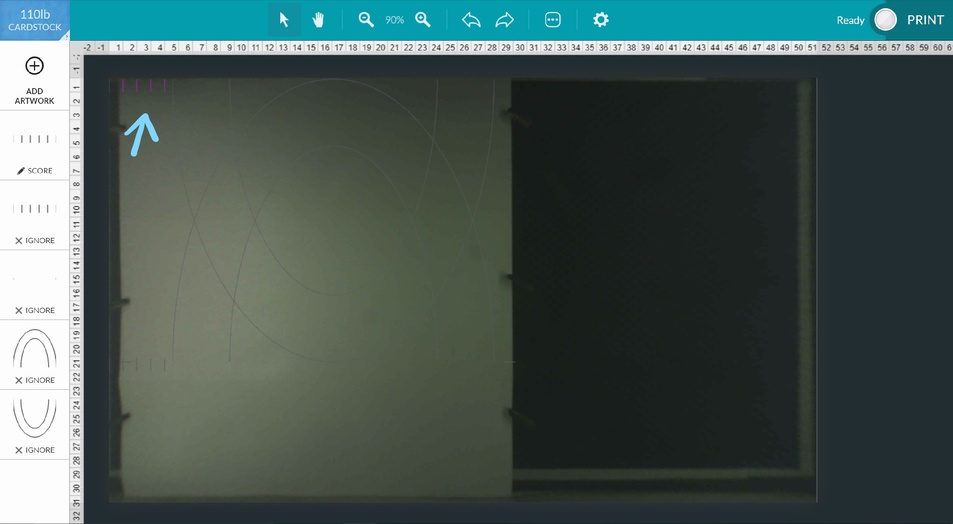
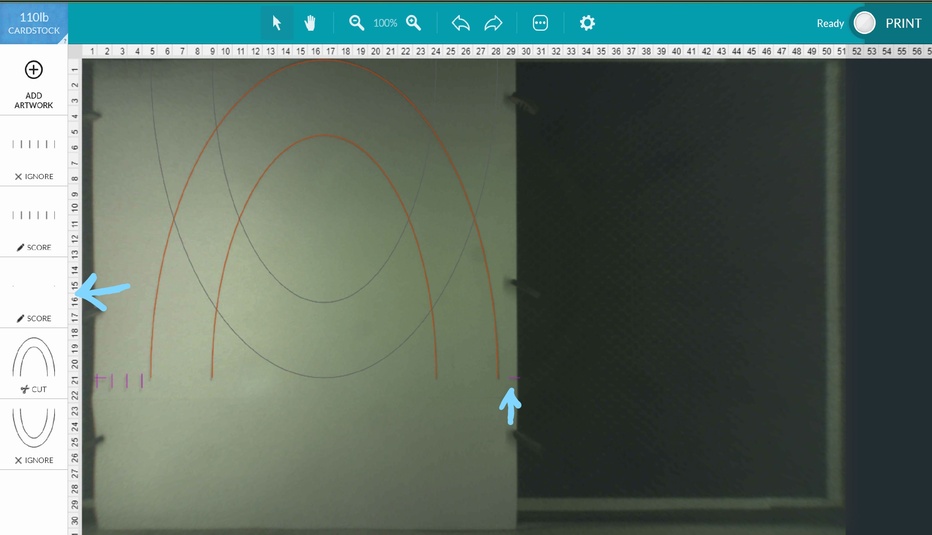
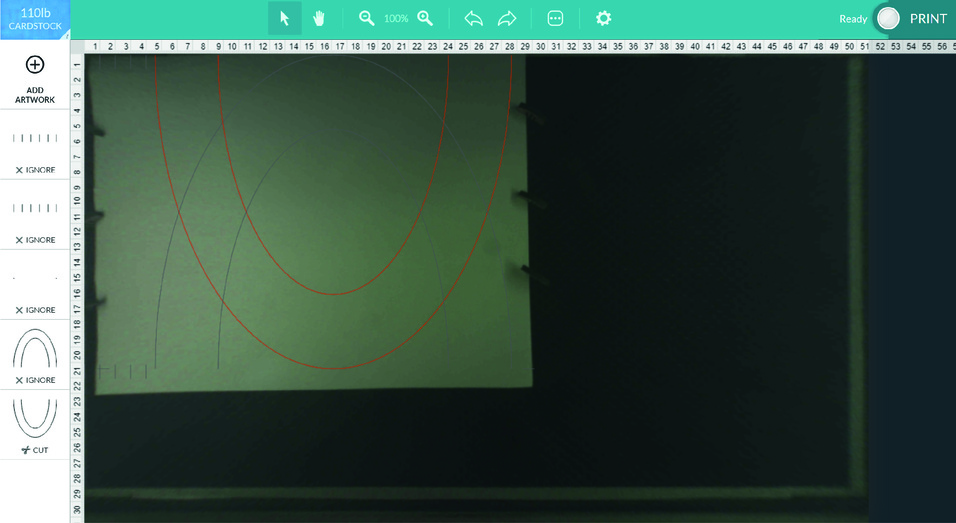
Load your artwork and the alignment lines file. There are 2 set of 6 lines, each line within the set is 10mm apart from the next line. One set is on the top and the other on the bottom, the first line will always be at the 0 point and will always be grayed out. Do try to adjust the lines or your cuts will be off alignment. Some lines can be deleted if they obstructing your artwork but do not deleted them all
!
Score your top lines to make sure that they line up with the lines of the sliding jig. This will be the only time that the top lines will be used.
Adjust the two horizontal lines that at the end of the artwork and make sure they are at the edge of your material being feed. Only select the lines an use the arrows on your keyboard, never drag them other wise the won’t end up on the right place.
Ignore the top alignment lines cut the first part of your artwork together with scoring the bottom horizontal lines as well as of the set of bottom alignment lines.
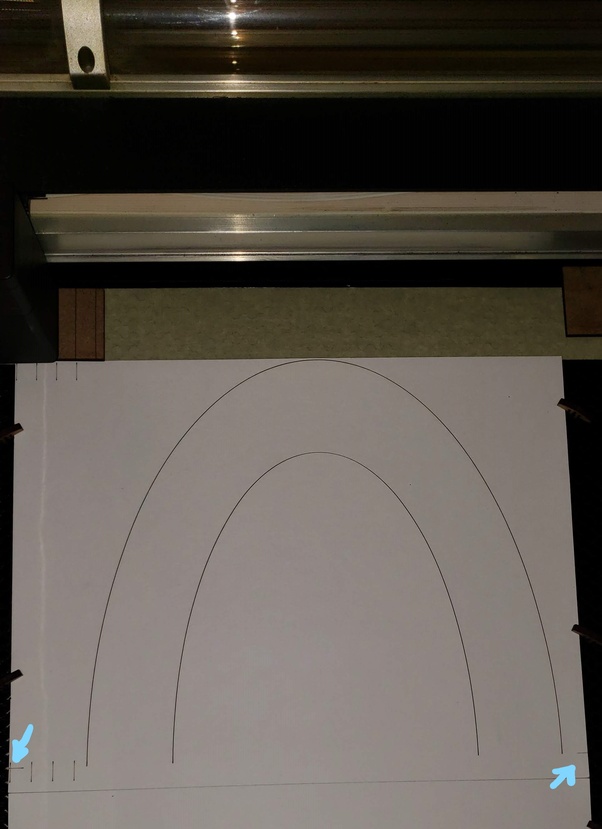
Slide your material up
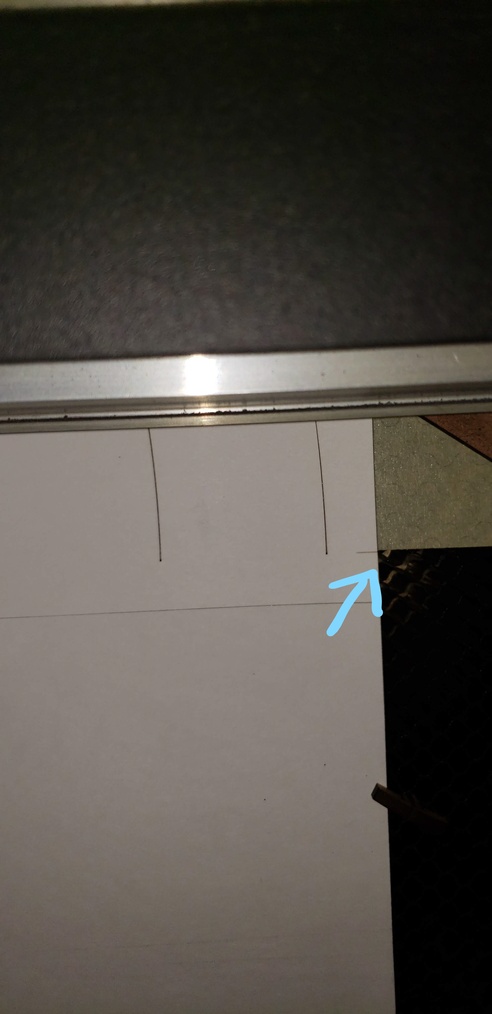
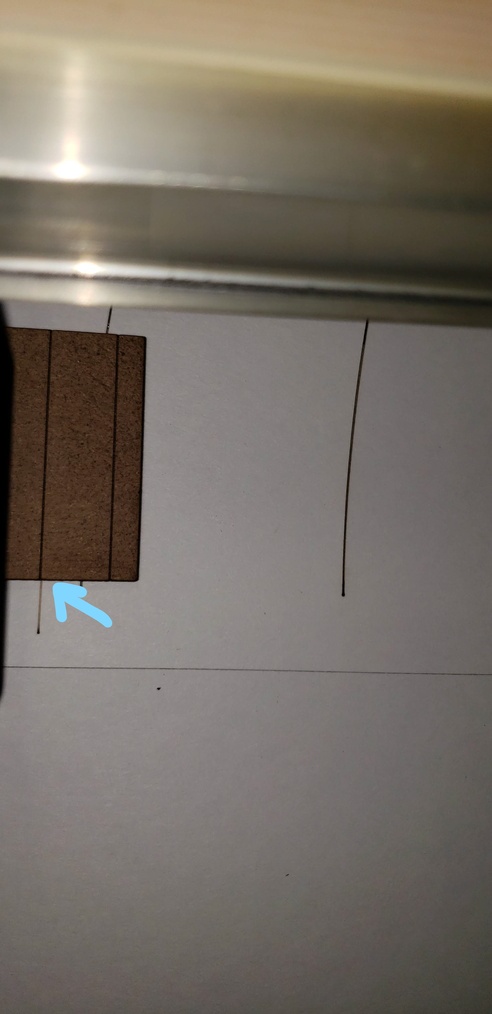
The bottom horizontal lines should match with the edge of tape that was left over after cutting the max cut area file as well as of the bottom of the sliding jig.
The alignment lines should also match with the lines that are on the jig
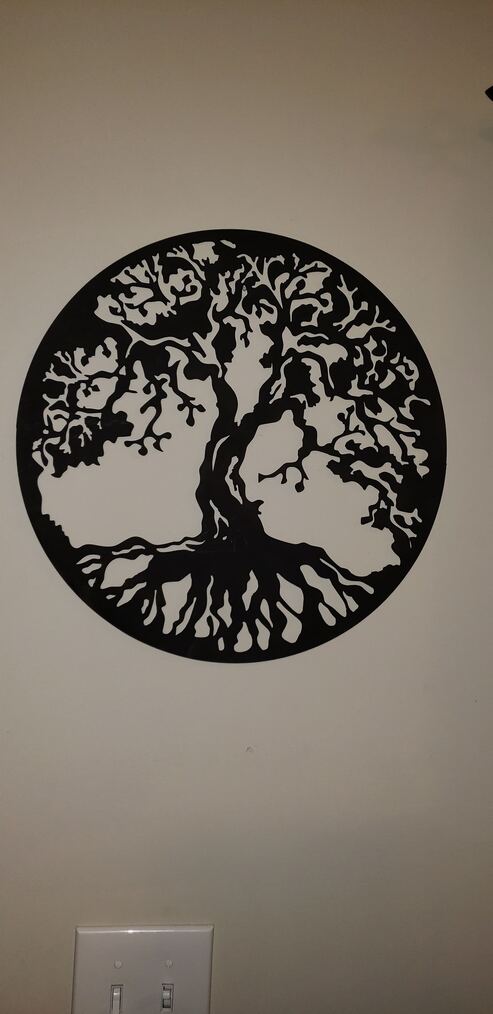
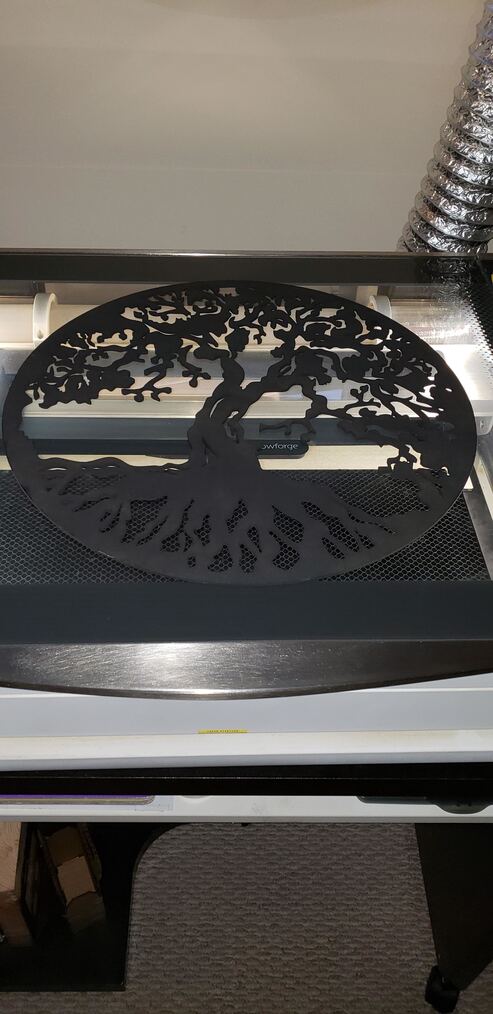
When you are the last part of your artwork. Ignore everything else but the last part you are cutting and enjoy your almost perfect alignment.
I hope everything is pretty much understandable as is a lot more that what I normally type
When you are first going to start feeding your material do not put it all the way to the right side of the crumb tray and stay within the max cut lines. In that way if your material is not completely straight it won’t matter and still be able to be adjusted with the alignment lines
Any questions please let me know. Later on I will give you the files of a ruler that matches with the one in glowforge and also gets attached to the side pieces that will be your crumb tray