I just setup my new GF last night and was extremely excited to try my first print this morning. Unfortunately I have run into several problems and I am now at a loss as to how to proceed.
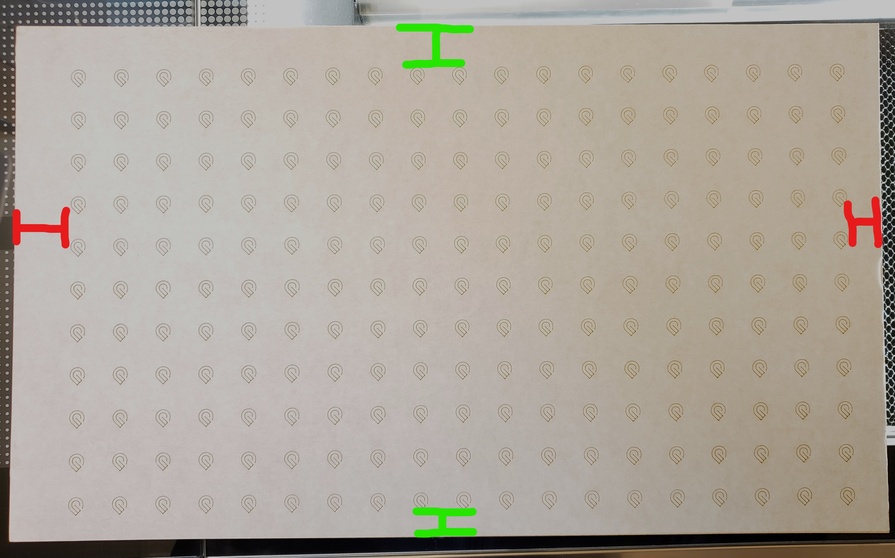
After getting everything set up, I started the “Learn By Doing: Your First Prints and More” making sure to carefully follow each step. The first thing that went wrong was that my GF did not recognize the “Medium Draftboard” proof material that I was using. I noticed that the image from my GF camera was extremely blurry. Additionally, the camera seemed to be very out of alignment because I could not see the left or upper edges of my material, but the right and bottom edges were well within the frame as well as the sidewall of the GF. After combing through the support forum I decided to run the Camera Re-calibrator. The re-calibration process completed without any problems, however the margins on the test print seemed to be a bit off (see below picture).
Although the camera alignment seems to be better now, it is still not 100%.
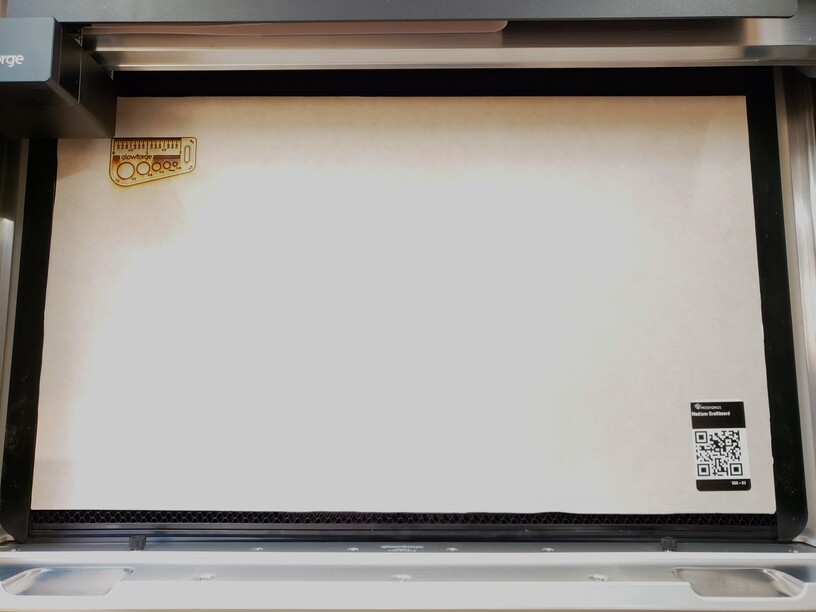
After performing the re-calibration I proceeded by printing the “Gift of Good Measure” as instructed. The GF still did not recognize the proof material that I was using, so I manually selected “Medium Draftboard” and aligned my project in the top-left corner of my material, and after I was prompted, I started my first print.
Once to print was complete I found a few more problems. First of all, the GF printed the key chain much further down and to the left of where it appeared to be on my screen.
And secondly, the laser did not cut all the way through the material, not even halfway through. After scouring the forums again, I turned the GF off for about half an hour and then attempted the project again which produced the exact same results. I am at a bit of a loss at this point, but I realize that there is a very real possibility that all of this is due to “User Error” as this is my very first time using a GF. Any ideas, solutions, mathematical equations…anything, would be greatly appreciated. Thank you.
Welcome. I suggest you move your material down to the very edge of the honeycomb tray and place your design near the bottom of the board. You also need to make sure the board is being held absolutely flat against the tray.
You will never be able to print in the upper most left corner of your material. If you look at the Glowforge carriage at its home position, you will see it cannot move any further back. It cannot print behind itself, so it will never get to that corner. Likewise, it cannot get any closer to the left edge. It is not physically possible for it to move any more to the left than the home position.
Those are the correct margins. You can’t place designs all the way to the edge of the sheet, even if it looks that way on the screen. (The screen view has a frame around it that limits you to placing items where the little marks are shown.)
The alignment is fine. There will always be a slight variance out at the edges of the material due to the fisheye effect of the lid camera. (It’s not going to look perfect, but that is one of the better results that I’ve seen out at the edges.)
Sounds like you do have a problem with the machine though. If it didn’t cut halfway through when it cut the Gift of Good Measure, support is going to need to take a look at your logs. (If it was almost all the way through, that would be one thing, but halfway is not good.)
Sorry but you’ll need to wait to hear from them. Whatever it is, they’ll get it fixed up.
You’re doing great actually, so many people start out skipping reading any kind of forum or getting started info.
As @dklgood mentions - in the current state you’ll never be able to see the top and left edges of the material if you’re using 12x20 sheets. The cuttable area is closer to 19x11. Your GOGM looks like it’s lined up pretty accurately to me. I know it’s super disappointing to see it so far off the edge, I always feel like I’m wasting a ton of material. You can flip the PG boards around so the code is in the upper left (doesn’t matter if they’re upside down) and put your cuts in the lower right to place cuts closer to the edge. Or if you have a Pro you can rotate material 90 degrees and put in through the front slot then place material so you can see left, top, right edges in the camera view.
As for the GOGM not cutting through - that’s more concerning. Is there any chance your piece of Draftboard is warped and not sitting perfectly flat on the bed? Anything less than perfectly flat disrupts carefully dialed in settings.
Also - try using Set Focus (it’s under the little gear icon at the top of the screen) Click it to invoke and then click on the image of your material close to where you plan to cut. This will tell the GF to measure the material thickness at that spot and adjust your camera view accordingly as well.
One last thing, make sure your material is not resting on the lip of the honeycomb tray in back. Even a slight warp will cause an improper cut. Place the Gift of Good measure near the front and try again. You can use the piece of draftboard that you used for the camera calibration if you wish.
Thanks, everyone for the spot-on information. With the maximum printable area being 11 x 19.5”, the area can be reduced somewhat when the laser operates at high speeds as it can take space for the laser to decelerate.
As for your print of the Gift of Good Measure, it looks like your Glowforge is performing to specifications regarding the alignment but not cutting through.
Could you please send me a photo of the front and back of the print?
Please also let us know the date and time of the print (including time zone) in your reply.
Additionally, your Glowforge printer should read the QR code on your Proofgrade materials (which are designed to give you 1-click access to perfect settings and fuss-free prints.)
I am sorry that your Glowforge printer didn’t initially read the QR code.
Could you please do the following for me to help troubleshoot this?
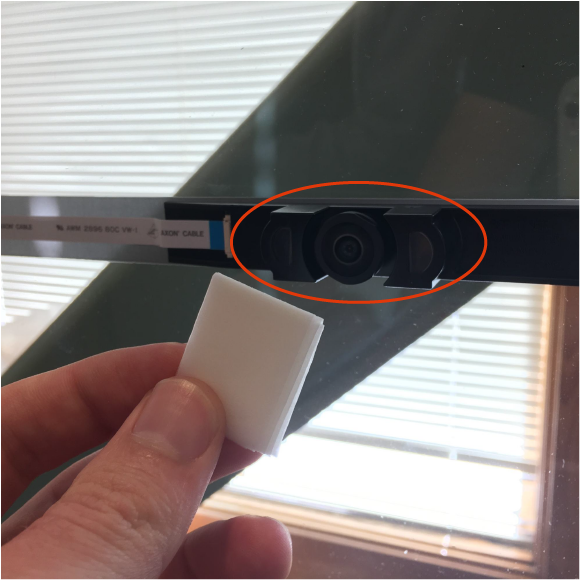
Turn off your Glowforge.
Using a Zeiss wipe, gently wipe the lens of the wide-angle camera on the unit’s lid.
Thank you for your quick response. I have sent you a message with everything that you have requested. If you need anything more from me please let me know.
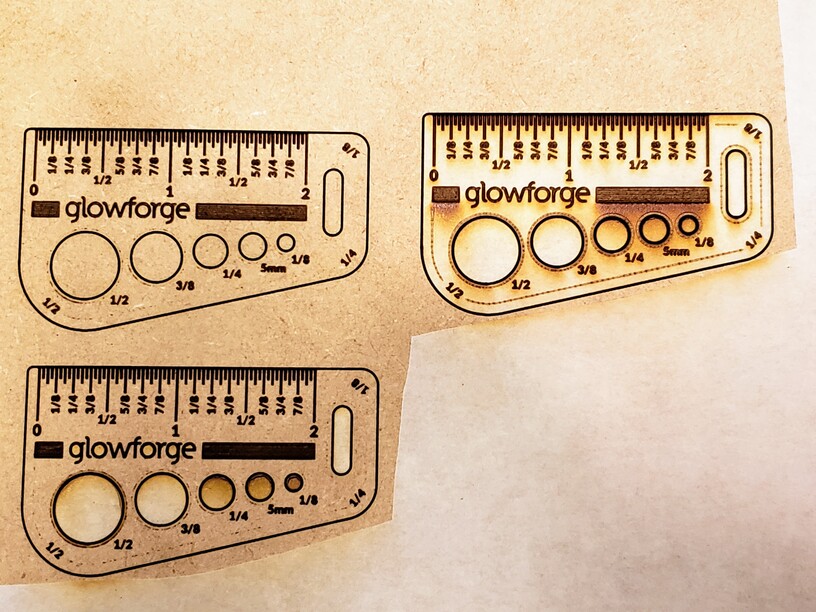
I tried running the “Gift of Good Measure” for a third time. I used the “set focus” feature as suggested and this time the GF recognized the proof material automatically, however the end result was the same and the GF did not cut all the way through the material. After this attempt I decided to remove some of the protective paper on the proof material and attempt to measure how far into the material had been cut. After removing some of the paper, I realized that the GF had not even etched all the way through the paper in some areas.
You can see in the top and bottom left images that several of the etch lines hardly came through the protective paper and some didn’t come through at all. The image on the right still has the protective paper on it for comparison.
I think that at this point I’m just going to shut everything down and wait for support before attempting anymore tests. Kinda a bummer as I was really hoping to be able to crank some new products out for the holiday season . Looking forward to seeing what answers the support team may have.
Thanks to everyone who has tried to help me out on this one. As this has been my first interaction with this community, it is very nice to see how eager everyone is to help each other out.
I’m so sorry for the ongoing trouble. Thank you for the detailed photo of your test prints. I would like to check over just a few more things. Could you do the following for me?
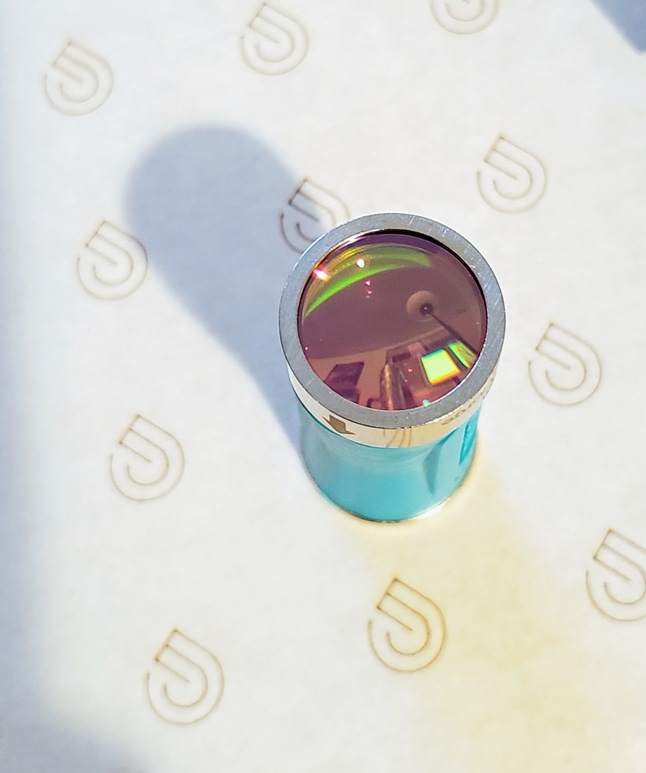
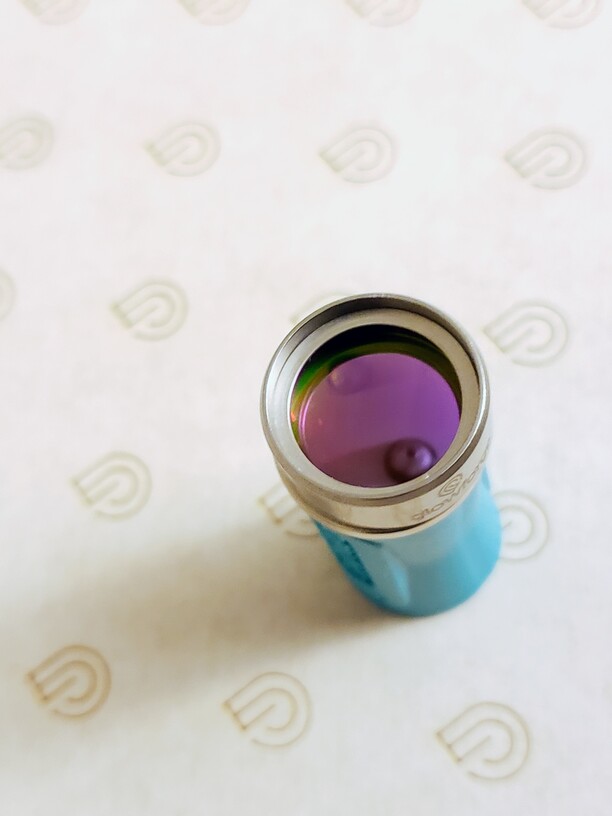
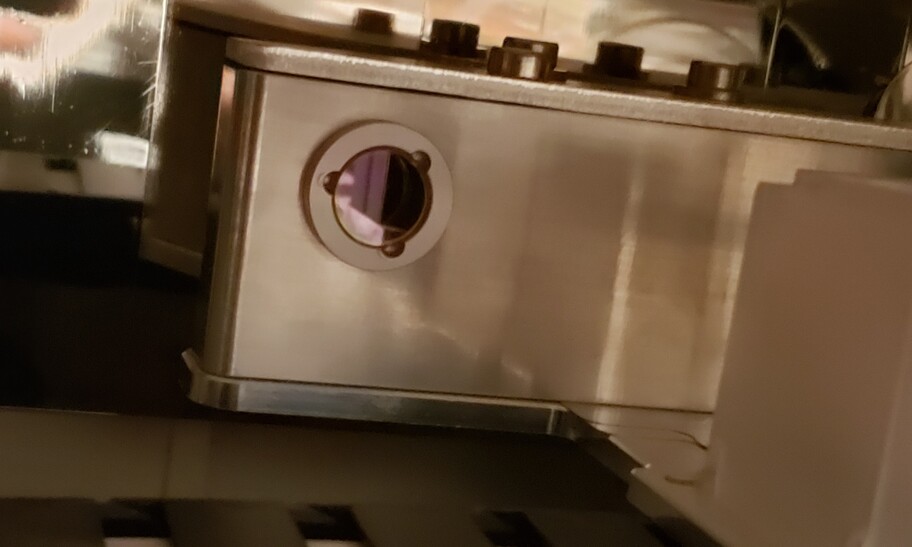
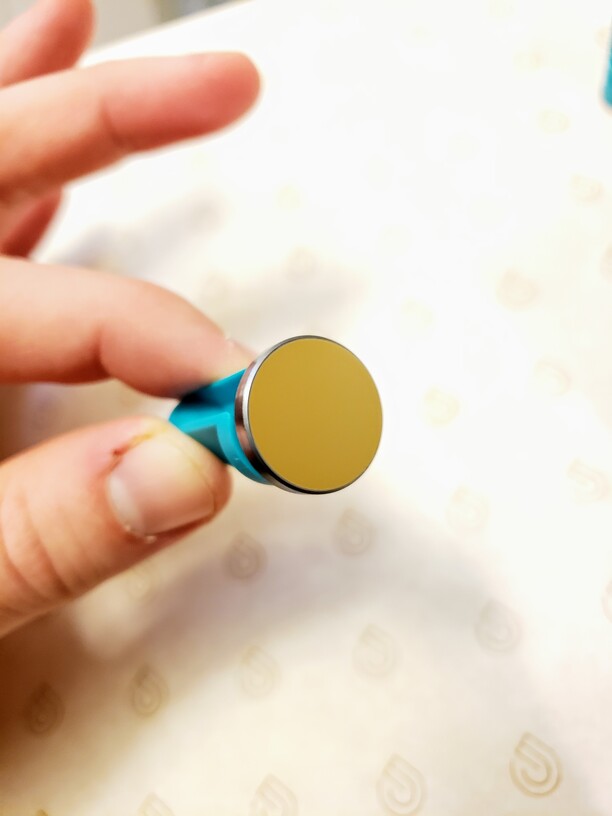
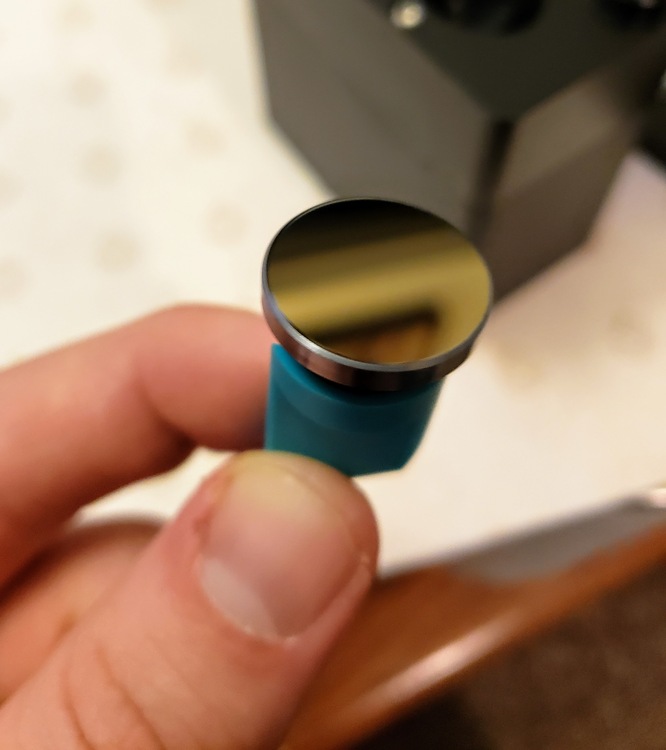
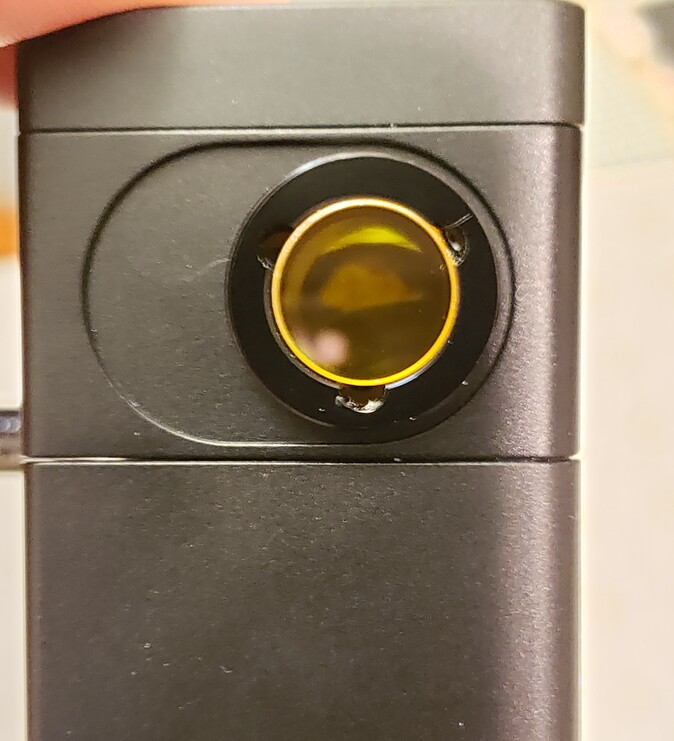
Please send photos of all your cleaned optical components, with special attention to any damage you might find. You can post them here or, if you’d prefer, you can email them to us at support@glowforge.com.
Both windows
The printer head window, on the left hand side of the printer head
The laser window on the inside left of the Glowforge
That’s always going to be the case; it’s why most of us remove the masking paper to do engraves, because otherwise you lose the finer details of your print.
I wanted to follow up because it’s been a little while since we heard from you. Ivan posted a request above for some photos that will help us troubleshoot further. We want to take a closer look at the optical components of your Glowforge so we can narrow down the trouble. If you haven’t had a chance to get those photos yet, that’s okay - we’ll leave this open a little longer.
Unfortunately, it looks like your unit is experiencing an issue that we can’t resolve remotely. I want you to have a reliable unit, so I’m recommending we replace this one. I’ll be in touch via email to sort out the details. I’m so sorry about the bad news.