Hello!
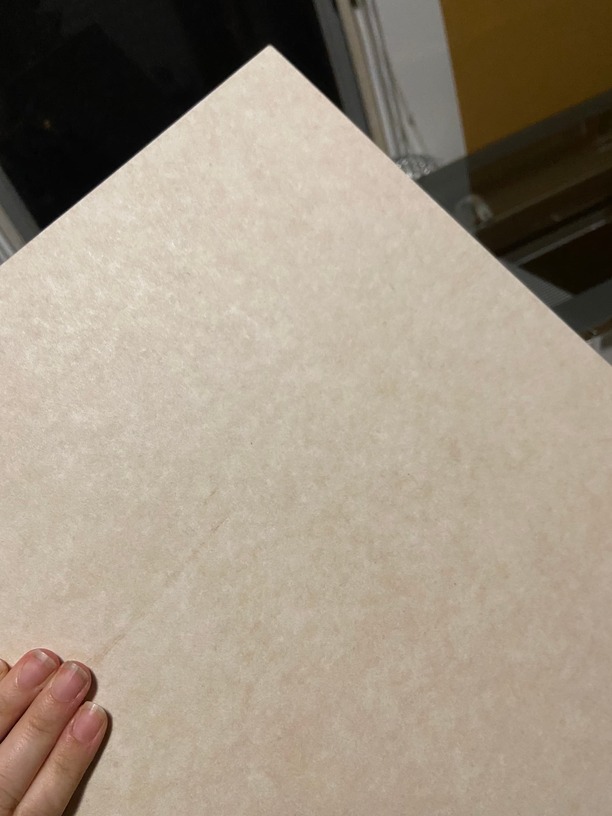
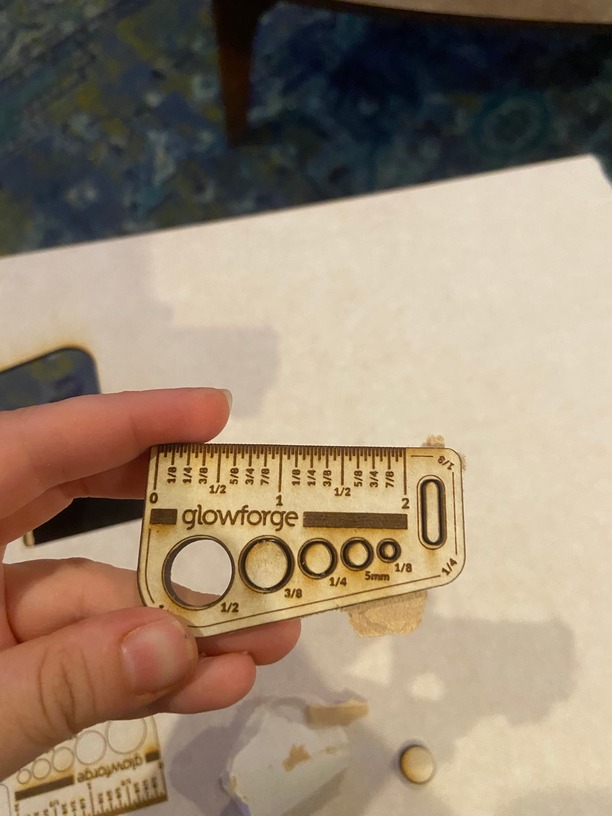
I just set up my machine and tried a few times but the gift of good measure is not cutting all the way through. Cleaned all components but let me know if there is something I can do.
Hello!
I just set up my machine and tried a few times but the gift of good measure is not cutting all the way through. Cleaned all components but let me know if there is something I can do.
Welcome to the forum.
Can you share a photo of the Gift of Good Measure (front and back) along with the date and time of the print. It will help support diagnose the problem.
Hi Randi,
My name is Mercedes and I’m part of the Technical team here at Glowforge and I’ll be helping you troubleshoot today. Thank you so much for those photos, it really does help a lot with the troubleshooting process on our end.
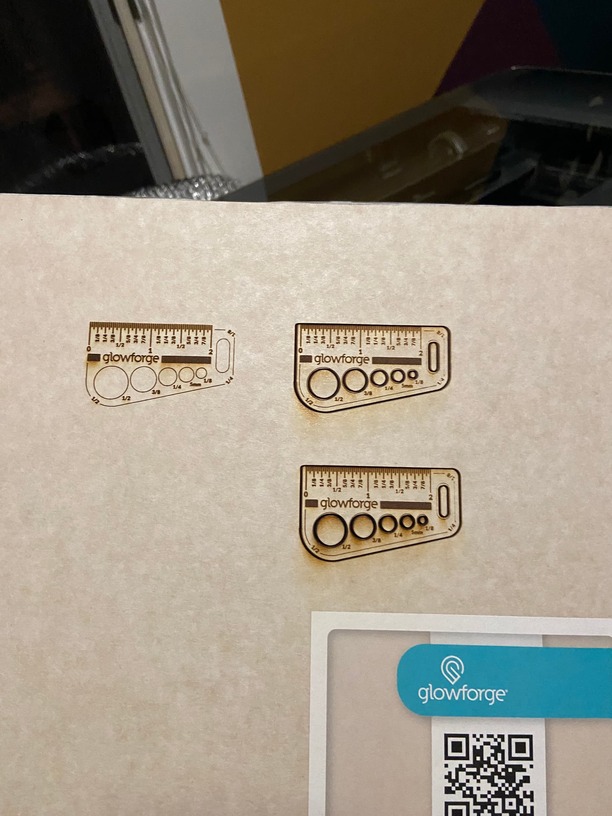
It looks like the first and second Gift of Good measure prints were set to score and draft and not cut which explains why those didn’t cut through. But it doesn’t explain why that third one didn’t cut through.
Can I have you do the following for me?
The cut line in your picture looks unusually wide, which suggests that the lens in the Printer Head may be installed incorrectly and that the laser beam is out of focus.
Please check and clean your lens by following these instructions.
After reinstalling the lens, try printing the Gift of Good Measure on Proofgrade material. Or, if you aren’t using Proofgrade material, please use Set Focus to accurately measure the height of your material. If the material’s height is not accurately measured, that can affect the laser’s ability to cleanly cut.
Let me know how that goes for you! If the cuts don’t go through again, please send me the front and back again!
Regards,
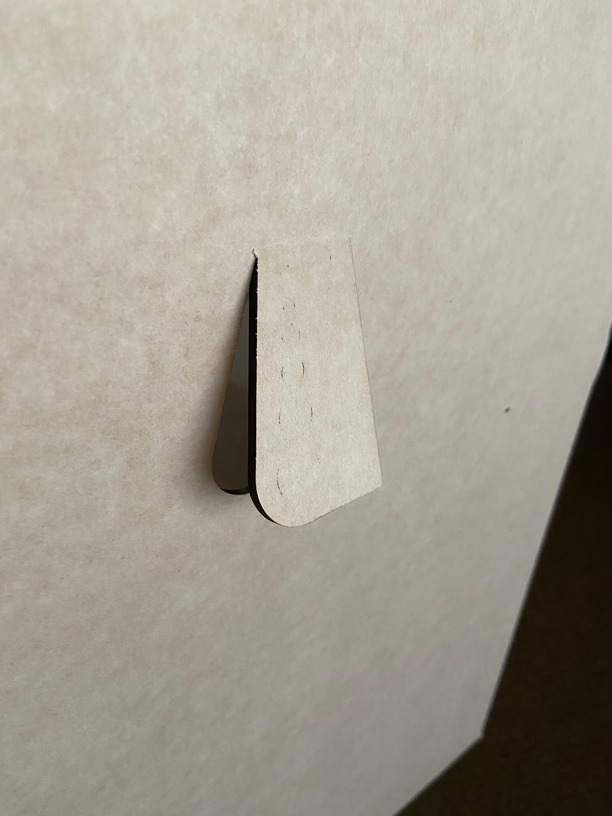
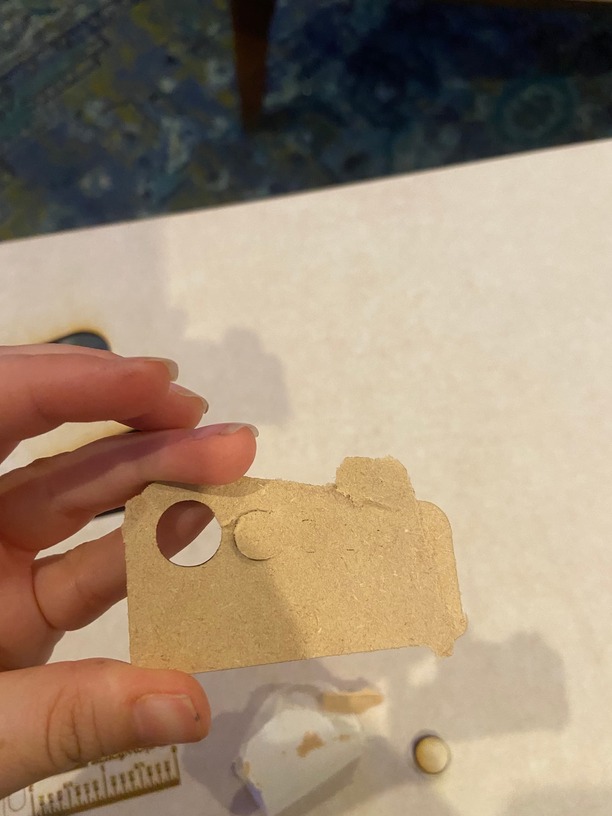
So, I cleaned and it almost cut all the way through!
see the new images! looks almost there. I was able to cut plywood and acrylic.
Hi Randi,
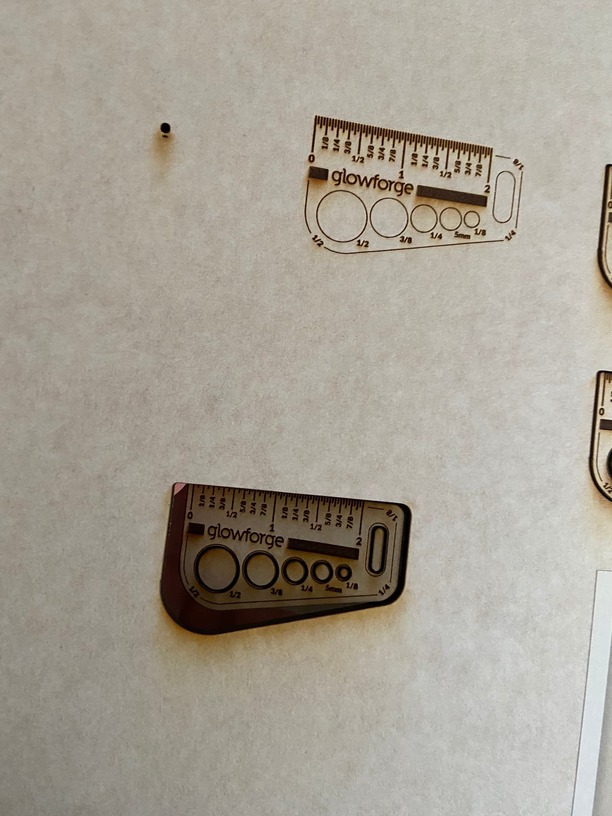
I’m happy to hear and see that it’s looking a little better. This last particular Gift of Good Measure cut that you did looks like the alignment is completely off. That is most likely why the last one didn’t print all the way correctly. But good news, after looking at some logs I’m optimistic I know what the issue is.
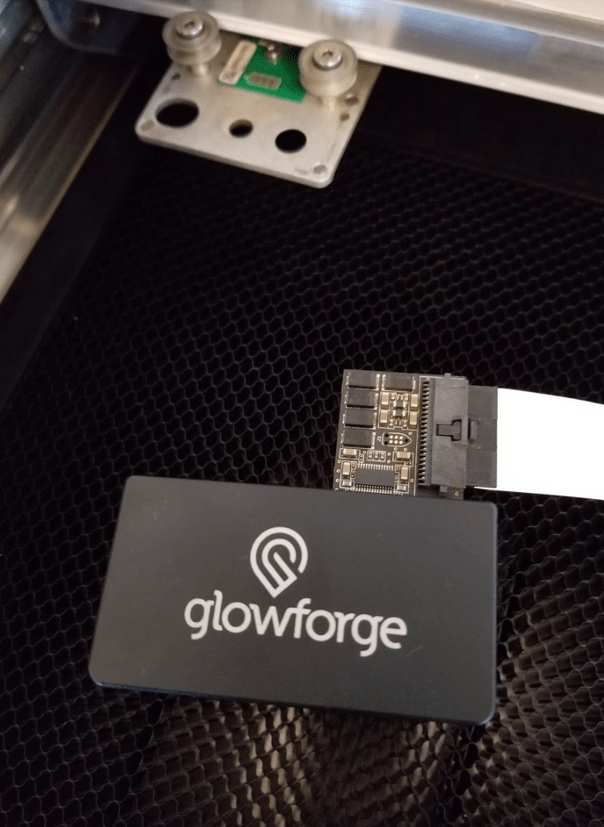
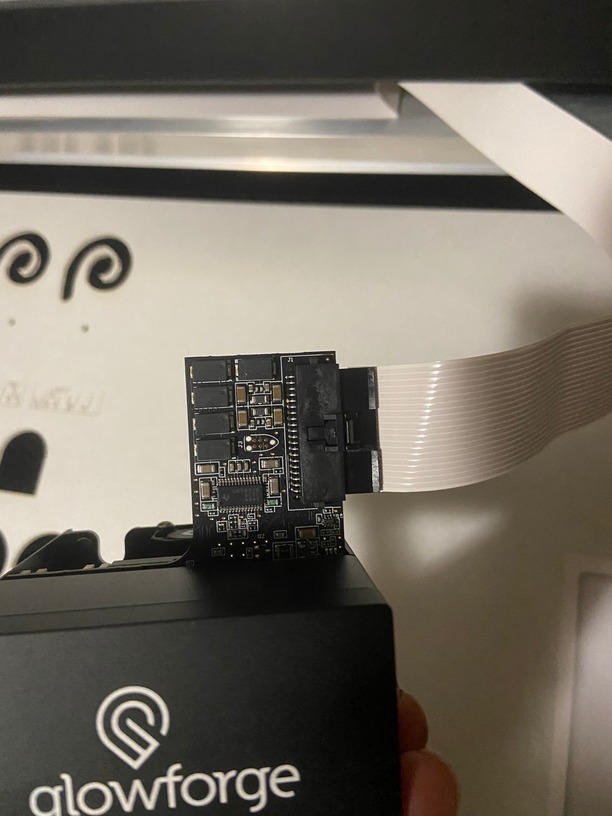
It looks like the Printer Head might be unable to move all the way to the left. When this is the case, it can cause a significant offset in the print alignment. The first thing to check is that the white ribbon cable is connected properly to the Printer Head.
Could you please do the following?
Turn off your Glowforge
Remove your Printer Head from the Carriage Plate. Holding only the finished black surfaces, pull gently up and back to disengage the magnets and remove the head.
Check that the white ribbon cable is plugged straight into the connection:
If the cable is wrapped around, remove the cable from the Printer Head by pushing down fully on the wire ribbon tab.
Plug the connection back into the printer head, like the photo above.
If you are unsure, please take a photo and send it to us for review. We’ll be happy to take a look and advise.
Attachments

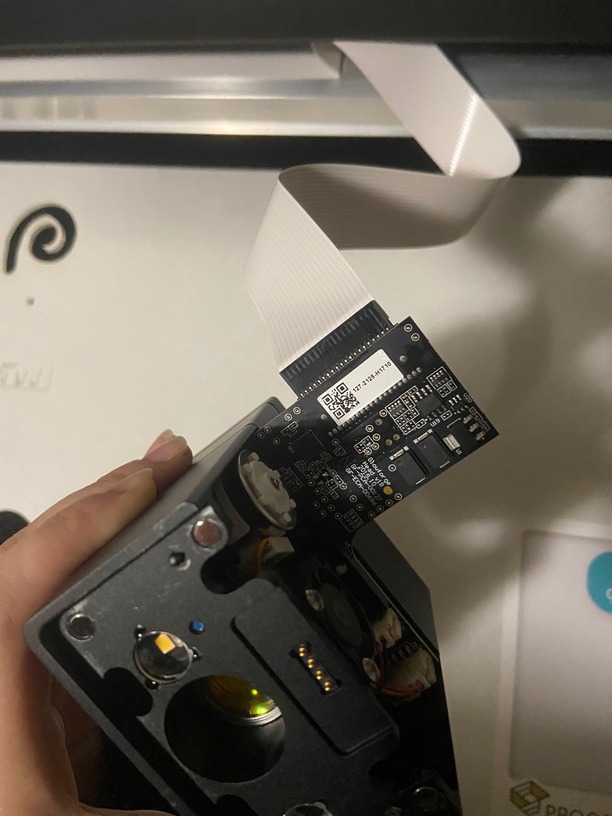
Okay, so I did and appears to be correct. I did try after that and it almost worked. Here are some images hopes this helps to tell what I am doing wrong. Since it seems to work on Acrylic?
Hi Randi,
Thank you for these additional photos. Everything looks correct from your photos, but when I extract the logs I’m still seeing your alignment off. Could I have you send me one more photo just to make sure I am looking at this correctly?
Can you recreate the photo I have attached?
Then we can move on to possible next steps to troubleshooting.
Attachments

Hi Randi,
Sorry for the late response, I was showing these photos to some colleagues so that I can ensure I get you the next best steps.
Often, when we see an offset this large, it occurs because the head was physically moved or accidentally bumped, which affects the current calibration. I extracted the logs from your Glowforge to investigate the print you reported trouble with, and it looks like the printer head did not start from the “home” position. The head may have been inadvertently moved or bumped while preparing a print.
In your case, it looks like the head might have done this because the cable was caught when it was first installed.
Could you please try the following steps:
Turn your Glowforge off, and wait about five seconds
Turn your Glowforge back on
Wait until all motion has stopped for 30 seconds
Try your print again
Hi Randi,
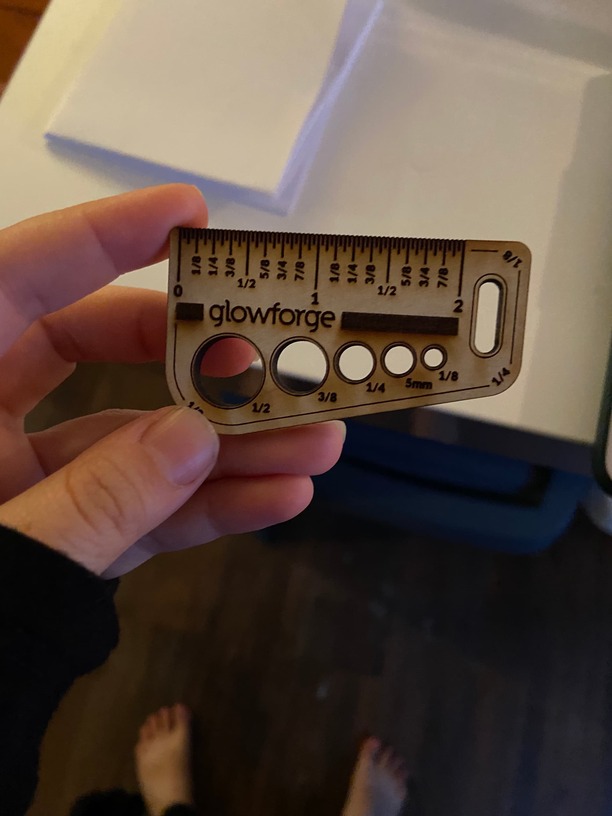
Yay! I was able to look at the logs as well and it’s looking 150% better than it was last print.
I hope you enjoy your new Glowforge! I look forward to seeing what you create. I’m going to go ahead and close this ticket now. If you have any other questions or need help with anything else feel free to make a new forum post, or create an email/chat ticket.
Happy printing!