
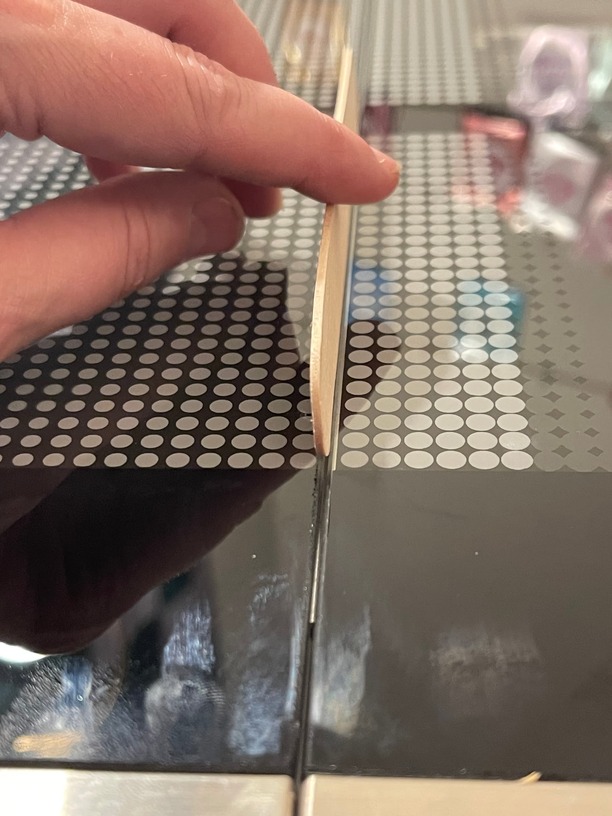
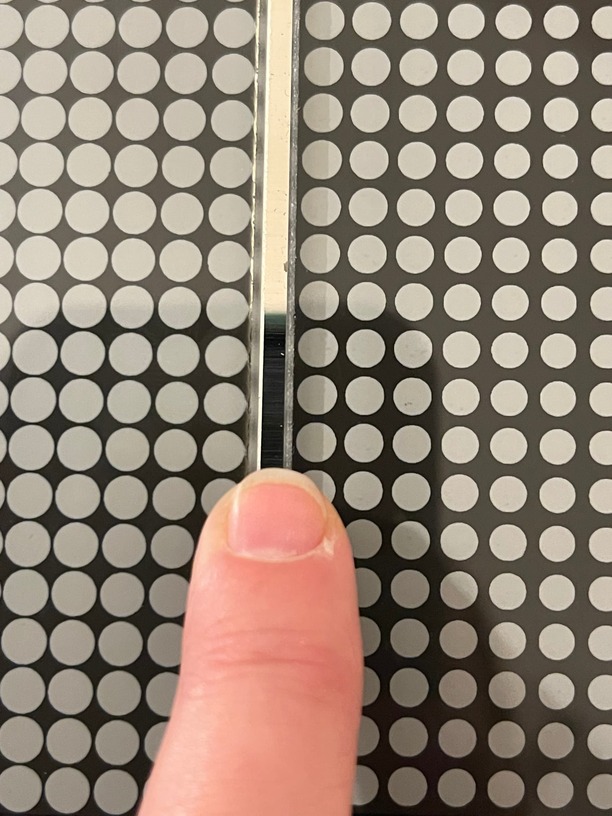
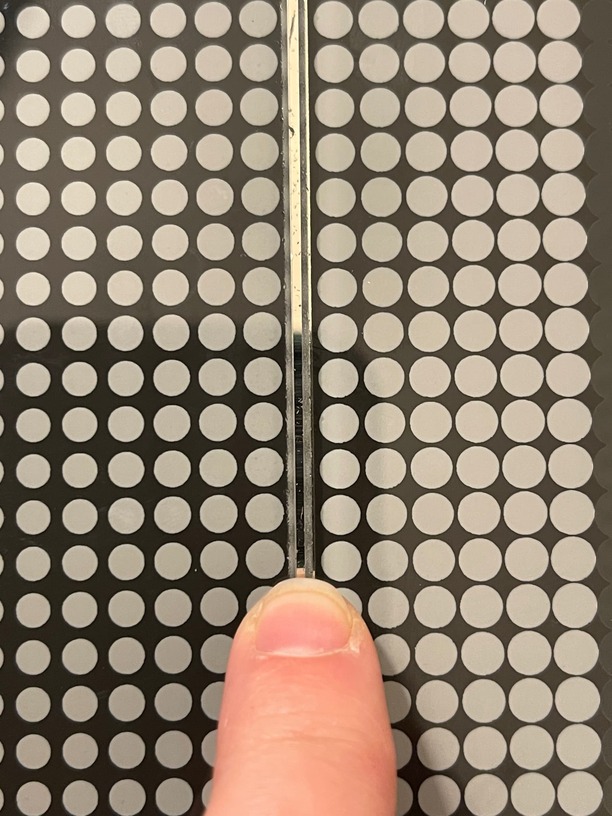
I just got my GF pro and set it up on a very sturdy desk that is level. But I noticed a gap in the top glass lid. Is this normal? Here are some pics I took to show.
1 Like
The case of the Glowforge has “give” or flex built in. Many of us have shimmed up a corner with an index card or two until the lid closes properly.
4 Likes
I will try that. Thank you. I was worried it got messed up in shipping as the box was a tad tore up.
1 Like
Your bench may be sturdy and level, but it’s not flat. That’s your problem.
Your machine rests on just four points, one at each end of each of the “feet” along the bottom. As stated, you can shim up one corner to correct the problem. Lift up each corner gently and you’ll see one will cause those gaps to close up and everything to line up correctly. That’ll be the one you want to shim.
2 Likes
What they’re describing may help with the top not being level, but to be clear there is supposed to be a slight gap on all the openings.
The ventilation works by sucking air in through those gaps, which is then (using the fan) blown out down the exhaust pulling the smoke with it.
@kristialberson I am so sorry Lid has a small gap in it.
The good news is that this is something you can resolve quickly. Each Glowforge unit is tested on a flat surface. Many tables are not perfectly flat, which can create some friction when the lid closes. When you have a printer lid that is misaligned, the next step is to insert a spacer - for example a folded sheet of paper - under the center of the printer. This helps fill a very small gap between the foot of the printer and the table. Once the body of the printer is fully supported, the lid will close with better alignment.
Could you please try the following?
Turn off your Glowforge
Take a single piece of paper and fold it 4 times. It will look approximately like this:
Look under the side of your Glowforge, there are two long feet with black rubber pads that run the length of the unit
Carefully lift the printer and place the shim in the center under the front rubber foot
Test the alignment of the lid. If the alignment is not satisfactory, move the shim and try again.
It may require some experimentation, including more or less paper, to find the arrangement with the least friction when it closes.

Please let me know if you are still having the same issue.
This topic was automatically closed 30 days after the last reply. New replies are no longer allowed.