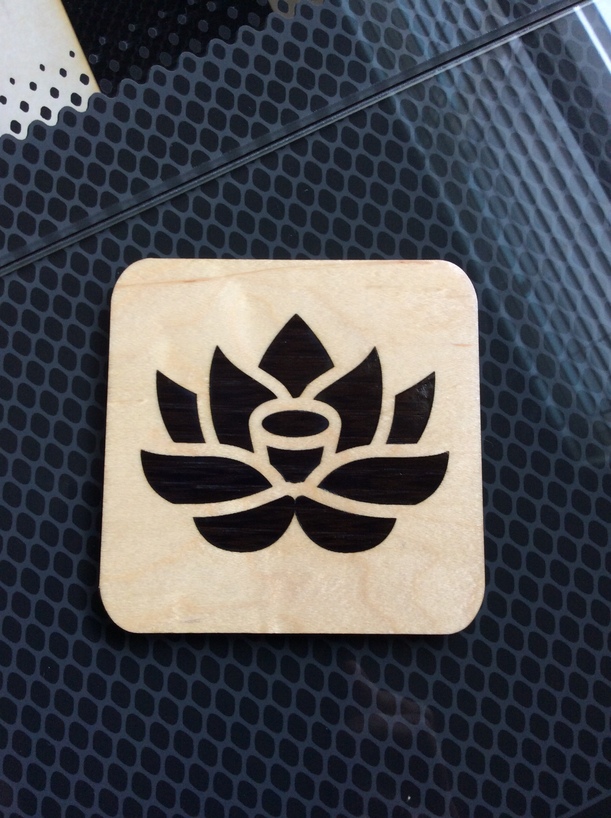
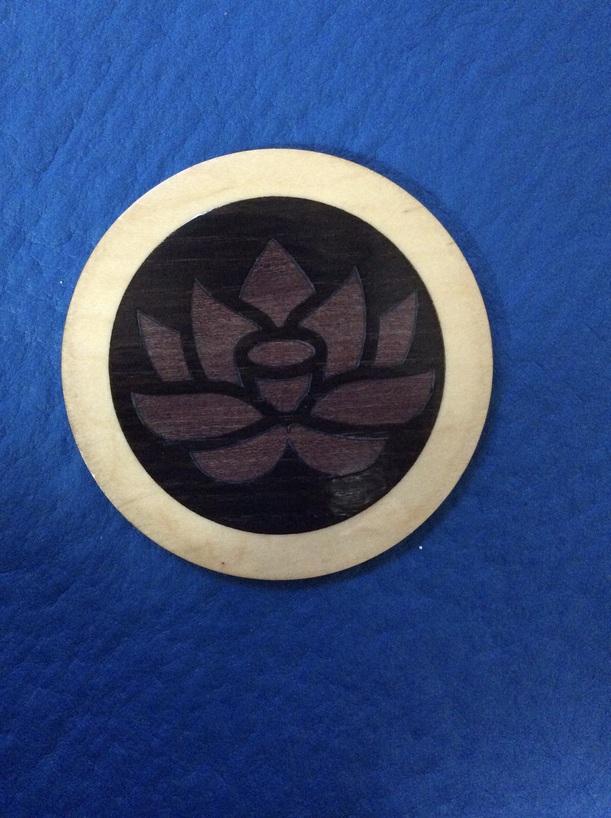
I wanted to try out some veneer inlay this weekend. My first attempt (the walnut in proofgrade maple) turned out great, snug fit. My second attempt (rose lotus inlayed in the walnut) didn’t work out so well. The lotus pieces weren’t snug at all. You can really see the gap in the center piece. I was very careful to not mess with the lotus size. Does it have to do with the width of the laser cut in the two veneers? How do I adjust the image to get a snug fit?
FYI, I did the engrave on the maple at 100% power for the first one and it was a little deep for the veneer. I used 80% power for the second engrave and it wasn’t quite deep enough for the inlay. But I don’t think the depth issue has anything to do with the poor fit.
Hey, welcome!
Since the laser tapers to the focal point there is a slope to the cut. If you were to reverse the inlay the angles match better.
Accounting for the kerf is key for inlays. You should search @evansd2 threads here, he has done many perfect inlays and describes his methods.
While I appreciate the vote of confidence I don’t really do veneer pocket engraved inlays, I do cut though stuff.
The path manipulation techniques should be similar but ignore anything I said about specific kerf adjustment values — I don’t have any guidance about what values to use for pocket engraves.
I have done some pocket engraves and inlay, but not since evansd2 convinced me to cut all the way through for inlays.
With my pocket engraves I have encountered similar issues. One issue, not the one you seem to be having here, is when accounting for kerf a filled object doesn’t seem to be the same size as the outline of the object. Maybe this is just an Inkscape thing, but it took many attempts and debugging sessions to figure out a 1x1 square cut is larger than a 1x1 square engraved*. I bring this up, because if you start messing with the size of the object things can start to go weird quickly.
What I believe you may be running into is that the material removed by the laser in the middle of an engrave is not the same as at the edge. If you engrave from point 0 through point 10, at points 1 through 9 the laser is blasting away point n and some of points n-1 and n+1. At point 0, point -1 is getting a little heat and at point 10, point 11 is getting a little heat. These (-1 and 11) are the points that define the boundary of your pocket. You decreased power from 100 to 80, so theoretically your pocket should have shrank when it grew. While the proofgrade settings for walnut and maple are the same, I have found walnut to burn a bit easier. So it is possible you have a larger pocket because more walnut was burned away at the edge, even with the lower power setting. Or it is because pocket inlay is even more frustrating than cut through inlay.
I think this got fixed in a patch a few months ago. I know we used to get extra burning in the corners of a square because of the machine sort of dwelling there as it slowed to a stop and changed direction, but I believe the patch accounts for that in the software now.
On cutting/scoring this is true. It has been a huge improvement. I don’t do much paperwork, but I did one just after it was released and it saved me hours and hours of time.
However, I do not think it was applied to vector engraving and even if it was the same problem would just be shifted around.