Newbie question

I found a picture of wording online that I would like to cut out of some wood. When I save the picture and upload it to the glowforge app, it says that I can only engrave bitmap files (It’s not a bitmap). I converted it to a pdf file, and I have the same issue. Still says that I can only engrave.

I do have inkscape, but again…newbie here. How can I get this writing cut out of a material instead of engraved?

So you say it’s a “picture” of wording, that probably means it’s a raster image. The error message says “bitmap” specifically, but they really mean anything that isn’t vector, so like jpgs, pngs, etc.

Even converting to a PDF isn’t going to work well because in that case the raster image (again, jpg png whatever) is simply embedded in the resulting pdf.

As for how to tackle cutting it out, then you’re getting into bitmap tracing in inkscape.

If you upload the image here or DM it to me I can give you a quick specific tutorial on this particular image, otherwise, I’d say search for “inkscape trace” in the forum, there are lots of discussions about this concept.

1 Like

That would be CRAZY helpful! Thank you! You’re going to laugh at the image, but my wife wants to put it above the bath tub. If you could help me through it, I’d really appreciate it.!

get naked|690x206

1 Like

OK this is a piece of cake, nice and black and white. One sec.

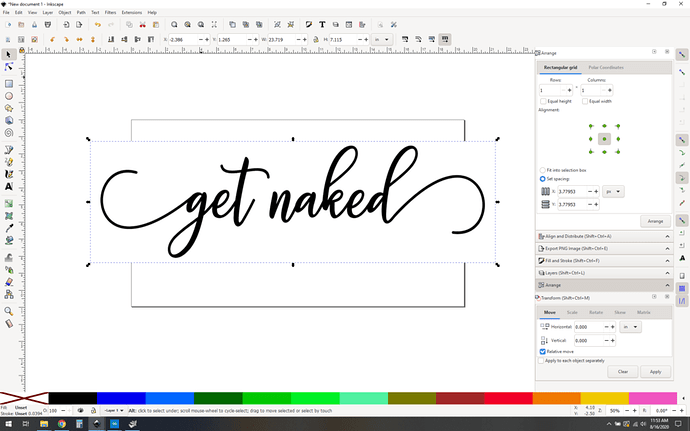
OK so first things first, you want to open a new inkscape document and drag the getnaked image into the window.

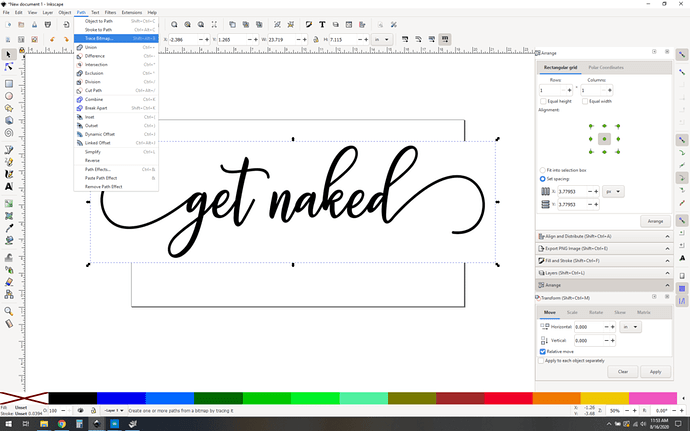
Now you have the “getnaked” image object selected, you want to “trace bitmap”. No, it’s not a .bmp file, but bitmap is sloppy slang for “image”. Path->trace bitmap.

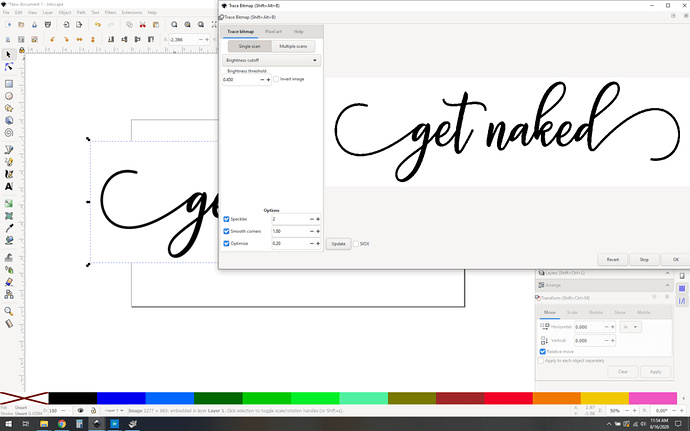
It’ll open up a tracing dialog. You want to click “update” to see how it looks, and you can fiddle with settings, but in general with black and white images the defaults work fine.

Click OK, and close the bitmap trace window.

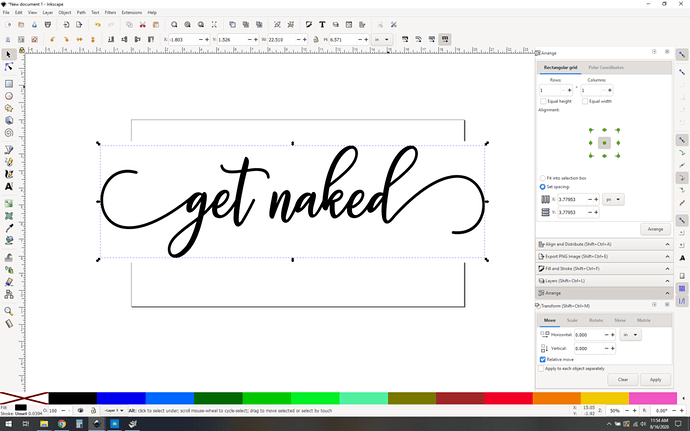
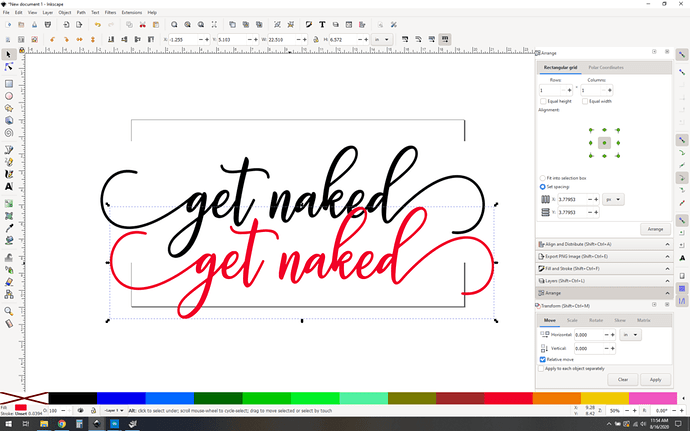
“What? Nothing happened Dave!” Yeah, this is a weakness in inkscape. it’s kind of hard to see what just went down, because your new path is right on top of the old bitmap. Click and drag it and you’ll see that you have two items. I’ve color coded the path in red here.

Delete that original image object, as the path is what you want – you can cut paths.

Now you could stop here, scale your new path and go forth… but there’s a more precise way to do things.

ADVANCED SUPER POWER USER MOVES: (not really, this is easy)

The key here is that you usually want to do inside cuts first. To get that done, you first need to “break apart” your path (Path->break apart)

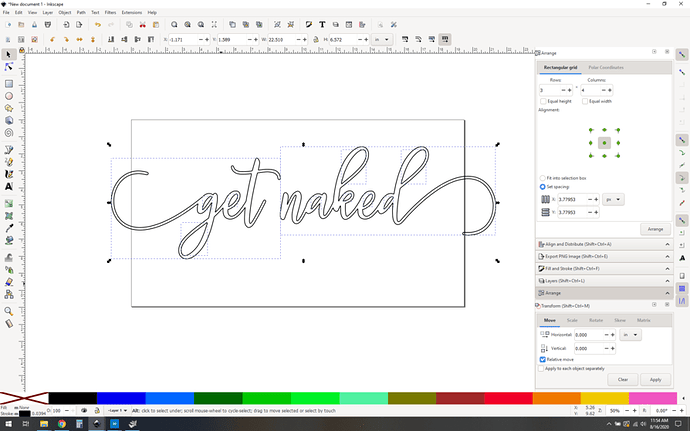
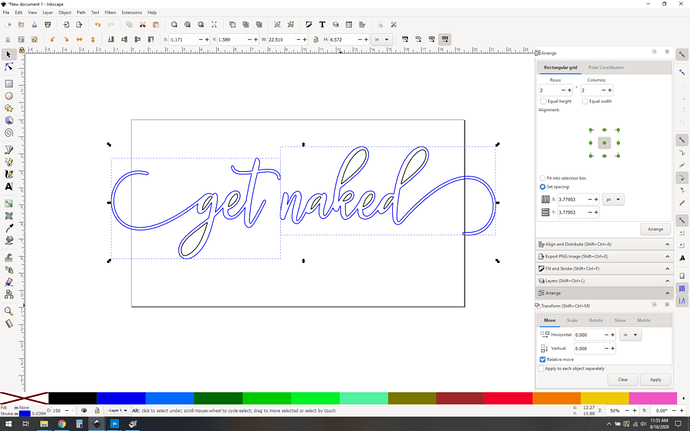
You’ll see that now all your separate path parts are their own objects. This is good. What you want to do is make your outer lines a different color, so select them by themselves and set them to something other than black. My palette is setup in cut order (more on that here), so I usually reach for that first dark blue.

Aha, tasty, ready to rock. I like to group my objects at this point, (select with a rectangle, then control-g for group), keeps everything properly aligned as you go forward.

Scale to whatever size you want and go for it. Cut the black shapes first, then the blue last.

I’ve done two scales here, one where it fits in a single sheet (19" wide), and then one where I’ve grouped the separate words together where “naked” is 19" or so wide, so it’s pretty big when you do the two words on separate sheets. Of course, if you have a pro with the passthrough beta… you could pull off 65" by 19" roughly, hah! Big naked.

Anyway, that’s all there is to it.

getnaked

(click to download the svg)

12 Likes

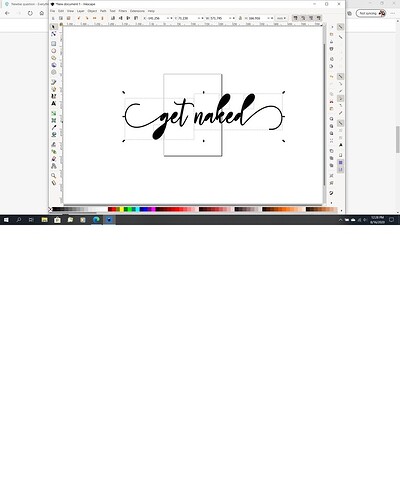
Okay, so I follow you until I get to “Break Apart.” When I did it, everything is black, when yours shows ONLY outlines? How do I get the outlines?

1 Like

@evansd2 I use CorelDraw and am unfamiliar with InkScape, but with your tutorial I could jump right into it and do this. Excellent write up.

3 Likes

Ah, right, breaking apart defaults to strange fills sometimes.

They’re paths, you just set the stroke and fill to whatever you like.

There are lots of ways to do it, but for me I just select all and then shift-click on the color I want for the stroke and then click (Not shift click) on the x To the left of the palette to remove the fill.

There is a fill and stroke dialog that you can open if you want to get very specific but the palette gets most things done.

You’ll probably get a lot out of this tutorial:

https://inkscape.org/doc/tutorials/basic/tutorial-basic.html

It covers a lot of material that is just essential foundation skill set stuff.

5 Likes

Awesome! Thank you so much for your help!!!

1 Like

I printed it! I need larger materials to print on, but it turned out perfect! Your help was exactly what I needed. Thank you!

4 Likes

Baltic birch sheets come in 5’x5’, I cut them down to a mix of full bed (12x20) and 60x12, 60x16, and 60x20, just for these sorts of projects. If you don’t end up using the 60" sheets before you run out of full bed sheets, you can always cut them down later.

Good to know. I have the Pro for the passthrough as well. How thick are those sheets? Do you just use a proofgrade material setting or customize the settings yourself?

I use 1/8” (3mm) sheets.

As with any material a good testing method is key. Link momentito.

1 Like

This topic was automatically closed 32 days after the last reply. New replies are no longer allowed.