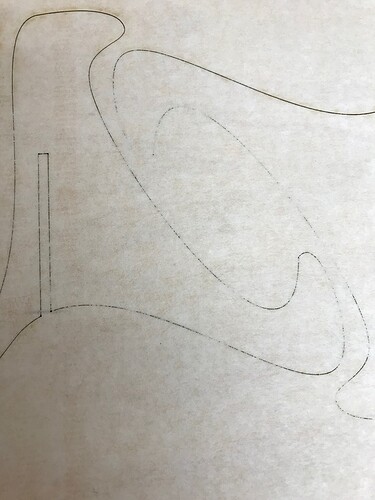
I am using proofgrade materials and having problems with the cut not completely going through the material. This has happened on draft board and most recently the maple plywood.
Happens to a lot of people. Most common cause is dirty lens or windows. Also the GF is very sensitive to material height for cutting. If the material is not perfectly flat (very, very flat) focus will be off and cuts may not make it completely thru.
If you haven’t cleaned everything then I would check the cleaning instructions under the Support tab of app.glowforge.com . Especially when using draftboard, the lens and mirrors will get dirty very quickly.
Thanks. I just cleaned everything a couple of cuts ago. I’ll go through it again. The wood is all proofgrade so the thickness should be correct.
Even proofgrade can have a variation on thickness. If you check with calipers … it will save a lot of frustration. Also, try to lift your pieces prior to moving your material after cuts. Many people use a piece of duct tape to lift their pieces to make sure they are fully cut. Then it is easy to run the cut again.
Ahhh… sound advice. I will try the duct tape next time. Thanks.
Or just “jiggle” the piece you’ve tried to cut–if cut thru, the kerf will allow slight movement. If not moving, run a second pass.
But I found if using full sheets that sometimes the extra masking off the edges can prevent the board from seating onto the honeycomb fully. I usually trim any excess back. Be sure the material is fully contacting the honeycomb and not stuck on the raised edges on the left & right. And since most boards have some warp & not perfectly flat, also always use magnets and the hold down pins to make sure there are no gaps between the board and the honeycomb. You’ll hear the different when you tap the material–a more hollow sound when there’s a gap vs. none… I often place magnets within the piece I’m cutting or pins as close as I can get (with enough allowance to ensure away from the laser path).
Other thing to consider is that even tiny amounts of warp can get you. When you lay a piece down, check it both label side up and down. If there’s any bow, put the piece in so the the edges curl up, and then you can use pegs or magnets to crank it down. If the middle of the piece is up, it’s much more difficult to flatten.
Thank you. The masking was not rolled back but that is a great tip to watch out for. I suspect that the material is probably slightly warped so I will try the magnets on next cut. I appreciate the response.
Thanks for the response. I am trying the magnets on my next print.
You’re welcome–lessons I’ve learned after too many times pulling material out and then realizing it wasn’t complete. Grrr (>.<). So I always try to remember to double check if the parts move before unpinning/removing magnets so don’t waste more material or time!
Unfortunately, it looks like your unit is experiencing an issue that we can’t resolve remotely. I want you to have a reliable unit, so I’m recommending we replace this one. I’ll be in touch via email to sort out the details. I’m so sorry about the bad news.
