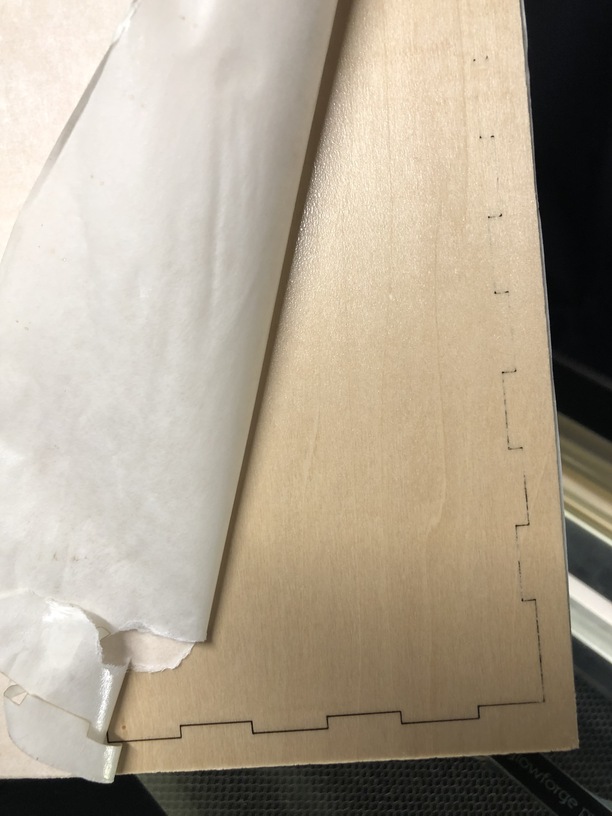
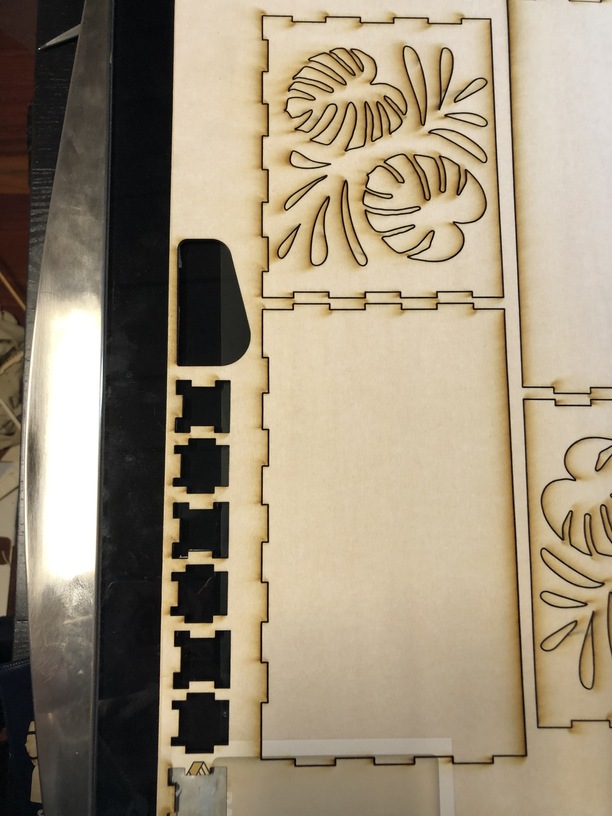
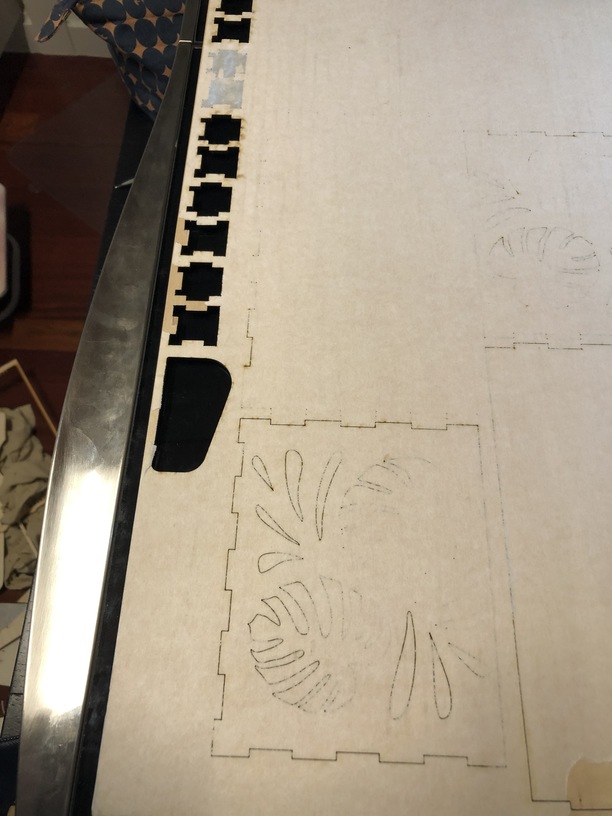
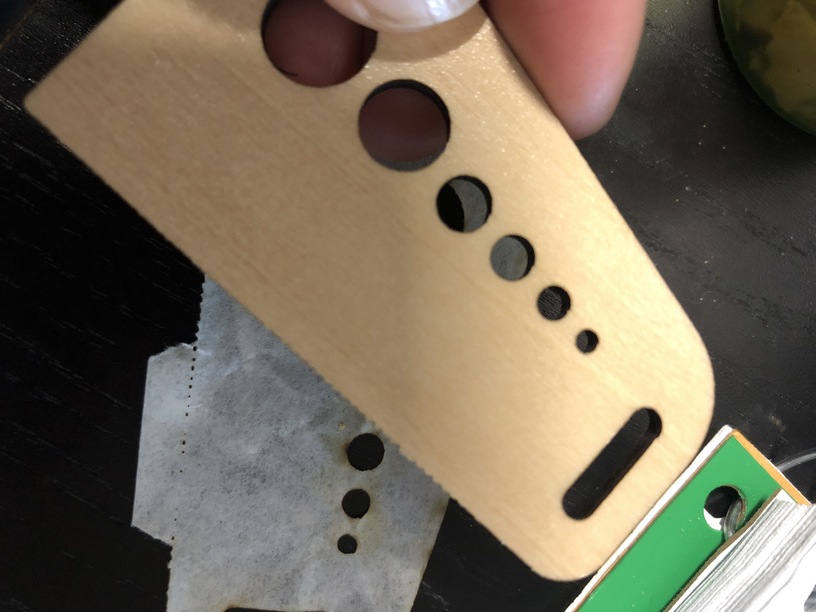
Again, my machine is not cutting through even proofgrade material. I had this issue at the end of last year and it was because one of the faulty wheels needed to be replaced. I clean everything between all big projects, and just cleaned before I started this attempt. I first did a 1" test square, then went to cut the side of this box and none of it went through. Using PG medium basswood ply, standard PG settings. It seems even with meticulously cleaning and using proofgrade, nothing cuts reliably.
1 Like
They are pretty good about taking care of things when it is PG material. They will probably want you to cut a Gift of Good Measure on PG with standard presets and post pics, though.
Hello @threadbeam,
Thank you for reaching out to us. I’m sorry to see that your Glowforge is having some cut through trouble. We’ll be happy to help troubleshoot with you.
There are several things that need to be checked if the laser doesn’t cleanly cut through the material. We’ve discovered that photos don’t always come through well in emails, so I’ve included several links that will take you to reference instructions and photos. Please turn off your Glowforge and check the following:
- The crumb tray is clean and properly installed
- The material is perfectly flat on the crumb tray
- All optical components are clean and undamaged
- Design is set to “Cut”
Once all these things have been checked, please perform the following test print.
-
Print the Gift of Good Measure on Proofgrade material, using Proofgrade settings.
-
When the print finishes, leave the lid closed and wait until the fans stop and the picture updates.
Check the completed print:
- If the Gift of Good Measure fails to cut through, take a photo of the front and back of the print and attach these photos to your reply.
- If the Gift of Good Measure cuts successfully, please try another print of the design you experienced the issue with, and let us know the results.
Please let us know how it goes. Thank you!
I can’t see the smoke pattern since your photo is from the back, but if the air assist fan is dirty it can also affect cut-through. (If “everything” that you’ve cleaned includes that, then disregard–it’s hard to know when specifics aren’t provided.)
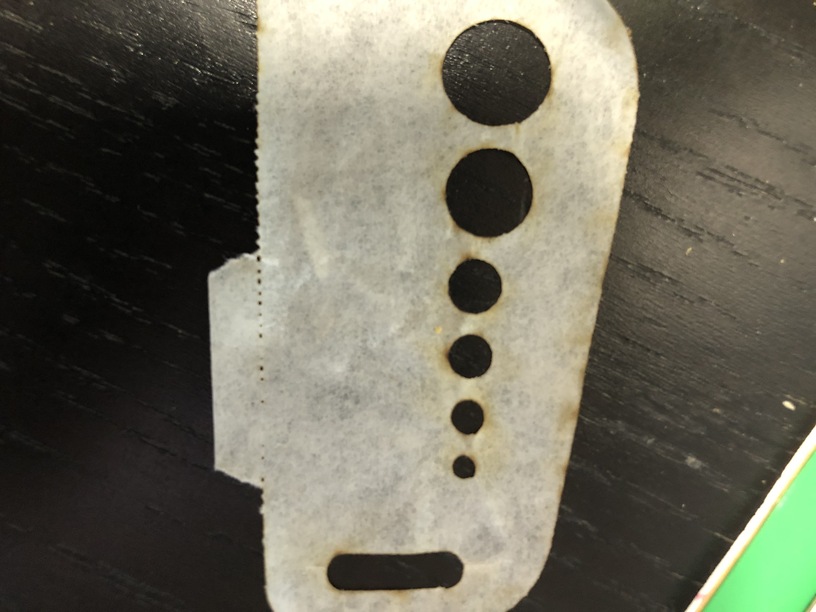
The gift of good measure mostly printed fine, but I did have to push to remove it along the top ruler line. From the masking, it almost looks like a score, so not a super clean cut. Everything else looked fine, though, so I tested my box again, but still the same results. pictures show front and back sides.
Thank you for running those test prints for me. I reviewed the logs from each print and it looks as though your Glowforge is having some trouble with the autofocuser, possibly due to a loose cable connection. There are two key connections I’d like you to check for me. Could you please do the following?
- Turn off your Glowforge.
- Holding only the finished black surfaces, grasp the printer head as shown. Pull gently up and back to disengage the magnets and remove the head.

- There is a small tab in the center of the wire ribbon. Push down fully on the tab to release it, and gently pull the wire ribbon plug from the printer head.
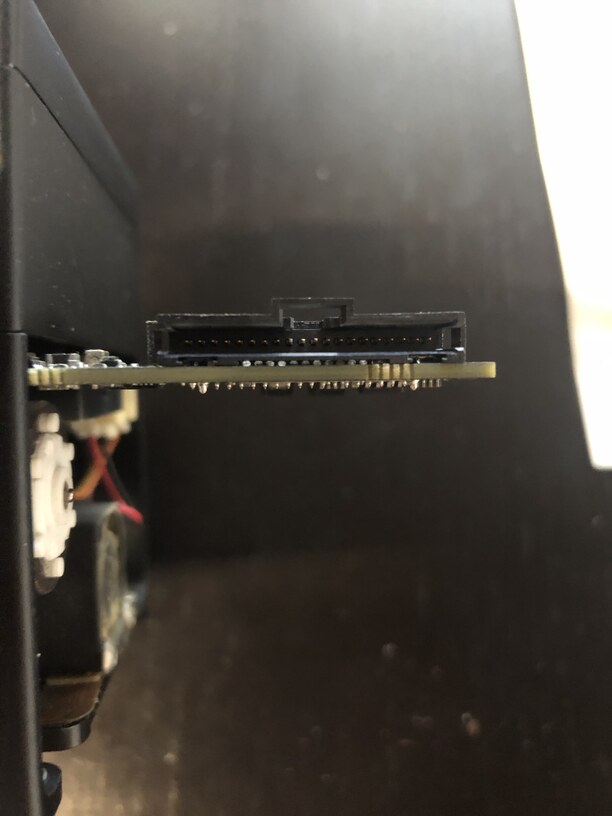
- Take a clear photo of the gold pins inside the printer head where you just unplugged the wire ribbon. It should look like this.
- Pick up the printer head and wire ribbon. Make sure the tab on the wire ribbon is facing up. Slide the ribbon back into the head until you feel it click securely back into place.
- As shown, lower the printer head over the metal plate so that it rests next to the two round posts. Then push it gently away from you – you’ll feel a “click” as magnets pull the printer head until it sits snugly atop the metal plate.
- Pull the laser arm all the way forward.
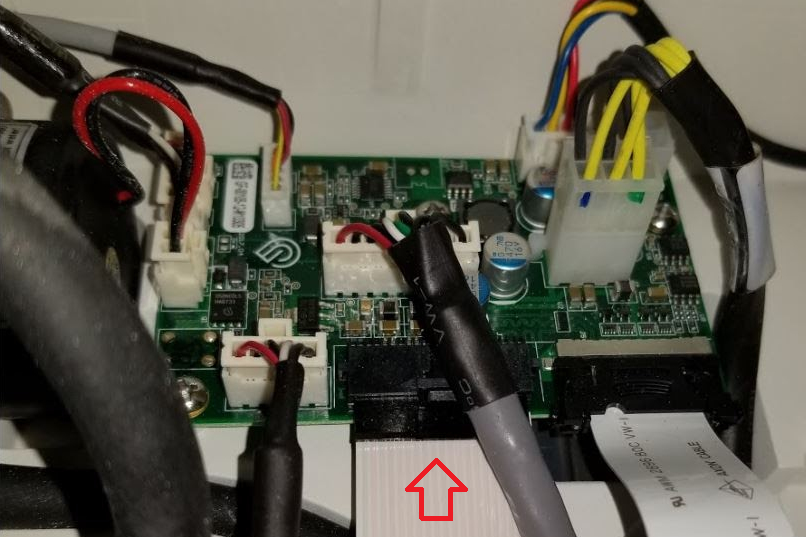
- Reach over the laser arm, and to the left of the inside of the unit and you’ll see this circuit board:
- Take a photo of the circuit board. If the cable I’ve indicated above with the red arrow appears to be loose, please reconnect it and try printing again. This cable should ‘click’ back into place.
- Turn your Glowforge back on.
- Run the Gift of Good Measure print again and let me know when it is complete.
- Send me the photos you took in step 4 and step 9.


Once the print is run and I have the photos, I’ll review the logs again to see if the issue still persists and advise on next steps. Thank you!
1 Like
The cable was not loose in the circuit board, but the gift of good measure made a cleaner cut this time.

Hello @threadbeam
Thank you for providing the photos as requested, the connections with your Printers white ribbon cable all appear to be in great shape. That said I’ve reviewed the result of the test print you sent. I have good news, we have a new tool that remotely adjusts the factory tuning of your unit. This change may affect your Glowforge unit’s custom print settings. Because of this, I wanted to check in with you before I made this change.
Here’s how it would work:
- I’ll make a change to your configuration to test a new setting, and let you know when it’s been applied.
- You’ll print a Gift of Good Measure to test, along with anything else you’d like to test
- You’ll send me photos of the front and back of the prints.
- We’ll determine our next steps from there.
- We can try a couple of different settings to see if we can improve your Glowforge unit’s performance.
Please let me know when you are ready for me to apply the change and if you have any questions. Thank you!
Hello @threadbeam
It’s been a while since we’ve heard back from you so I wanted to check in and see if you’d like to move forward with the steps my colleague Gabe provided? Please let us know!
It’s been a little while since I’ve seen any replies on this thread so I’m going to close it. If you still need help with this please either start a new thread or email support@glowforge.com.