I purchased my Glowforge a few weeks ago, and have had it now for ~two months. Over all it works great. Set up was fine, I did some test prints, and have been playing around with various materials to get a feel for what it can do.
I have noticed since I purchased it, that despite what I’ve been told about Proofgrade settings being fairy fool-proof, it’s not cutting all the way through. I’ve tried this on the medium draft board, medium clear acrylic, and medium walnut hardwood that came through the machines. I have to lower the speed quite a bit to get it to go all the way through the material.
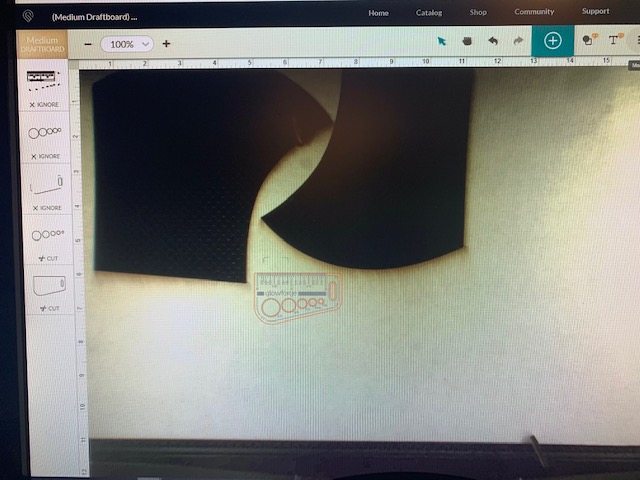
Today I tried to cut some acrylic pieces (I was making smaller sample tags for when I’m designing jewelry) that came from another supplier. Green Glass acrylic settings from Glowforge are 162/full, which is what was recommended to start with. I lowered the speed to 145/full and it didn’t get anywhere close to going through the material. It engraved OK. What’s more, the further away from the center of the machine the laser is, the less it cuts. This makes it impossible to use an entire sheet of material in one go without some of it either being ‘over cooked’ or some of it not fully cut and therefore wasted. I’ve only worked with 1/8" materials so far, and this makes me very hesitant to work with 1/4".
I have cleaned the machine, and made sure that all the lenses are streak and spot free. The pieces get pinned into the honey comb to make sure they are flat. The machine is level. I have gone through the calibration process.
I would appreciate any help to get this thing running correctly.
Support will ask you to print the Gift of Good Measure using default settings on the spare medium draftboard provided with the machine, and post pictures of the result from the front and back.
A functional machine will cut proofgrade material using default settings. I’ve had mine since 2017 and it still does. If yours doesn’t, and you’ve cleaned it as you state, it likely needs to be replaced.
I’m so sorry to hear that you’re running into trouble with your Glowforge not properly cutting through Proofgrade materials. I appreciate you providing all of this great information, and for cleaning your unit.
As @eflyguy mentioned, performing a test print of the Gift of Good Measure on Proofgrade Draftboard is useful for narrowing down what could be causing the trouble. I’ve got a specific test print I’d like you to perform when you have a moment.
Could you please do the following?
Turn off your Glowforge, then turn it back on
We included an extra piece of Proofgrade Draftboard with your materials shipment for troubleshooting. Place Proofgrade Draftboard in the bed and load the Gift of Good Measure design.
Set the score and engrave steps to ‘ignore.’ Print the Gift of Good measure using the default settings. Allow the print to finish.
When the print finishes, leave the lid closed and wait until the fans stop and the picture of the bed updates.
Check the completed print:
If the Gift of Good Measure fails to cut, please let us know the date and time of the print
If the Gift of Good Measure cuts successfully, please try another print of the design you saw the issue with, and let us know the results.
If the issue still occurs, please let us know the date and time of the finished print.
Once the print has completed, please let us know and we’ll review the log files, and provide the next best steps.
Thank you to @eflyguy and @MarcM for your help with this. I really appreciate it. : )
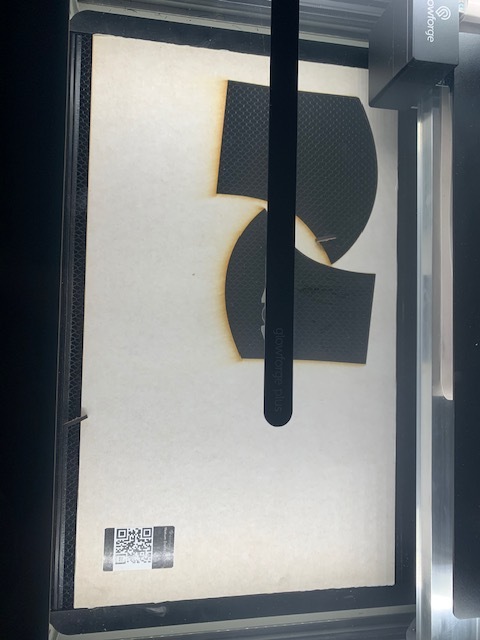
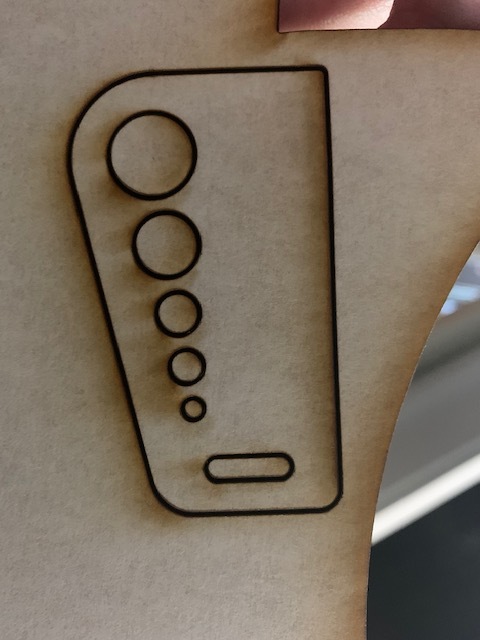
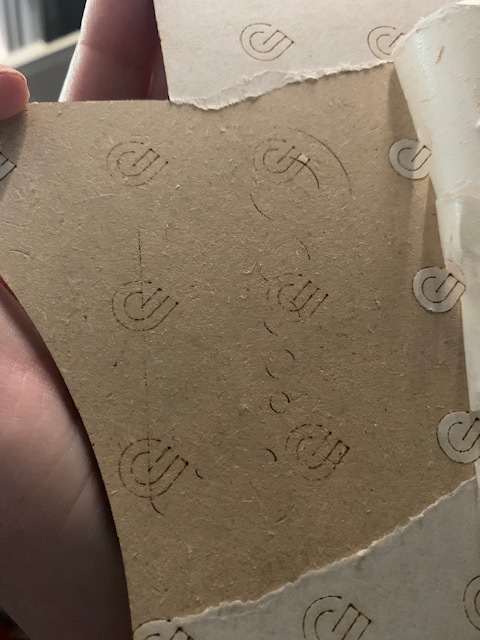
A few minutes ago, I followed your instructions and cut the Gift of Good measure out of a piece of the proofgrade draftboard. It did not cut successfully. When flipping it over, you can see faint lines on part of the piece where the laser was starting to go through, but even pushing on it with some force I cannot get the piece out.
I started the print at 1:15 PM EST. I have taken a the following photos for your reference.
I will await further instructions on what to do from here. I hope you enjoy your Memorial Day Holiday : )
I have to ask, because after having mine for 2 years, I made this mistake after a cleaning, which had done many times before without issue, and I had very similar poor cutting & etching occuring until I double checked my lens.
Please verify your lens was inserted the correct way back in–it’s pretty easy to get it upside down after cleaning. Or I was a sufficiently talented fool, and wish they color coded it or something to better fool proof the orientation!
I’m very interested in the thickness of those cut lines. They’re thicker than I would expect and that usually indicates some kind of issue with the laser focus.
I double checked the logs, and from what I can tell the height is being detected correctly and the calibration looks good.
Flip the lens tool until the “Install” arrow points up. Set the lens down on the lens tool. The open side goes away from the blue plastic, so it looks like a bowl on top of the tool. It will sit firmly on the tool and will not wiggle. Slide the lens tool up into the printer head until the magnet clicks, then remove the tool.
If you find the lens was in upside down, can you try that same test print again, and let us know the results?
It’s been a while since we’ve heard from you, so I’m going to close this thread. If you are still having trouble, please reach out at support@glowforge.com or start a new thread. We’ll be happy to take a look.