
Frustrating!
If you can’t get camera calibration to complete, you may need help from staff but, you might be able to use another approach to get unstuck in the meantime: don’t rely on the camera for placement.
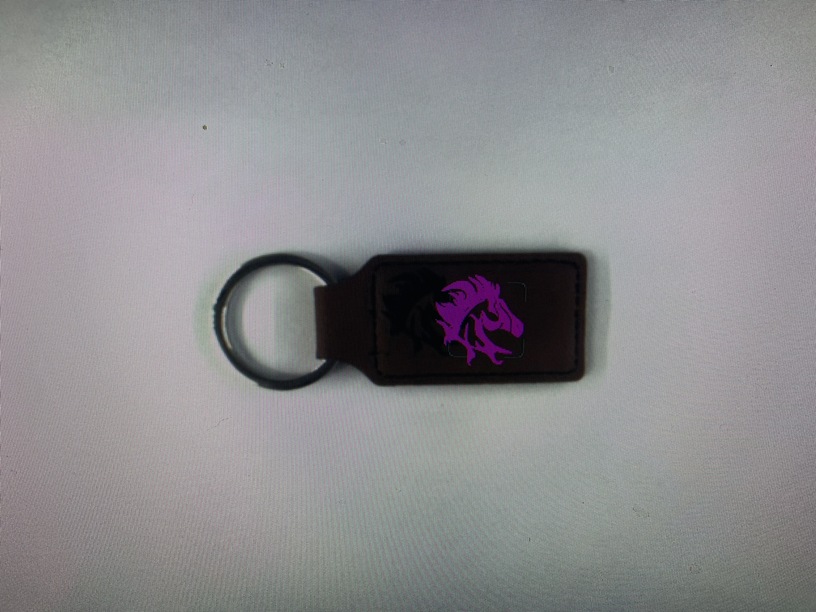
The simplest version of this might be to attach a piece of paper to the tray, then burn your key fob outline onto it at a very low power setting. Then, if you don’t move anything in the GFUI or the paper, you can expect the laser to act in the same spot, regardless of what the camera shows. So, you can disable the operation with the outline, enable the engrave you want, put the key fob over the burned outline on the paper.
You could do the same thing making a jig out of cardboard.
Search the forum for “jig” for more info on this approach.
Yes, what @evermorian says. You should have good results with a jig.
Thank you so much, I’ll go ahead and give that a try.
I’ll try the calibration again (a little later, when I’m a little less mad at it! Lol).
Further update, I did figure out the jig thing, which totally works at the moment, but I would still like to figure out the camera calibration issue. Thank you @evermorian and @arh2.
Glad you worked it out with a jig. Long term that’s definitely the way to go. Camera calibration is a relatively new thing whereas before we were all used to stuff not lining up. We learned to compensate!
When the Glowforges first came out it was not uncommon to cut or engrave differently so I got in the habit that I would tape the work and make the first run at a power of 1 that would not make it through the tape but would let me see where it intended to cut so then I would move the image that distance and do another and got pretty close.
If you are using a jig or a piece of paper that is a different height than the work, then that could throw the calculation off a bit as well.
This is a challenge with material like this to get the height figures out correctly for the lid camera. Did you try the Set Focus tool? Would be hard to make sure it hit the center of your fob.
Something as irregular as this definitely would improve with a jig. And it would allow multiples. Sorry you had to learn on good material.
When you perform the camera calibration, it’s critical that the sheet of material be pulled far enough forward on the tray that the marks render completely. So cover the front of the gridded area completely with the sheet before starting. You should not be able to see any grid on the tray.
Worth repeating!
Even if the calibration routine fails…
- Put your object in the center of the bed, which is more likely to provide an accurate preview
- Use the Set Focus tool and select the center of your object, then position the artwork. (For some reason they hide Set Focus behind the gear icon, it should be a top-level command…)
But even better is doing a quick burn of a bounding box for your object, or using a jig.
I’ve made a habit (when doing one off small items) of opening the front door, closing the lid and looking straight down over the camera. Then I move my project around until I’m confident it is directly centered under the camera. Close the front door and the lid and center the image on your work piece. Works every time for me. Hope it will work for you as well.
I see you’ve already received some great advice from other folks on the forum!
@raserres I’m so sorry for the trouble with alignment. Here are some steps to help get the most accurate alignment results:
- Use Set Focus before your print to make sure the software knows just how far the material is from the camera.
- Use material that is not warped or tilted.
- Remove particles from the surface of the crumb tray and the area underneath it. Check the four indentations under the crumb tray and the area underneath the front door of your Glowforge. Check to make sure that, when closed, the front door is not pressing down on the lip of the crumb tray.
- Turn your Glowforge off and on again. Alignment can drift over time, particularly if you bump the head of your Glowforge while removing material.
Regarding the Camera Recalibrator, could you please try to run that one more time and let me know if it doesn’t work?
It’s been a little while since I’ve seen any replies on this thread so I’m going to close it. If you still need help with this please either start a new thread or email support@glowforge.com.