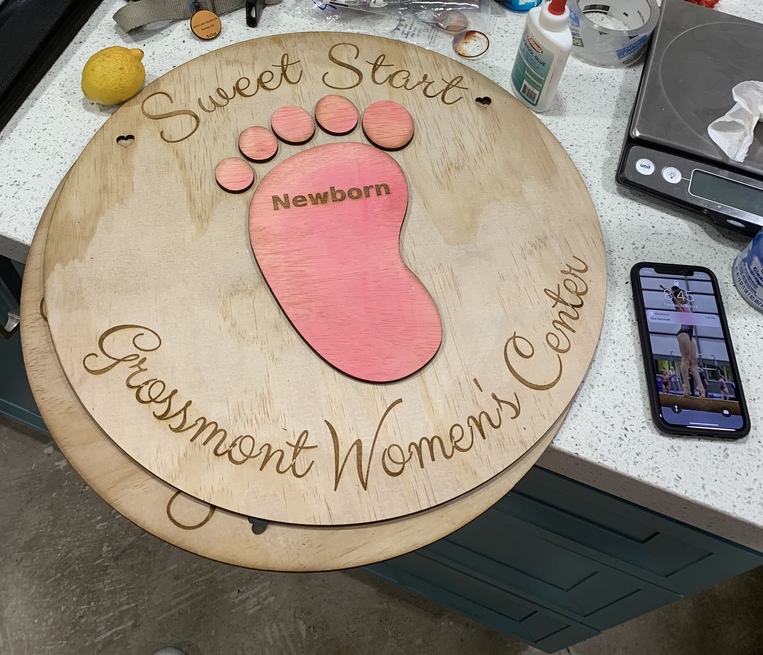
Thank you so much. I will do it exactly as you show here tomorrow night. I can’t understand though why I have to move the material left and right when the snap marks are near the center of the material. Glad that I can see you got it though. No good deed goes unpunished. This charity donation has taken so many hours. I would say more than triple the time I imagined. The smaller plaques are for baskets of donations for new mothers who need extra assistance.
I’m thinking there might be a glare or something from the light placement that keeps the marks from being distinguishable against that cardboard. You can try just placing some white masking tape over the spots where the marks are going to be scored…it might give better contrast.
I considered that too and used white cardboard and unfinished pine wood plywood too, with the same error report. Think I will send it over to the support person to let them know how challenging this was. I’m not sure I would have succeeded without your help. So again thank you.
My pleasure! 
1 Like
Finally got it:
Followed your suggestions to a T and still had no success even using your zip files you sent. After extreme frustration my husband bought affinity designer and got it to work on first try. So I wonder if something was not working well with Inkscape on my iMac. Or it’s the computer programmer in him that makes anything impossible to me just a click away for him.
4 Likes
Chuckle! Who knows? There are times I’m sure my washing machine is demon-possessed and hubs comes along and it just settles right down, so you may be on to something there. 
Glad it worked! 
2 Likes
Maybe y’all are doing it wrong…

6 Likes
So I ran into a fun issue.
I made a template for engraving the text from posts I’ve made on instagram onto the back of some square prints I made of the IG photos via Moo.com. The template worked fine, and regarding text, I’m used to the whole “create outline” process from Illustrator. What get’s me though, is that if I put any more than roughly two posts (5 sentences) worth of shapes, snapmarks fails.
If I reduce the number of “posts” to 2 or 3. I can get it to align just fine…
Anyone else run into this issue or figured out another workaround?
You can try rasterizing the text first. 
Without having seen the amount of text that you are trying to create, the font used, (and realizing that some fonts are absolute crap from a vector standpoint), you will likely have much better luck turning the text into a high resolution (> 300ppi) PNG file and using that to engrave the text.
Anyway, you can try that, or just do a couple at a time.
(Logic behind that: Text is very complex from a vector standpoint, so you are really increasing the data load to the motion plan when you include a lot of it in a file. The motion plan is easier for the Glowforge software to figure out if you rasterize it first.)
2 Likes
I’m betting a lot of this comes down to my own anal retentiveness and the fact that I seem to always try and laser ridiculously tiny, ornate things.
While everything you say is true, I’ve struggled with using rasters on my GF beyond the occasional 3d engrave. When engraving hard edged content like lettering, I just haven’t found the raster to have as crisp an edge as I prefer. I even experimented at one point with the same image at a variety of DPI just to see if there was a noticeable difference. In my experience, the short answer was that beyond 150dpi (on cast acrylic, baltic ply, and maple solid) there was little to no difference.
In this case I may just have to bite the bullet and give it a go though. Thanks for the response! 
1 Like
Source PPI plays a huge role in this.
1 Like
If you follow the engrave with an outline score you can clean up any leftover raster jaggies and leave crisply defined borders/edges.
8 Likes
So I’m trying to engrave my QR code for payment methods and I’m not sure what settings to use. Also I want to try it on acrylic, do you do it reverse so the finished product is the smooth side?
Welcome to the forum.
If you are engraving acrylic, your best starting point for settings would be Proofgrade acrylic. You will want to test a bit to get your desired effect, but I prefer reversing and engraving the back side.