Preparing a Photo for Raster Engraving (NOT NECESSARY FOR GLOWFORGE)

This is one reason I’ve tried not to pay too much attention to what people do with conventional lasers. Between camera magic and cloud magic, I’d have to get rid of a bunch of good habits for conventional lasers that are bad habits for this new one. Vector drawing, though, I will stick to convention from what I have learned so far.

1 Like

Awesome. Can’t wait to play with this

3 Likes

That is wicked cool. It’s too bad that we can’t see in real life the engraving of your twins. Some people won’t appreciate the magic involved that means I don’t have to do all the fiddling to turn a photo into a dithered image that lasers well. It’s a very big step on the road to making this approachable by a “normal” (e.g. not a laser savvy designer) person.

3 Likes

Everytime I try to load a BMP it hang us forever (hours). Any ideas?

Try using PNG for your bitmap images. They seen to work better for me.

Also watch films size.

I have tried jpegs and everything is foggy. Is there a certain file type that works best? I am a graphic designer so this terrible image thing is making me feel like an amateur :smile:

Photo

1 Like

Etch - HD Photo Setting

I’m totally an amateur but contrasty and sharp images seem to work. Keep experimenting and you’ll figure it out, sorry I can’t help, I haven’t found the magic settings

Pretty cat BTW

2 Likes

I don’t know of any specific advantage to BMP files, other than they are uncompressed and lossless, which can be achieved by PNG. Usually, you end up with huge file sizes.

As for the engrave itself - one, the image lacks contrast. You aren’t going to get a ton of different levels of tonality in an engraving. Some materials have more than others - but even the best have no more than a couple of handfuls.

The photo setting uses dithering (convert to dots) to represent tonality. Just little dots. Darker will be closer together, lighter will be further apart. What you have here though, appears to have burned the heck out of the material.

Have you tried on an actual piece of Proofgrade with the Proofgrade settings?

2 Likes

I was trying to get it close before switching to proofgrade because we are low on supply but I will make some adjustments based on your feedback and try that. Thanks!

By the way, anything that is not pure white (255, 255, 255) will have a laser action associated with it. When cleaning backgrounds with a soft brush, it’s very easy to get pixels that are not completely erased or only partially erased.

2 Likes

I ended up getting this to look great. Thanks for the tips, everyone!

13 Likes

Pretty kitty! (Nailed it!) :sunglasses:

1 Like

May I know if the DPI set as 300, in glowforge setting, which LPI I should set? I know DPI= LPI*2, so I set LPI 150 ?

DPI is not LPI*2. LPI is just the vertical axis of DPI. I try to do mine at 340 most of the time. 150 will give large aliased edged

It’s commonly stated DPI = LPI * 2, or DPI / 2 = LPI.

What’s not stated is that those formulas are for suggested resolution of an image.

What it really should say is that the suggested resolution for printing is Target LPI * 2 = DPI of your image.

And that’s not even accurate… it should be PPI rather than DPI, though the two terms are really used interchangeably anymore: PPI is input. DPI is output. For example, the wide-format canon printer I have here has a max print resolution of 2400 X 1200 dpi (horizontal X vertical).

Input resolution does (should?) matter… but we really don’t know how the Glowforge treats the input file and the resulting output. It should matter because if you upload an actual 1x1" circle that is at 72PPI, and print at 270LPI, it has a higher vertical resolution than input resolution, so it’s interpolating everything inbetween, which leaves it out of our control.

Speaking of which, I suppose I’ll run a test…

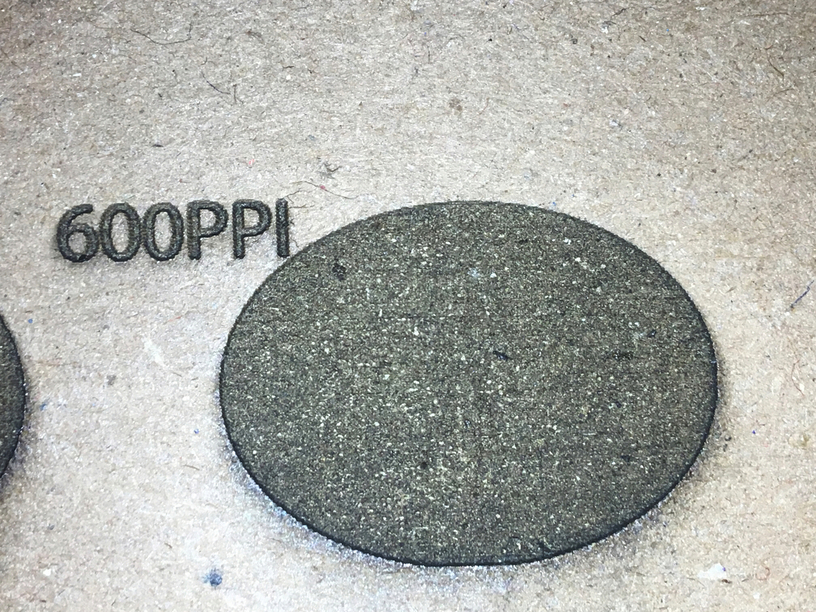
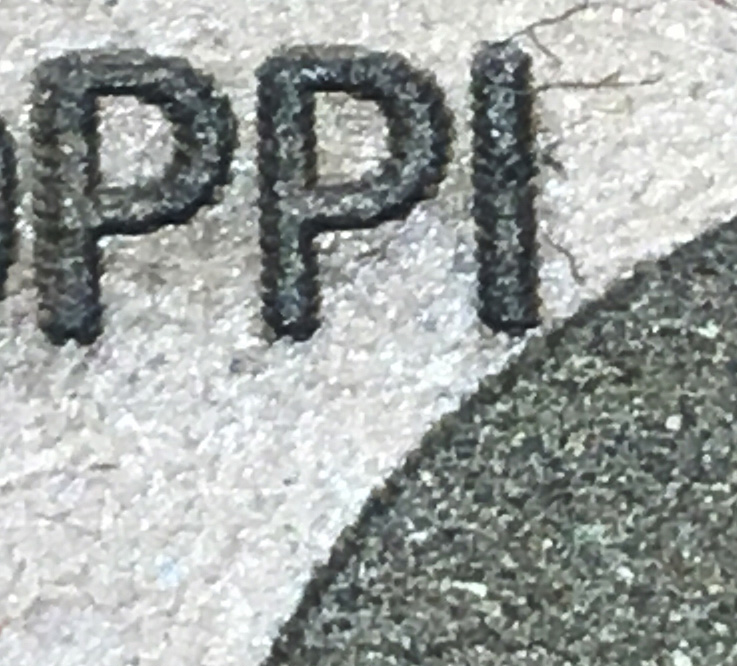
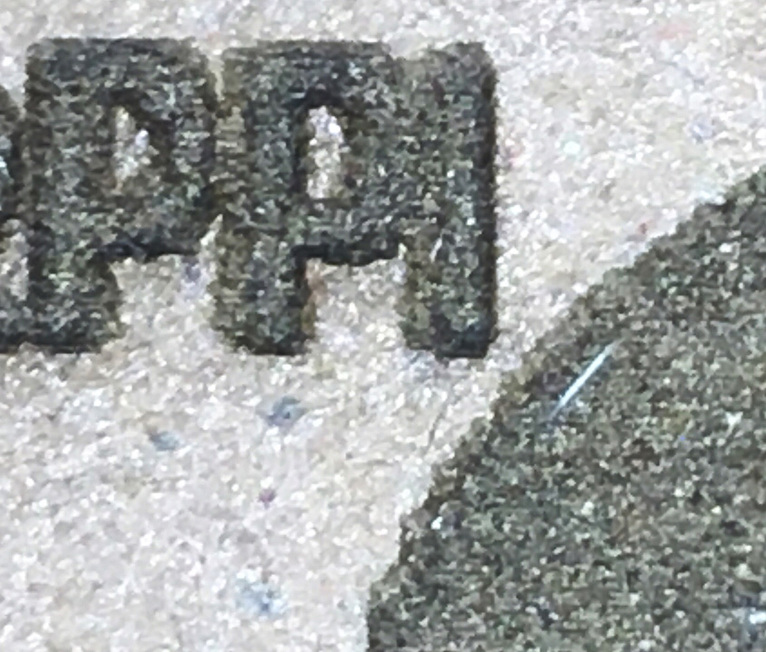
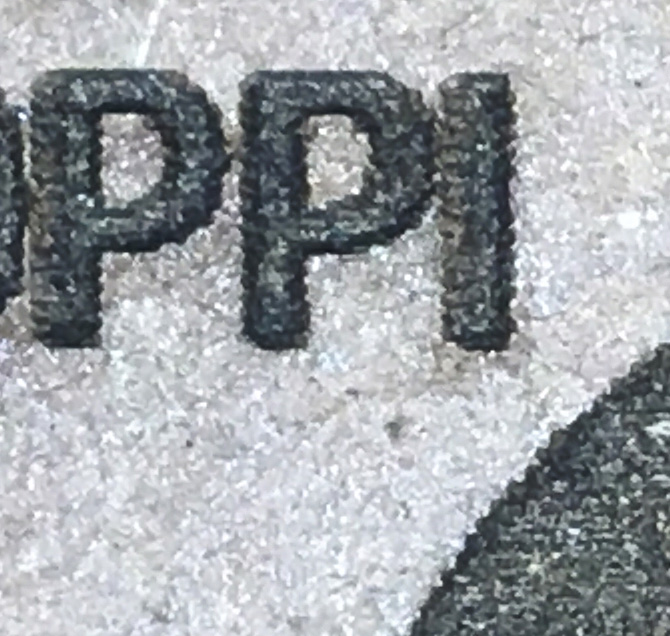
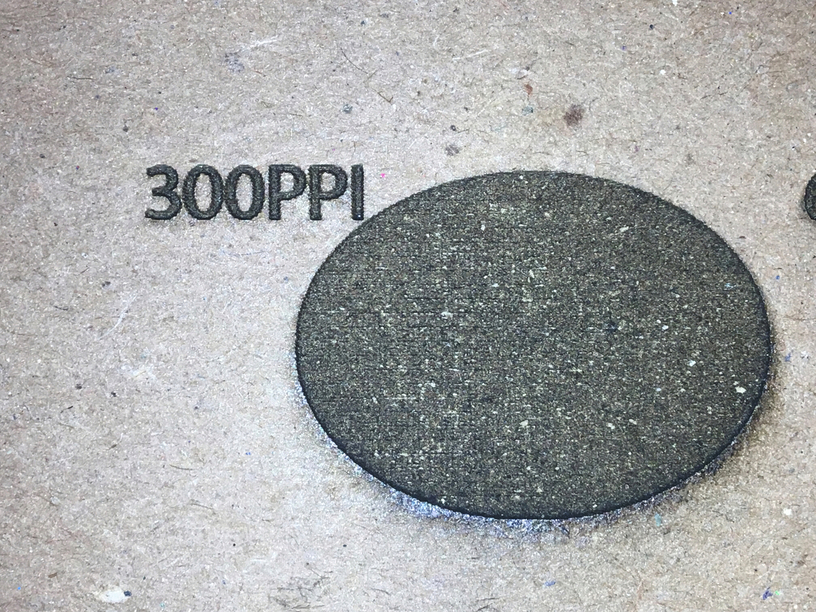
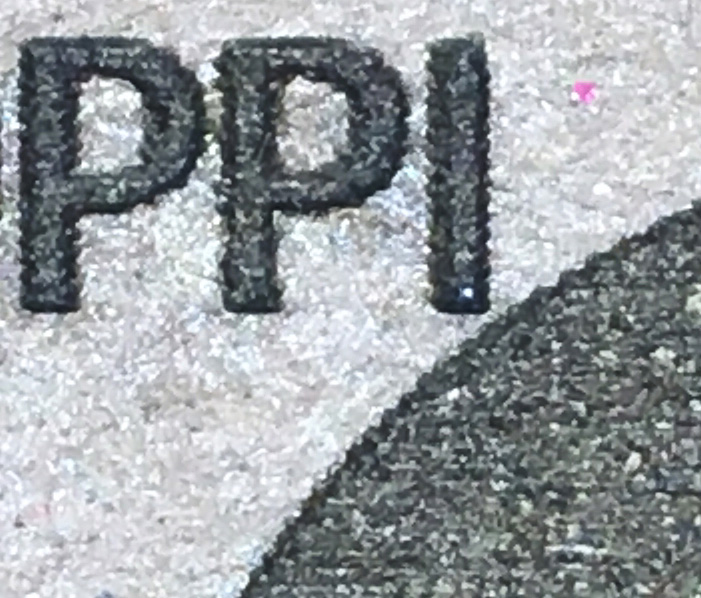
Here are vector ovals (I used an oval for a more pronounced arc/curve to highlight any stairstepping) that were rasterized to 72, 150, 300 and 600 PPI and then sent to the Glowforge. Each engrave was done on .050" chipboard, at 300 speed, 9 power, vary-power setting (all 100% black, so they will engrave with 9 power), and 270 LPI.

The photos aren’t perfect, but I don’t have a ton of time to test at the moment… each PPI has one “full engrave photo” and then a crop.

72 PPI:


150 PPI:


300 PPI:


600 PPI:


9 Likes

How do people feel about using sites like http://pinetools.com? I’m still learning how to use image editing software and this let me take a color photo and grayscale / sharpen as Dan suggested. Taking out the background like the cat above is another story.

1 Like

Thanks for the instructions, they really helped… made this for a friend whose dog died recently.

PG cherry plywood

8 Likes