I’ve been having several issues with my Glowforge since I got it. I’ll try to go through all the issues that I’ve been seeing and hopefully be able to resolve them.
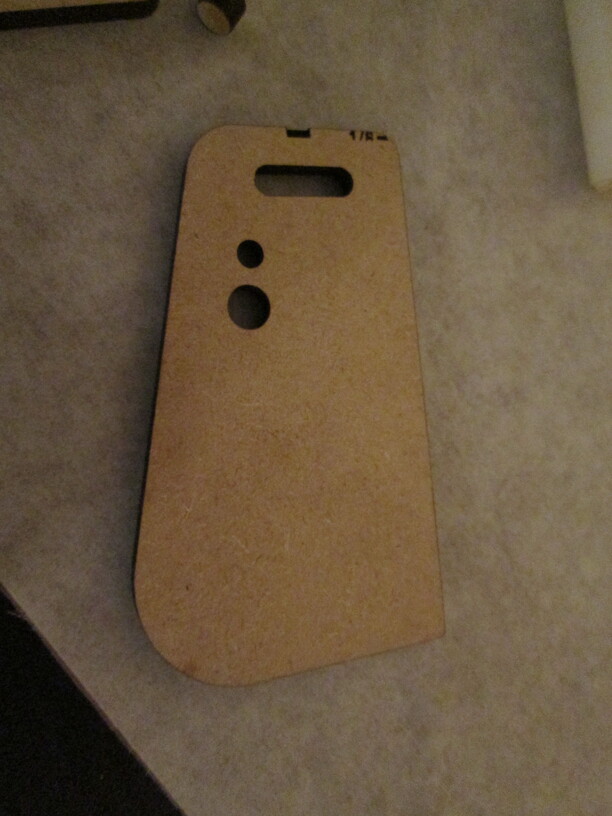
Failure to cut through proof grade material.
I’ve seen this on other posts and that cleaning could resolve this. I’ll be getting some Zeiss cleaning wipes today and maybe this will be resolved. Image is PG Medium Draftboard.
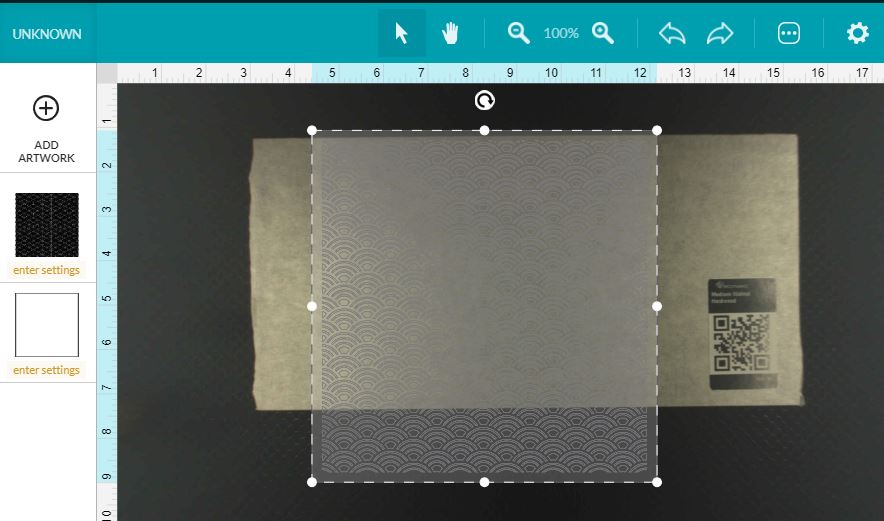
Material recognition failure.
Since getting my Glowforge, the camera has never picked up the QR code to automatically assign the material. Not one time. I can manually select it, but a major selling point to PG material is auto detection.
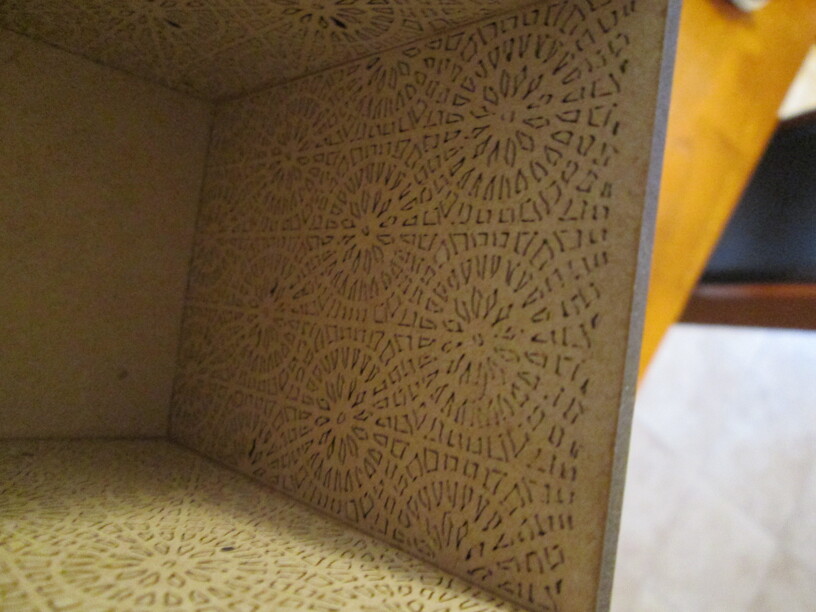
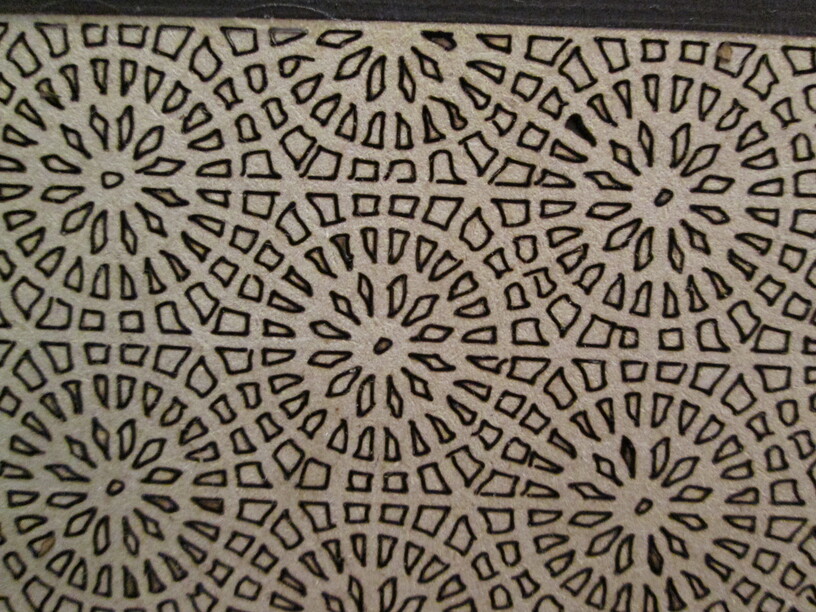
Failure to cut straight lines.
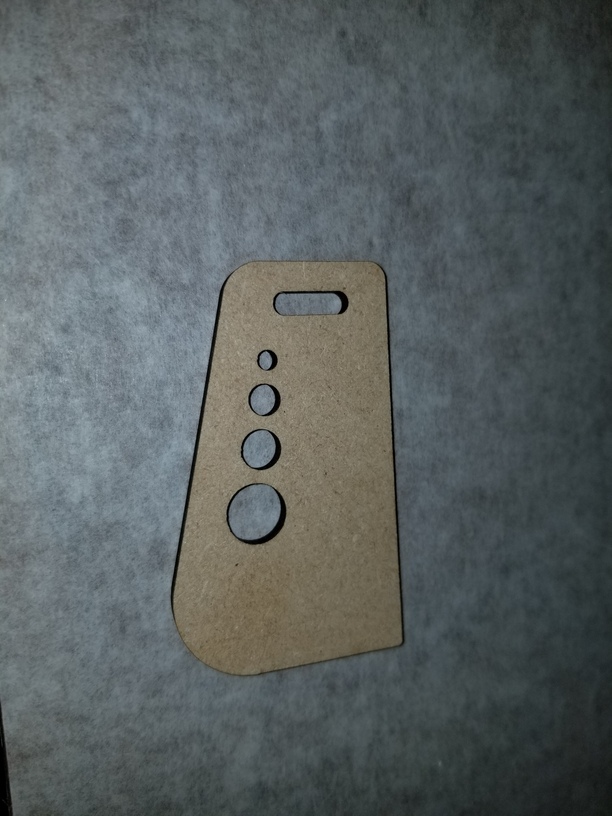
The glowforge will cut straight lines a lot of the time, but I’ll also see what appears to be sine waves in the middle of a straight line. Circles won’t be round and smaller details are simply a mess. Images are for the Modern Mosaic Pencil Holder on PG Medium Draftboard.
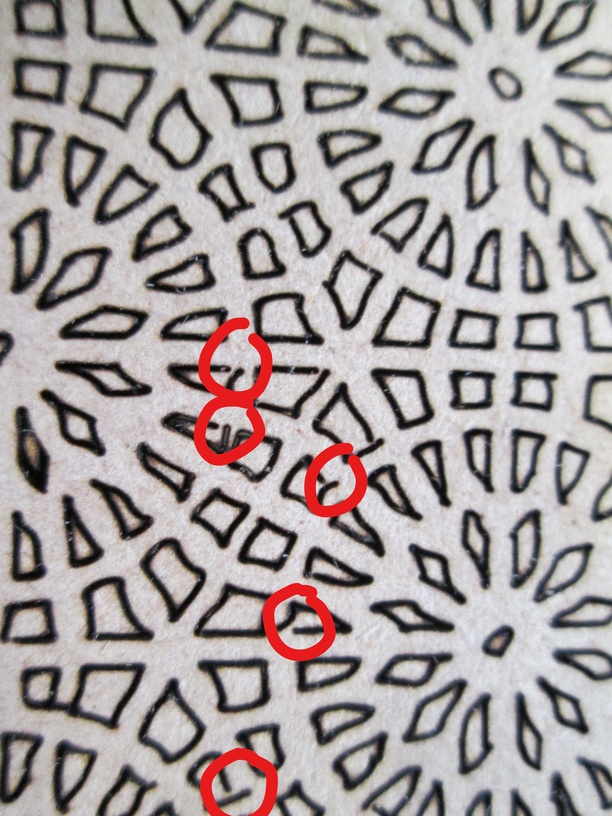
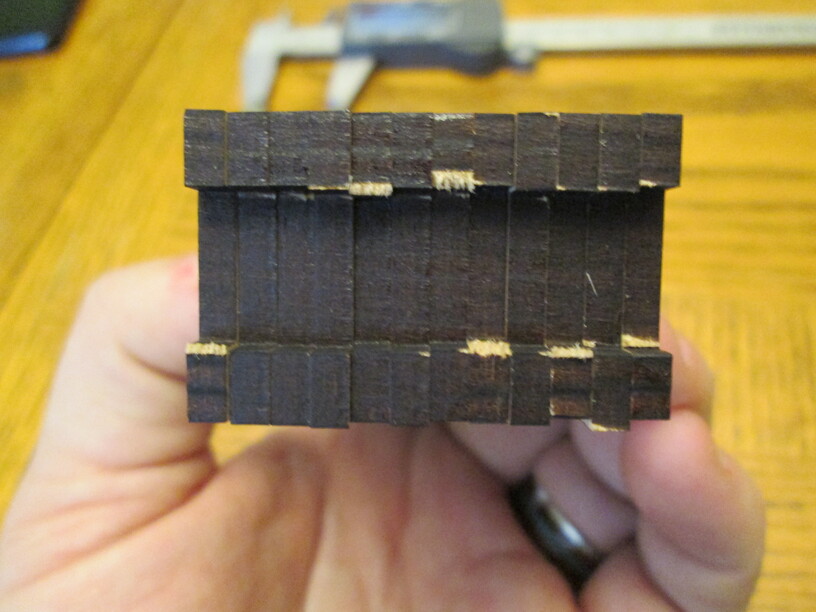
Failure to close loop on a cut out.
On some square, rectangle and other shapes with corners, one of the simply won’t be connected. This results in needing to break out the part from the board. See examples on PG Medium Draftboard.
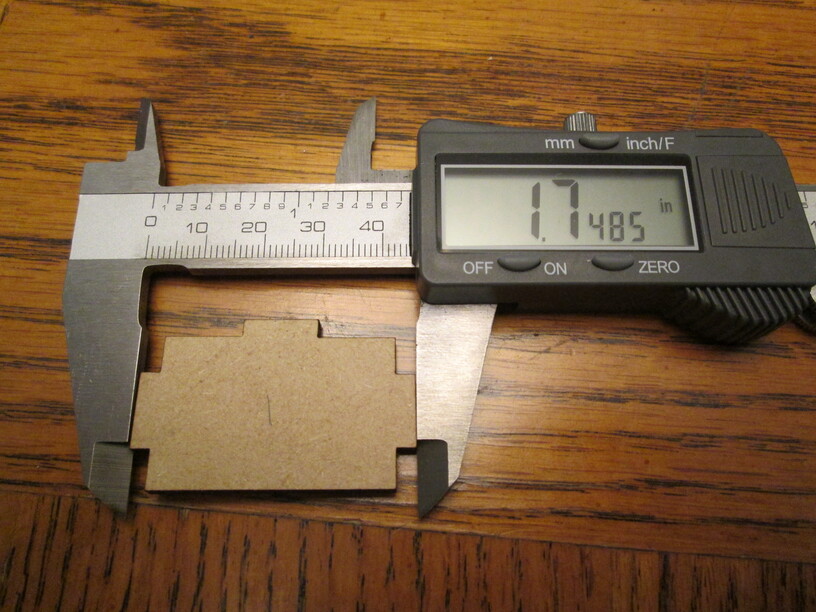
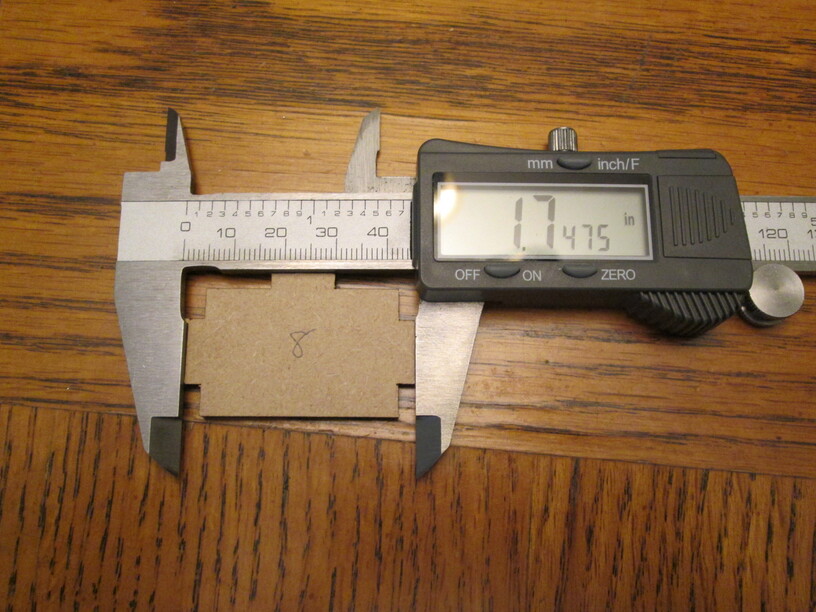
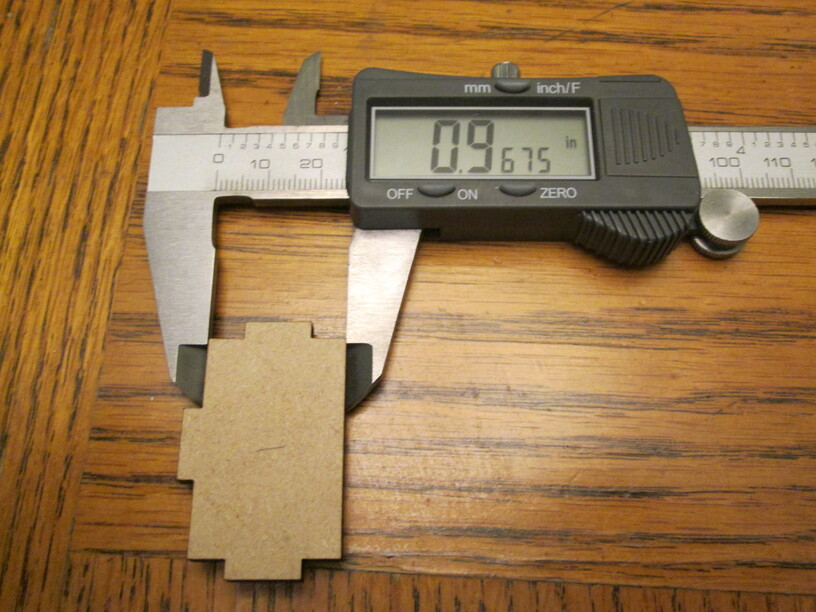
Repeatability/Consistancy
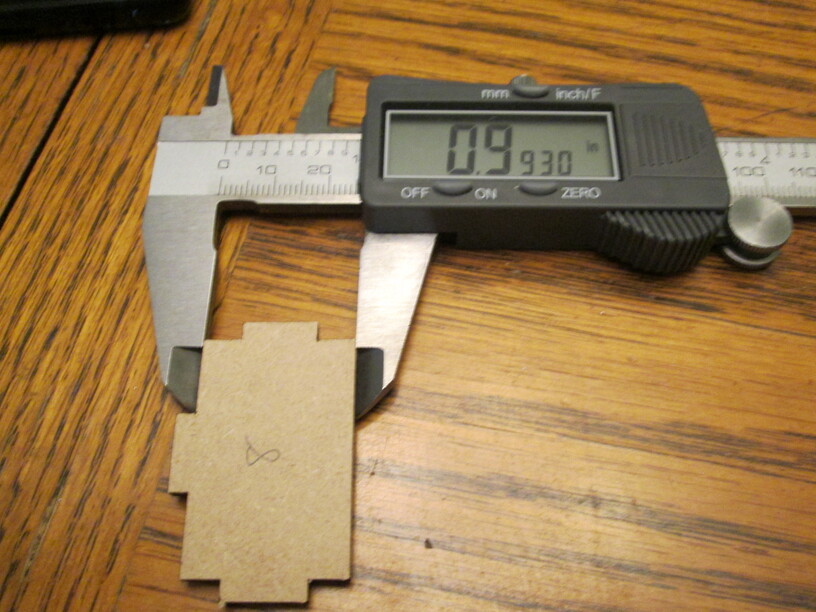
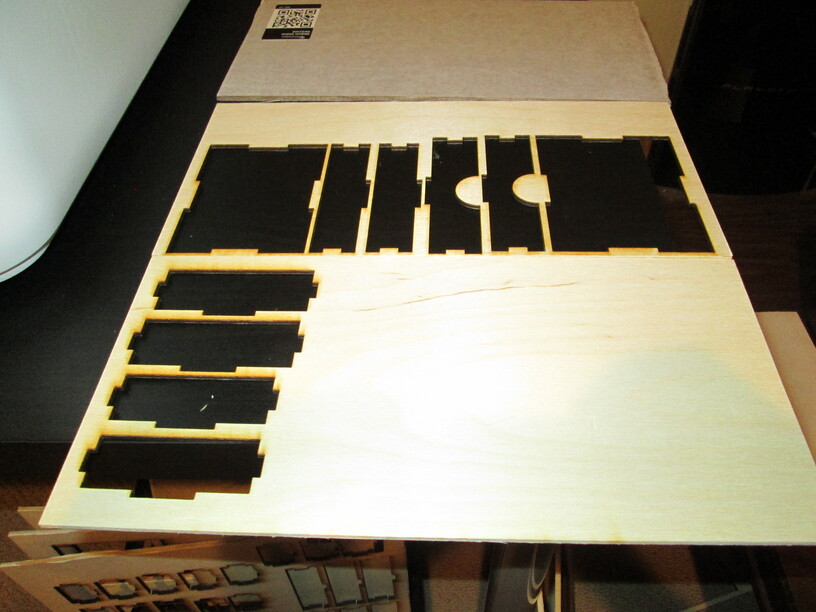
I was making several boxes all using the same cut but I was getting different sizes in the. In the following images, one side should be 1.75 inches and the other side should be 1 inch. The 1.75 inch side is pretty good, but the 1 inch side was typically short and it would vary about how much. I have images of the complete set I did, but this is a sample.
Cut/Engrave placement
I, unfortunately, don’t have an image for this one, but it is straight forward. When I have a piece of material I want to have engraved, the location as indicated through the Glowforge website/software doesn’t correlate with where the engrave actually ends up on the material. So if the preview shows the engraving in the center of the material, it will actually end up off center. It isn’t drastic, but easily noticeable.
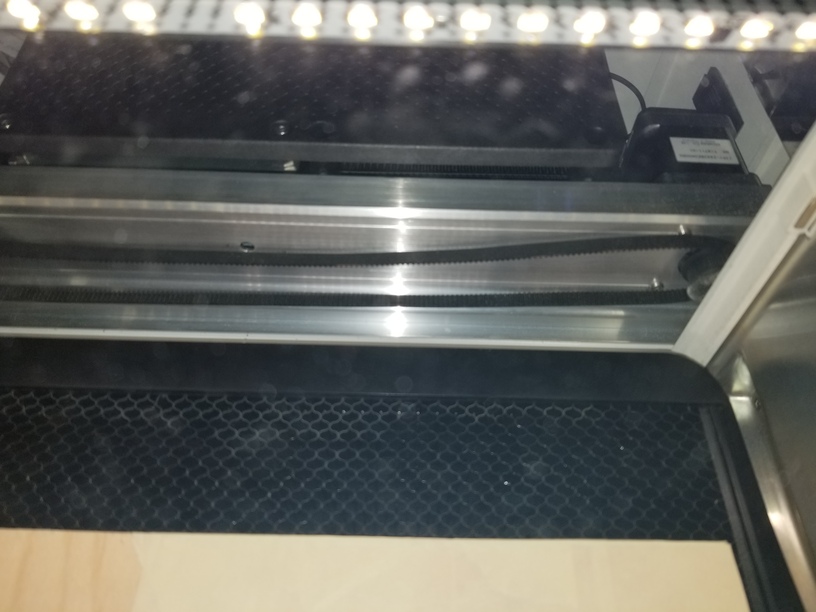
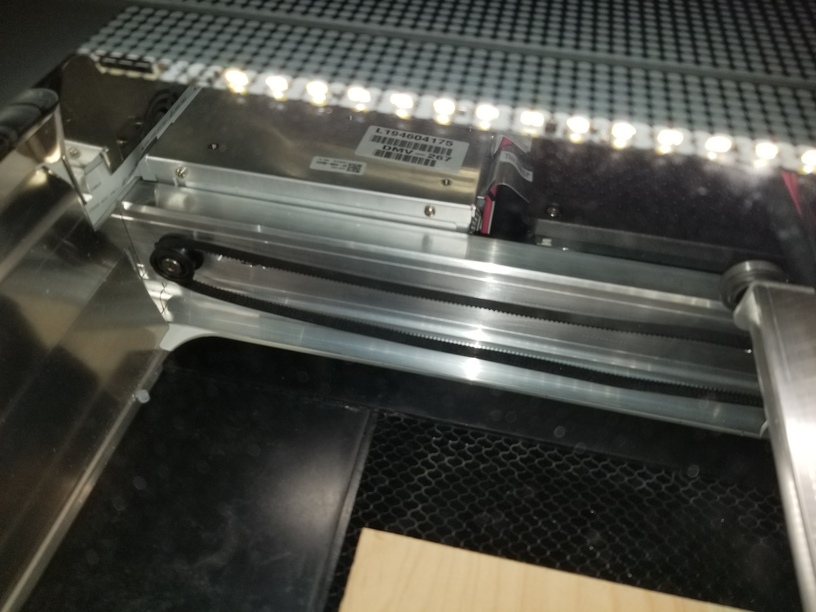
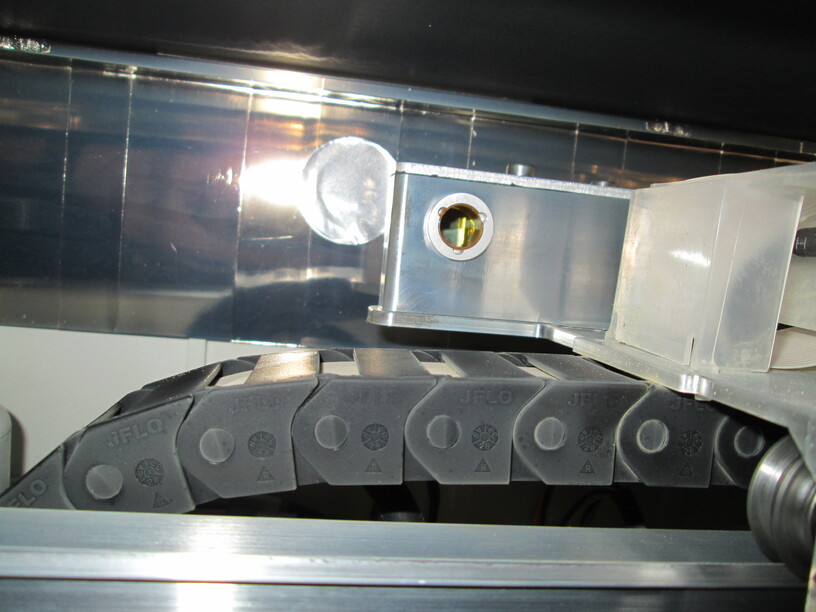
Saggy belt
I noticed this when I was doing a quick simple cut but the belt on the right side of my Glowforge is practically dragging on the bed floor while the left side looks fairly taunt. I didn’t check the left side for how snug it is as I didn’t want to inadvertently cause damage. I didn’t see anything in the instructions on maintaining these belts.
I know this is a lot, but I wanted to get it all in one post rather that flooding the board with a number of posts to try and keep track of.
I hope that we will be able to resolve all the issues I’ve listed. I’m pretty sure that I caught everything in this post. If I do find new issues not listed here, I will make a new post.
It’s actually much easier to focus on one issue at a time, but in your case, several of your issues are being caused by that loose belt. You need to tighten the tension on the saggy belt and it’s fairly easy…
You will need a hex wrench.
Turn the machine off.
Gently move the laser arm forward.
Loosen the round black pulley at the back that the belt loops over with the hex wrench.
Slide it back towards the rear of the machine in the slot that it moves in.
Tighten the pulley and check to make sure that the tension in the belt matches the tension in the belt on the other side. There’s a video here showing the correct tension:
That should take care of most of the problems. For cutting through the draftboard, make sure it is pinned down flat on the tray and if needed, you can slow the cut down by about 5 points or so.
I think that your movement issues are all due to the loose belt. (3, 4, 5)
The material recognition is due to the glossy finish on the sticker and the placement. Try moving the sticker to the upper left corner where it isn’t going to reflect the light. (2)
Try running the calibration tool for your placement issues. (6)
There are instructions to tighten the belt that you can get from Support. Another user may have them also. This needs to be done before you continue troubleshooting.
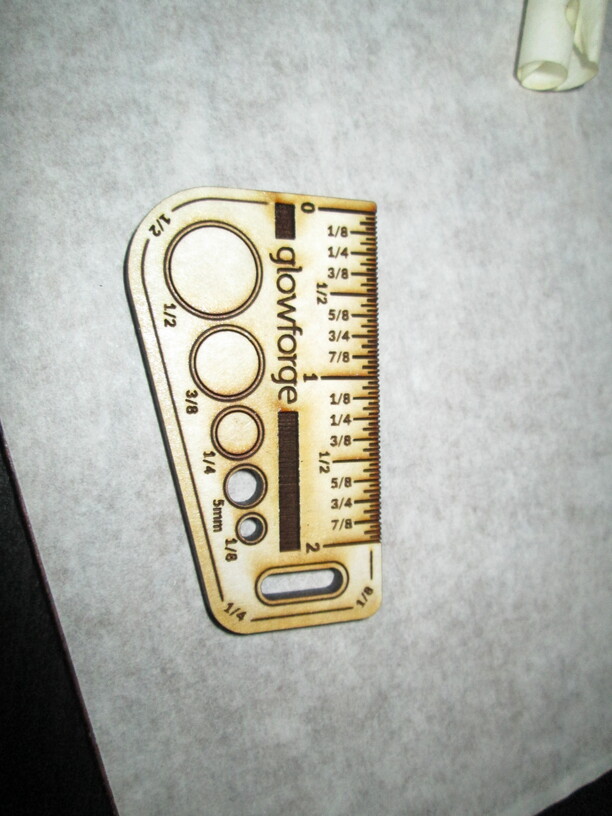
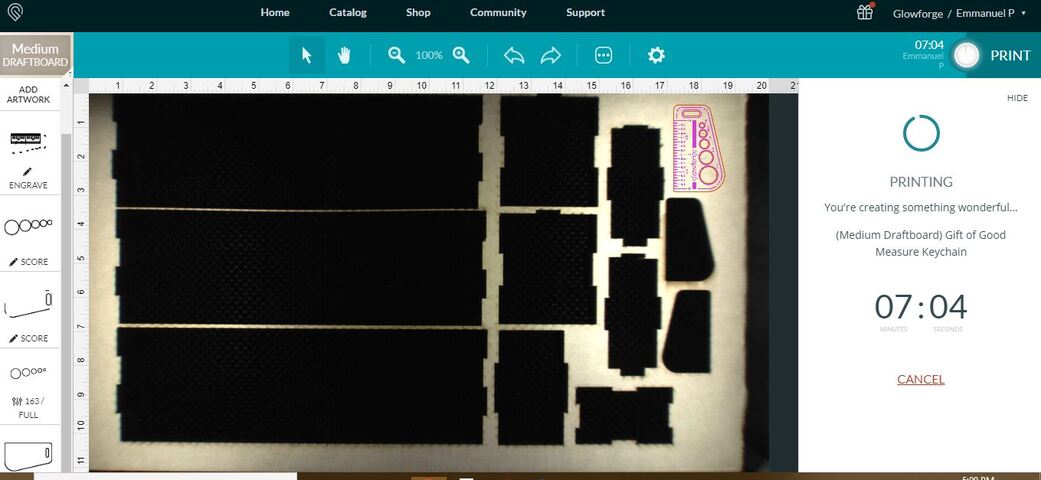
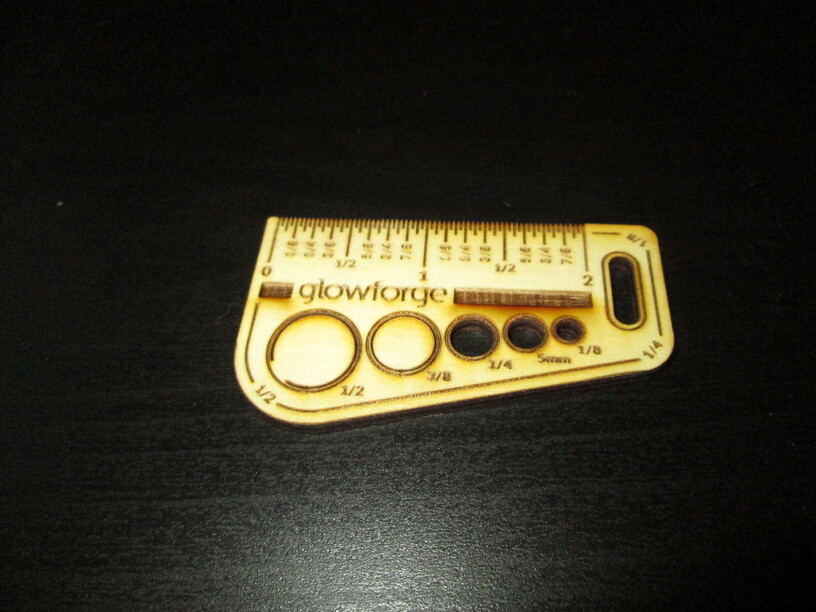
Try running the Gift of Good Measure for the cutting issue and post the results. Also make sure that you have the material pinned down flat and it isn’t warped. Then measure your material with the calipers and report its thickness.
Thanks for the quick replies. I will try all those suggestions. Probably won’t be until tomorrow when I will have it all complete with another cut out. Running low on my draftboard but I should have enough to make a few good measure cuts.
One of the sheets they sent is a spare meant to be saved for future diagnostics - it’s in excess to the amount you received as part of the initial purchase.
Unfortunately, lots of people find their stickers aren’t recognized. There are workarounds like being careful where you place the sticker, or making copies of the QR code… but for me, just picking the material from the menu is the easiest workaround. Sure, I wish it wasn’t that way, but it is what it is.
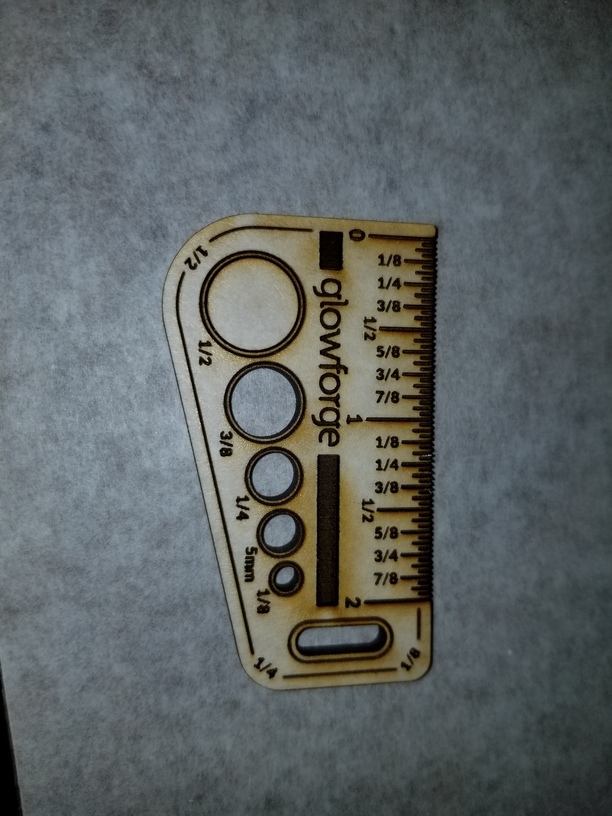
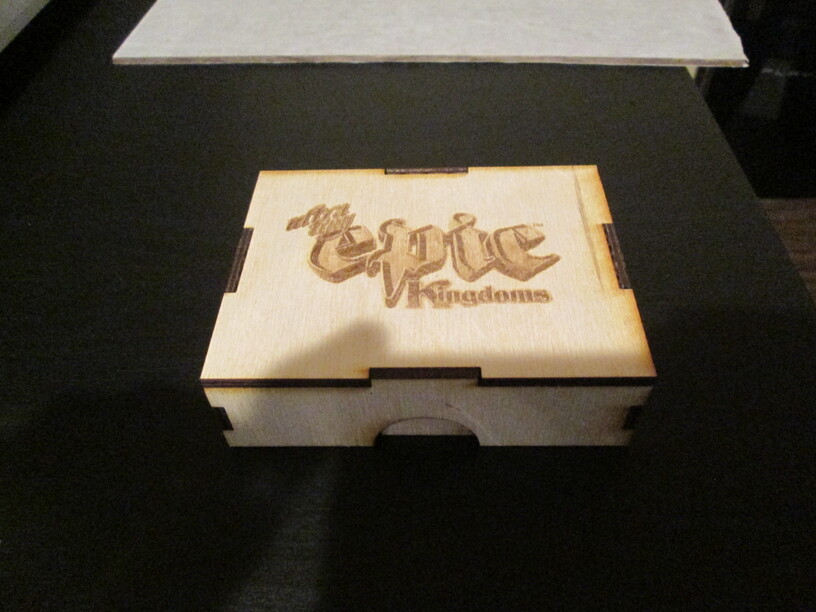
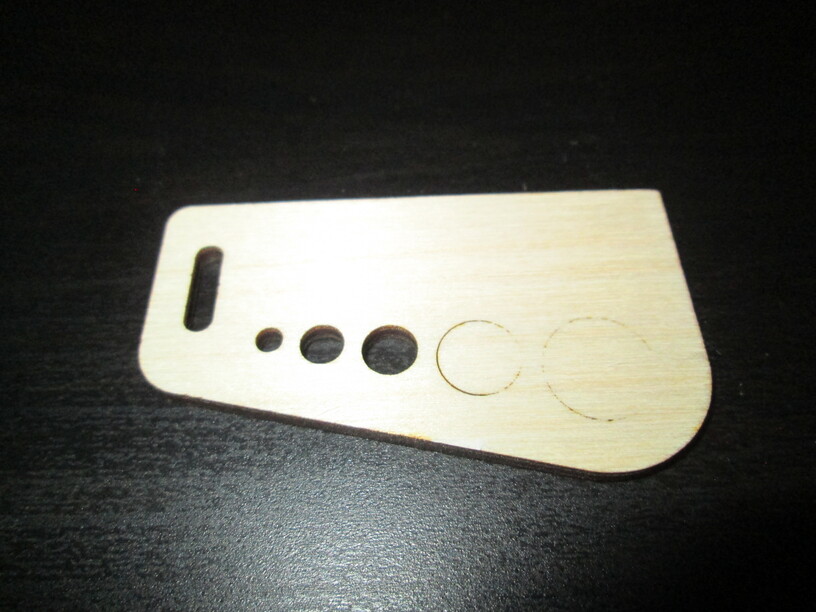
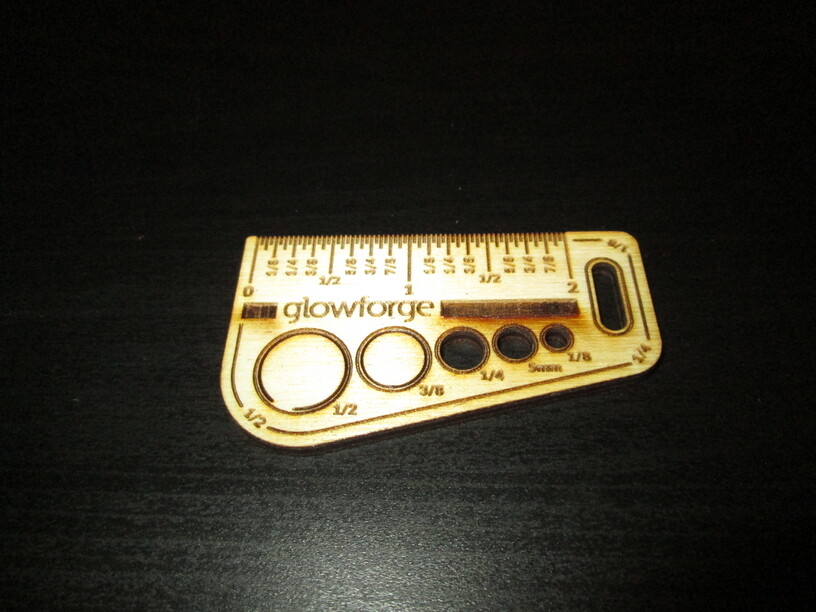
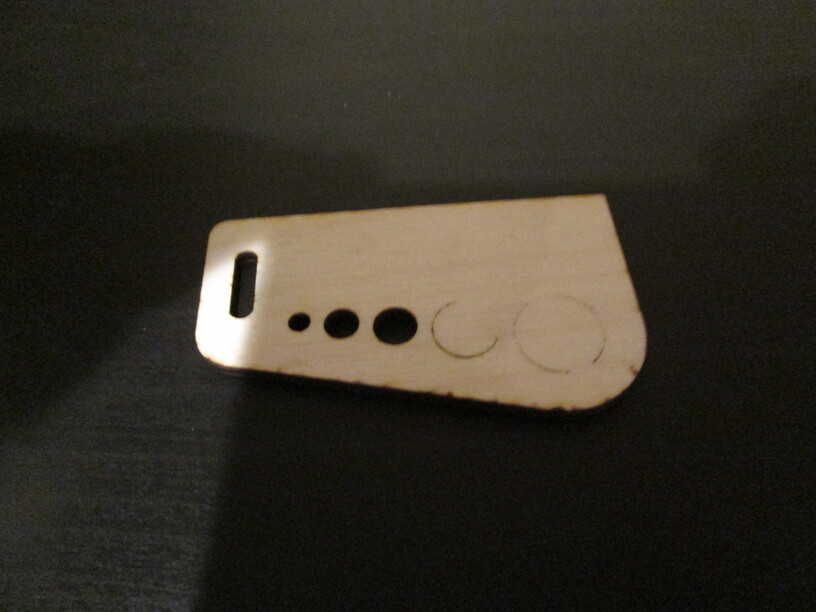
Two of the cut outs didn’t fall out when I took it out of the glowforge but did when I removed the masking tape. So it just didn’t cut completely through the tape. You can see the large hole doesn’t show anyvsign of cutting through.
Thank you for providing photos of your failed test print.
I would like to check over just a few more things. Could you do the following for me?
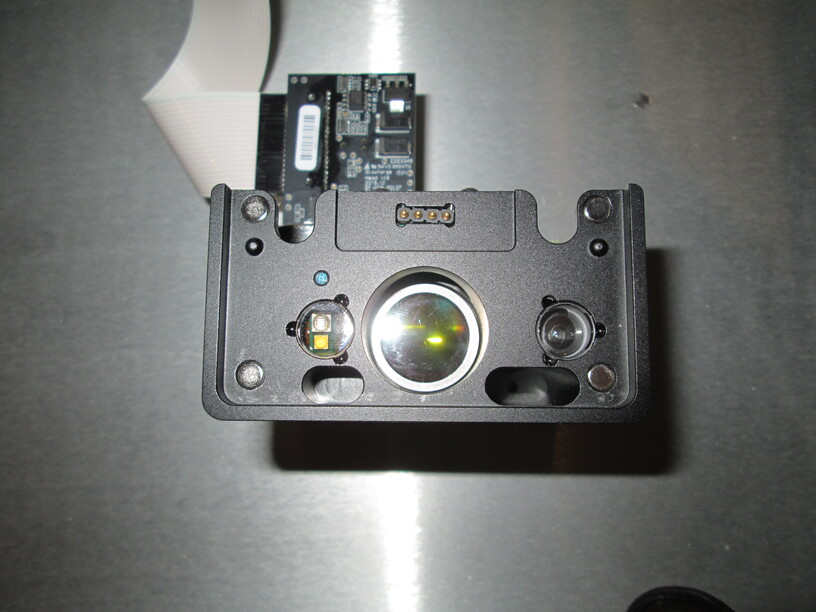
Once you have received your Zeiss Wipes, please follow the instructions here: Things that need wiping. Once cleaned, please post photos of all your optical components, with special attention to any damage you might find:
Both windows
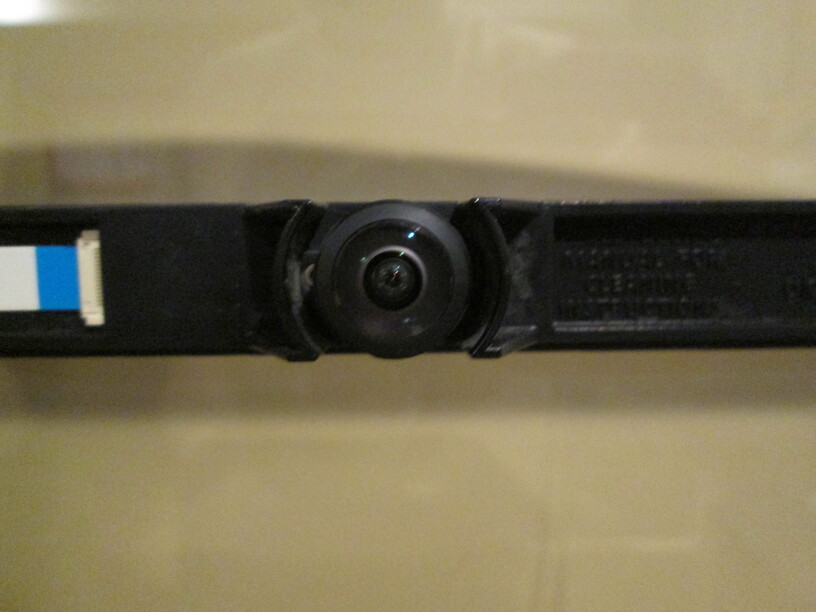
The printer head window, on the left hand side of the printer head
The laser window on the inside left of the Glowforge
The good measure was after I had cleaned all the glass with the Zeiss wipes. I will repeat the process and take pictures post cleaning this time as soon as I am able. Thank you for your response.
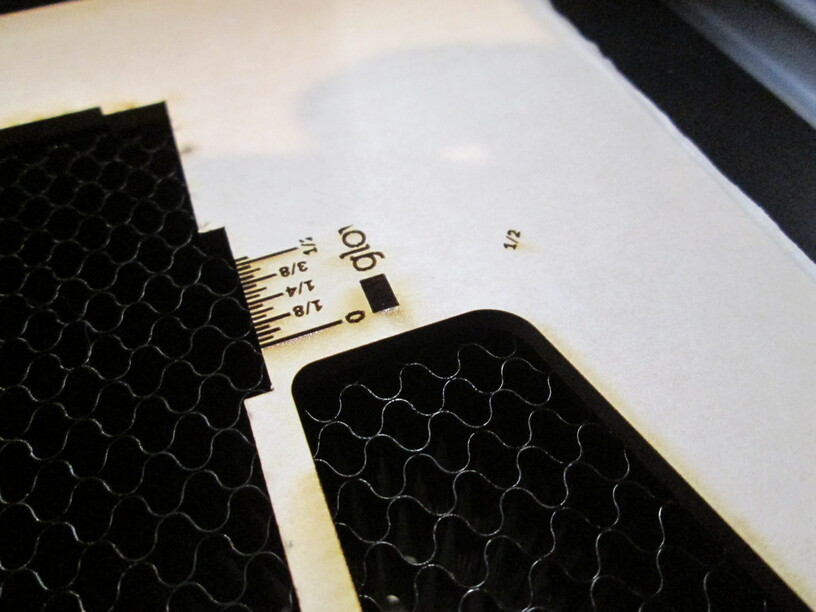
Make sure you use the Set Focus (click on the gear icon first) to get the focus right - sometimes the material thickness isn’t what it’s supposed to be due to environmental or manufacturing issues.
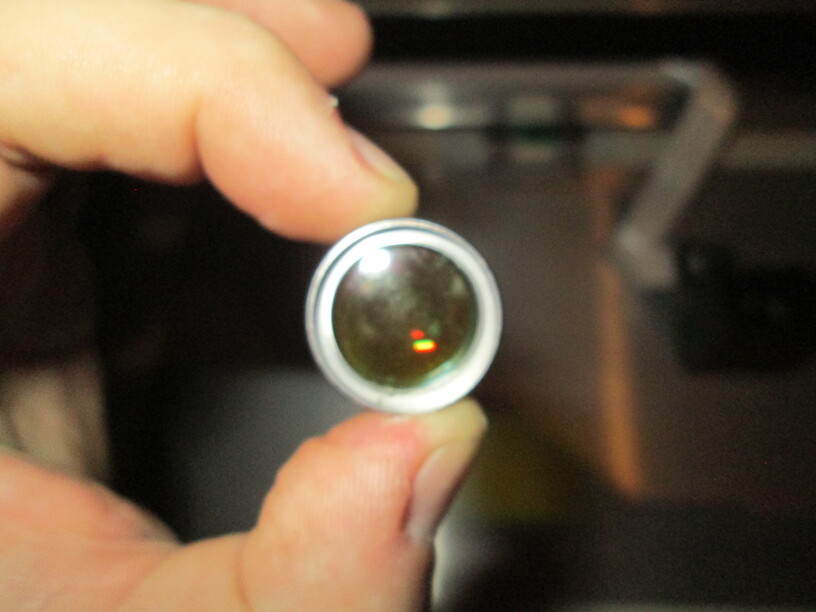
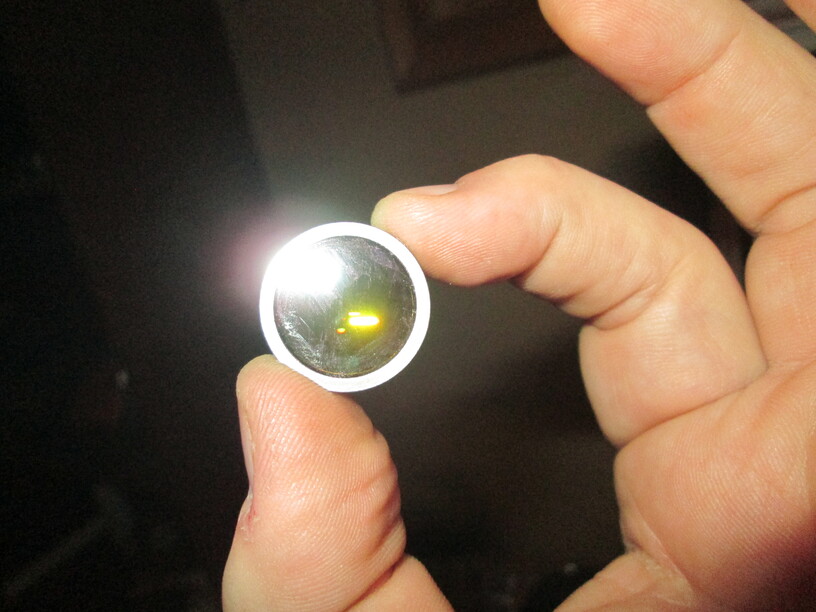
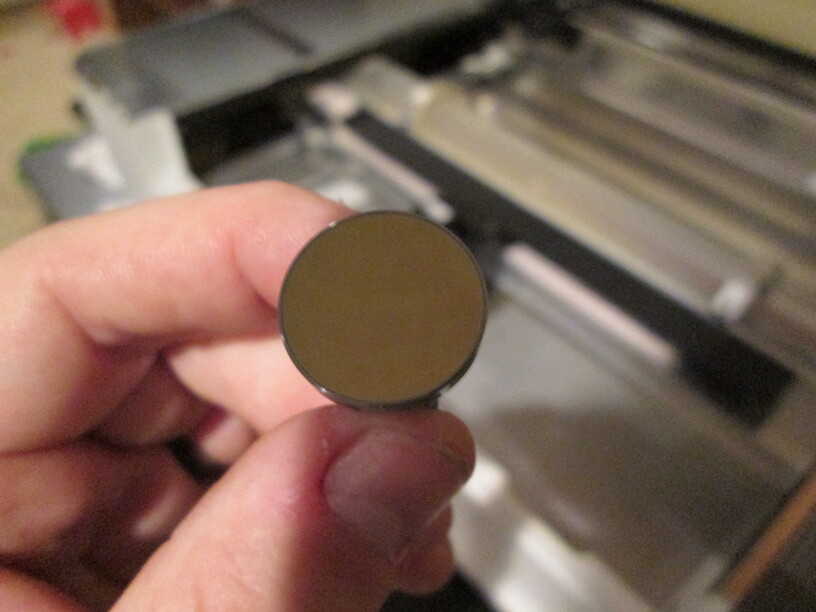
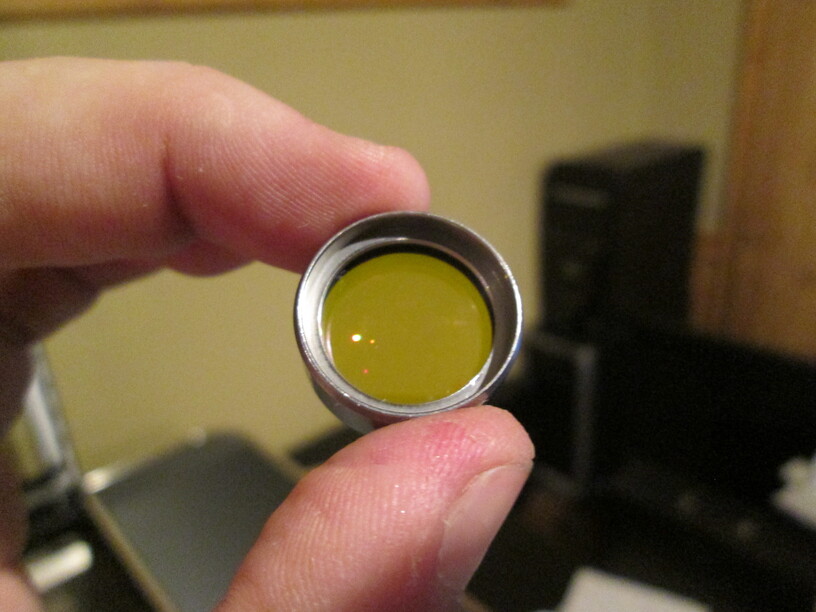
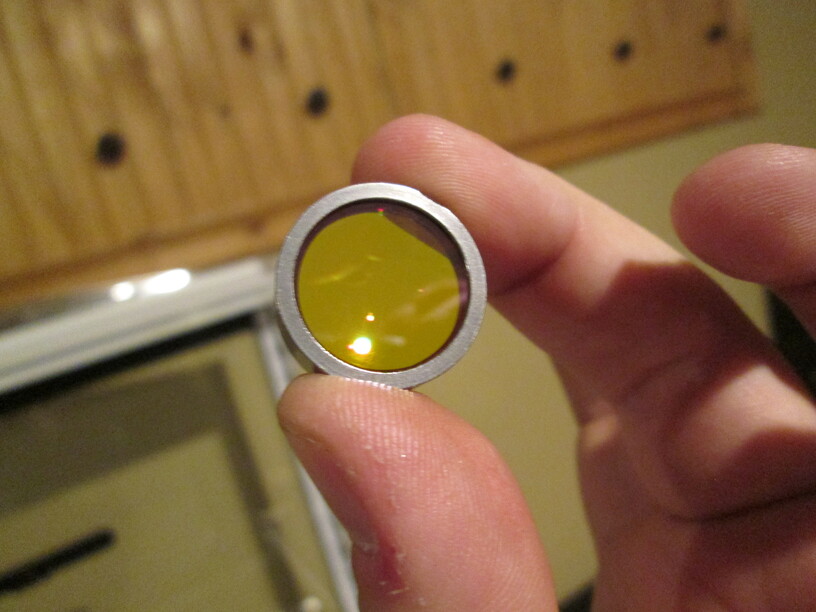
That lens looks either dirty or scratched. If you’re lucky it’s just schmutz on it from smoke residue. You’ll want to clean it. You might want to soak it a bit in some isopropyl alcohol (91%) before you wipe it with a lens wipe.
If you’ve used something like paper towels or tissues to clean it before then it’s likely scratched and you’ll need a new one. You can get it in the online Shop.
I’ve only used the Zeiss wipes to clean the components per the cleaning instructions.
I may need to be more patient/diligent in cleaning though. I’m overly cautious as I’m wiping it. May be a little paranoid about putting any pressure because I’m afraid of damaging it.
try the soak and wipe method to see if you can get rid of that stuff. If it stays on it will disrupt the beam so it doesn’t focus well and over time it will burn & bake onto the lens where the beam hits the residue.
I’ve taken a look at the logs on your machine, and it looks like you’ve gotten a chance to print since cleaning your lens. Did it cut through all the way?
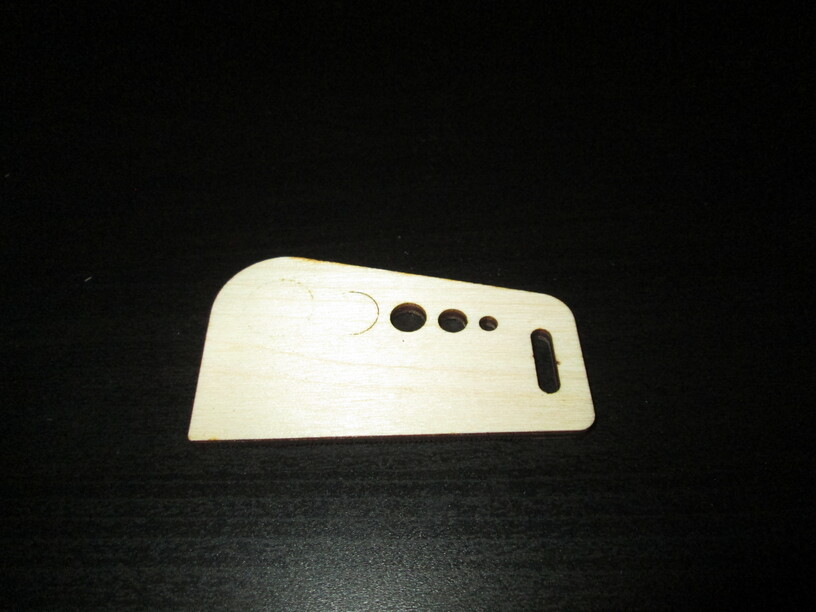
I tried printing the Gift of Good Measure using the same settings (PG Medium Basswood) and material as the box. (Revell Birchwood Plywood 1/8"). While the glowforge was off, I pushed the bar and laser to far back and left.
Again, the skip in the large hole and not cutting through as before. This isn’t proof grade so it could be a setting issue that doesn’t quite line up with the material being used, but it had worked well before. Therefore, I wanted to include it in case it helps troubleshoot.