This is the fifth attempt with the pass through and yet another fail. I have realigned the camera, recalibrated, everything suggested and still it NEVER lines up! I’ve even put guides on the side to keep the wood perfectly guided and still no good. Anyone have any recommendations or suggestions? I bought the pro specifically for the pass through and I’m starting to think I will never be able to use it.
I even tried line down the middle of the design with a super, crazy light scoring and still can’t get anything to line up. We also measured exactly the 8 inches suggested before moving the wood and it was off this much.
Having had a pro from before they really had good align stuff available now. I developed a technique that did not need them.
The right edge of the crumb tray is a good perpendicular edge to align to. This sets the vertical as the only variable you need to worry about. I then make sure that each section is a separate object, and measure the lowest point to the lowest point in the vertical so I know what that distance is.
Then you can select the next object up and set its location using the bottom right corner and have it fixed by even a mark on the crumb tray. The thing the app does not do is allow is to have the cutoff at several vertical levels but with this, you can pick places where the linework is vertical and make your breaks there.
You can then make the first cut and slide the work down so the low point matches your mark, using the same low corner point but on the next part. And in the monitor, you can use the arrow keys to change only the “Y” movement to slide the next bit till the low corner number matches.
Now if you have to align only vertical places, to be even a millimeter off you will only have a bit of overlap and not totally disconnected lines.
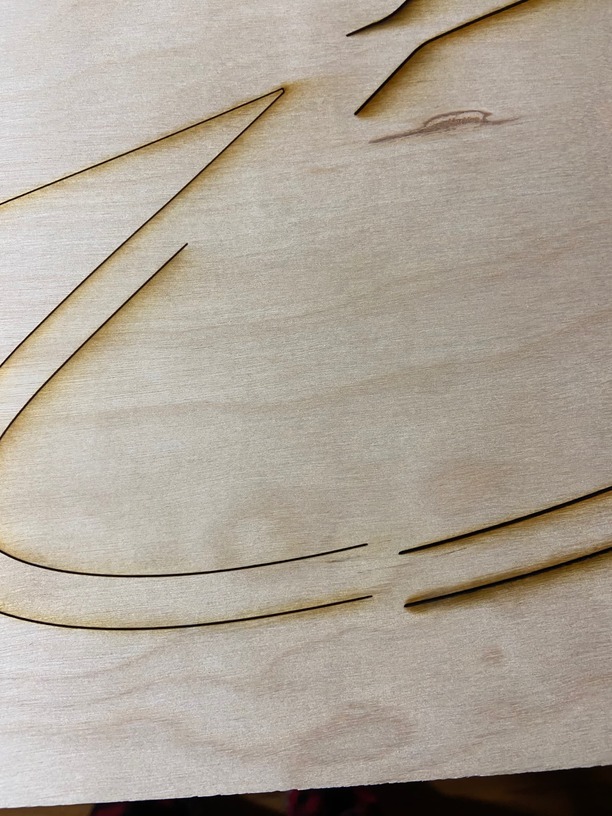
The drastic difference in the line thickness implies the material was not flat against the bed, and that would also cause alignment issues. I would start there.
I’ve intentionally moved material down so it is crooked, and the alignment worked just fine. Making sure long material does not “bow” up as moved thru takes some planning and fiddling. I have a way to support it on both ends, as well as “pass thru pins” designed to allow it to slide down while still under pins on the edges.
The only issue I’ve ever had - which has never been addressed - is when doing an engrave. The first pass of the next step does not fire the laser, so you end up with a single line gap in the engraving. Depending on the design, it can be quite noticeable. I’ve used pencils to fill it in.
This is a three pass cut. The line difference is because the first cut had completed the full cut while the last one had only done part of a single cut before I stopped it.